Configure campaigns for Dotdigital
Dotdigital is a cross-channel marketing platform for building customer connections and personalized campaigns across channels.
Configure Amperity to send audiences to Dotdigital.
Get details
Review the following details before configuring credentials for Dotdigital and before configuring Amperity to send audiences to Dotdigital.

|
Credential settings API username
API password
|

|
Required configuration settings List name
Contact identifier type
|

|
Dotdigital API user The Dotdigital API user must have permission to access account information, create and update contacts, manage address books, and manage data fields. |
Configure credentials
Configure credentials for Dotdigital before adding a destination.
An individual with access to Dotdigital should use SnapPass to securely share “API username” and “API password” details with the individual who configures Amperity.
To configure credentials for Dotdigital

|
From the Settings page, select the Credentials tab, and then click the Add credential button. |

|
In the Credentials settings dialog box, do the following: From the Plugin dropdown, select Dotdigital. Assign the credential a name and description that ensures other users of Amperity can recognize when to use this destination. |

|
The settings that are available for a credential vary by credential type. For the “dotdigital” credential type, configure settings, and then click Save. API username
API password
|
Add destination
Use a sandbox to configure a destination for Dotdigital. Before promoting your changes, send a test audience, and then verify the results in Dotdigital. After verifying the end-to-end workflow, push the destination from the sandbox to production.
To add a destination for Dotdigital

|
Open the Destinations page, select the New destinations button, and then select Campaign. 
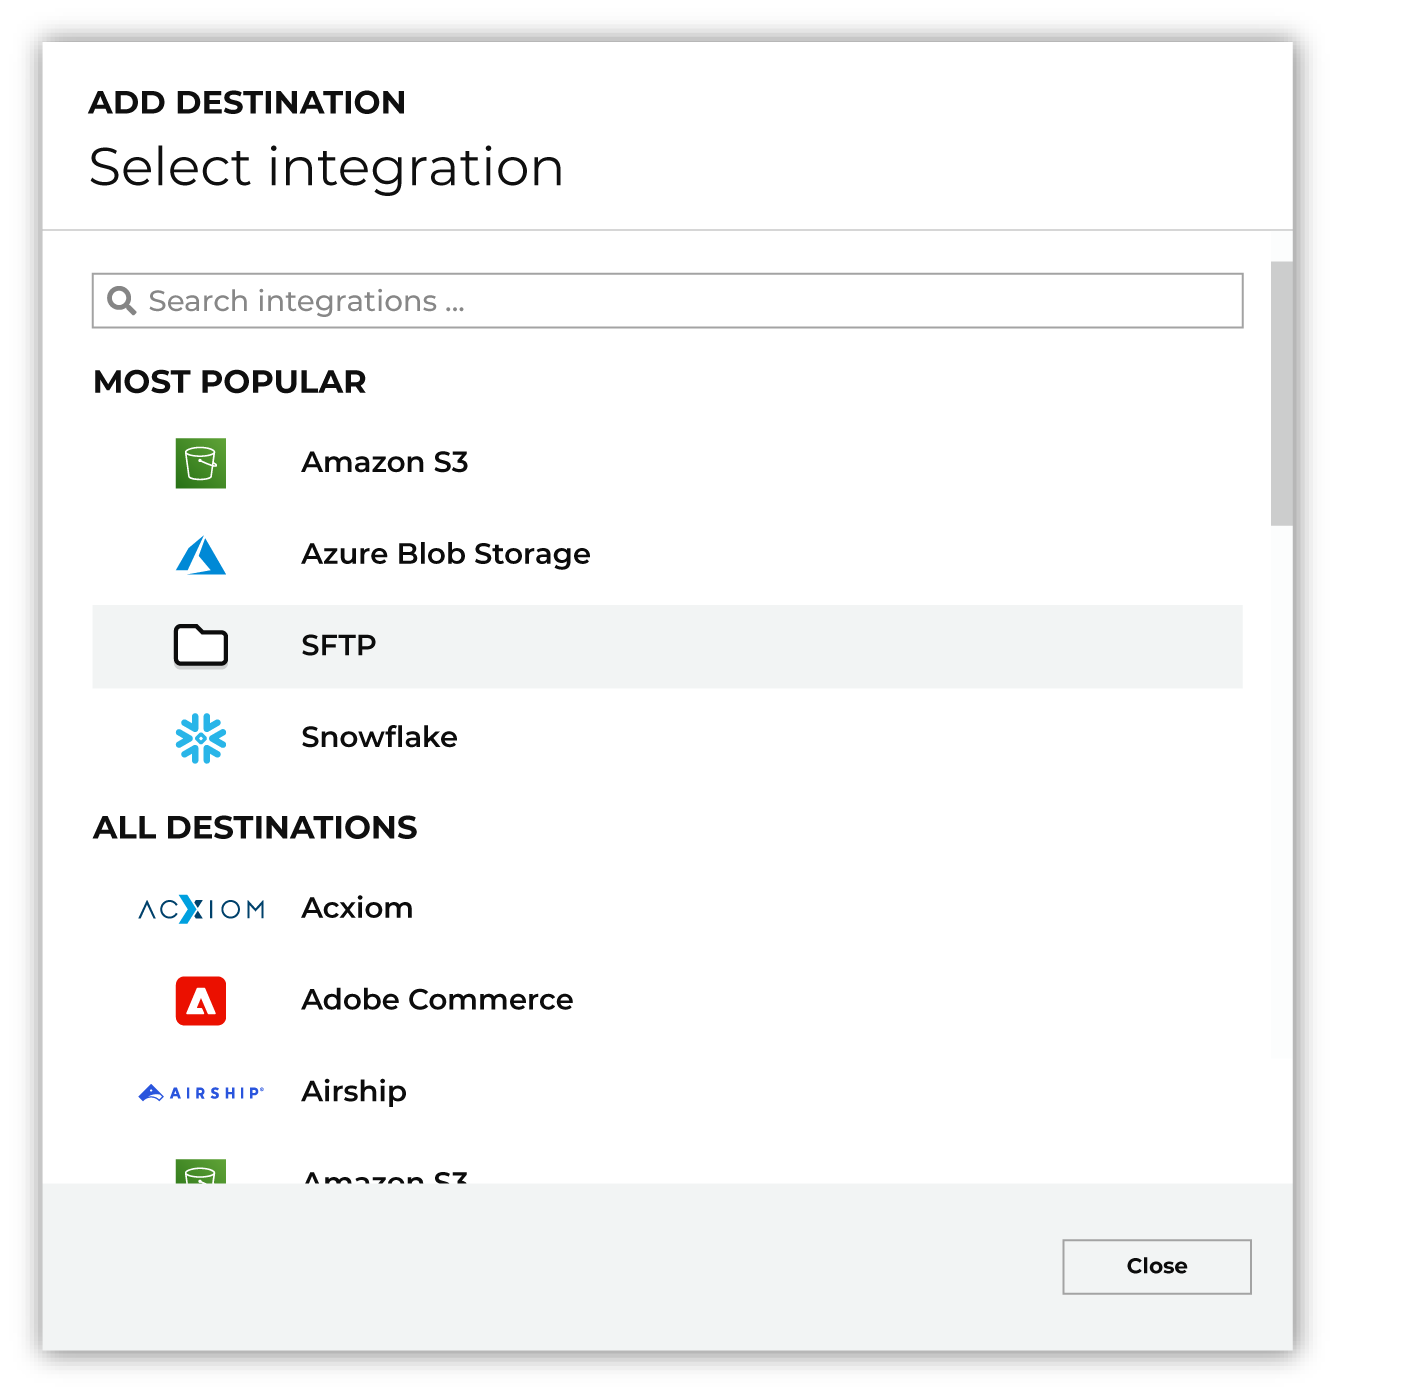
To configure a campaign for Dotdigital, do one of the following:
|

|
Select the credential for Dotdigital from the Credential dropdown, and then click Continue. Tip If there are any issues with destination connectivity, an error message will display in the destination setup dialog. If the destination saves successfully, the connection is ready for use. |

|
In the “Destination settings” dialog box, assign the destination a name and description that ensures other users of Amperity can recognize when to use this destination. Configure business user access By default a destination is available to all users who have permission to view personally identifiable information (PII). Enable the Admin only checkbox to restrict access to only users assigned to the Datagrid Operator and Datagrid Administrator policies. Enable the PII setting checkbox to allow limited access to PII for this destination. Use the Restrict PII access policy option to prevent users from viewing data marked as PII anywhere in Amperity and from sending data to downstream workflows. |

|
Configure the following settings, and then click “Save”. List name
Contact identifier type
Campaign file settings
|

|
After configuring this destination users may send campaigns to Dotdigital. |

|
Test the connection with Dotdigital by using an audience with a very small membership. For example: 10 or 100 members or the minimum audience size recommended by Dotdigital. Send the test audience to Dotdigital and verify the audience is correct in Dotdigital. Make adjustments if necessary. Only send full audiences after validation is complete. |