Pull from Dynamic Yield
Dynamic Yield helps companies build and test personalized, optimized, and synchronized digital customer experiences.
Note
Configure Amperity to pull data from a password-protected Amazon S3 bucket that is managed by Dynamic Yield. You must configure Dynamic Yield to pull data from an Amazon S3 bucket that is managed from Dynamic Yield.
The steps that are required to pull product catalog data to Amperity from Dynamic Yield:
Get details
Amperity can be configured to pull data from Dynamic Yield using Amazon S3. This requires the following configuration details:
The Dynamic Yield destination requires the following configuration details:

|
The name of the S3 bucket from which data is pulled to Amperity. |
|
|
For cross-account role assumption you need the value for the Target Role ARN, which enables Amperity to access the customer-managed Amazon S3 bucket. Note The values for the Amperity Role ARN and the External ID fields are provided automatically. Review the following sample policy, and then add a similar policy to the customer-managed Amazon S3 bucket that allows Amperity access to the bucket. Add this policy as a trusted policy to the IAM role that is used to manage access to the customer-managed Amazon S3 bucket. The policy for the customer-managed Amazon S3 bucket is unique, but will be similar to: 1{
2 "Statement": [
3 {
4 "Sid": "AllowAmperityAccess",
5 "Effect": "Allow",
6 "Principal": {
7 "AWS": "arn:aws:iam::account:role/resource"
8 },
9 "Action": "sts:AssumeRole",
10 "Condition": {
11 "StringEquals": {
12 "sts:ExternalId": "01234567890123456789"
13 }
14 }
15 }
16 ]
17}
The value for the role ARN is similar to: arn:aws:iam::123456789012:role/prod/amperity-plugin
An external ID is an alphanumeric string of 2-1224 characters without spaces and may include the following symbols: plus (+), equal (=), comma (,), period (.), at (@), colon (:), forward slash (/), and hyphen (-). |
|
|
A list of objects by filename and file type in the S3 bucket to be sent to Amperity and a sample for each file to simplify feed creation. The size of a CSV file cannot exceed 10 GB. A CSV file that is larger than 10 GB must be split into smaller files before it is made available to Amperity. The total number of CSV files in a single ingest job cannot exceed 500,000. |
Configure cross-account roles
Amperity prefers to pull data from and send data to customer-managed cloud storage.
Amperity requires using cross-account role assumption to manage access to Amazon S3 to ensure that customer-managed security policies control access to data.
This approach ensures that customers can:
Directly manage the IAM policies that control access to data
Directly manage the files that are available within the Amazon S3 bucket
Modify access without requiring involvement by Amperity. Access may be revoked at any time by either Amazon AWS account, after which data sharing ends immediately
Directly troubleshoot incomplete or missing files
Note
After setting up cross-account role assumption, a list of files by filename and file type, along with any sample files, must be made available to allow for feed creation. These files may be placed directly into the shared location after cross-account role assumption is configured.
Can I use an Amazon AWS Access Point?
Yes, but with the following limitations:
The direction of access is Amperity access files that are located in a customer-managed Amazon S3 bucket
A credential-free role-to-role access pattern is used
Traffic is not restricted to VPC-only
To configure an S3 bucket for cross-account role assumption
The following steps describe how to configure Amperity to use cross-account role assumption to pull data from or push data to a customer-managed Amazon S3 bucket.
Important
These steps require configuration changes to customer-managed Amazon AWS accounts and must be done by users with administrative access.

|
Open the Sources tab to configure credentials for Dynamic Yield. Click the Add courier button to open the Add courier dialog box. 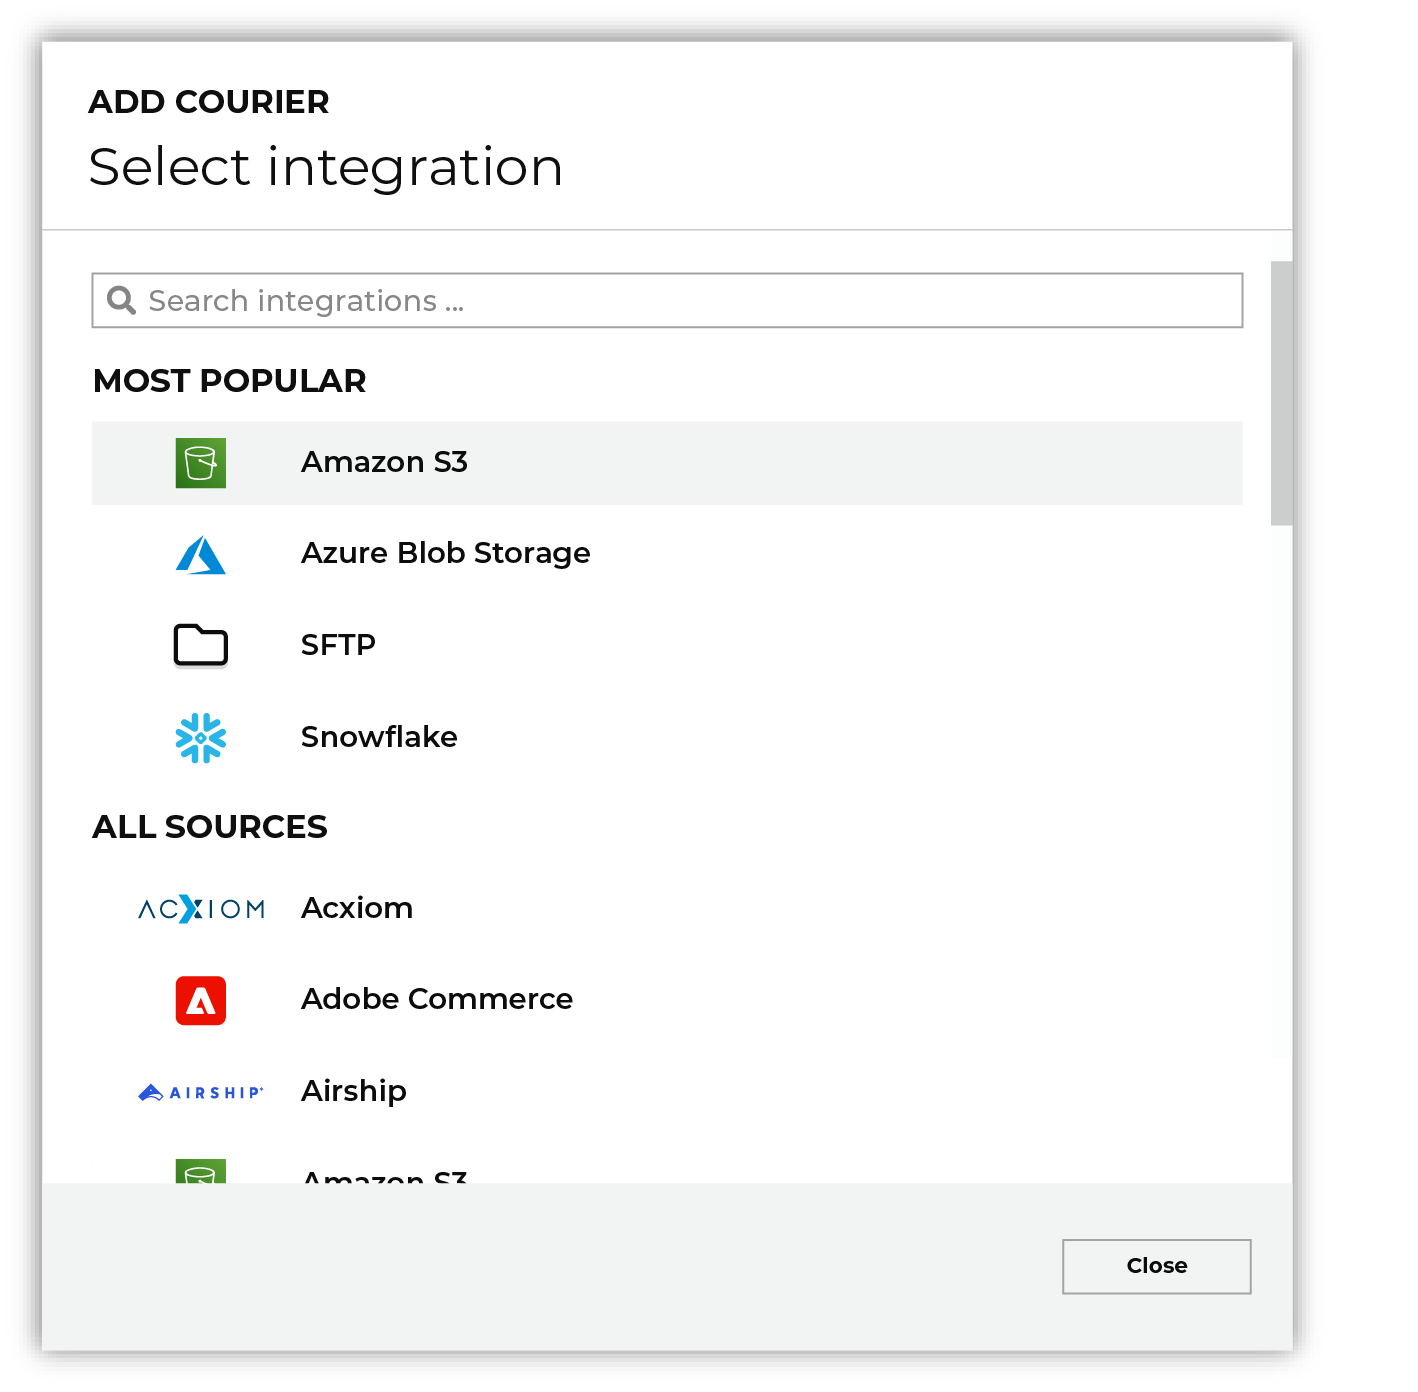
Do one of the following to select Dynamic Yield:
|
|
From the Credentials dialog box, enter a name for the credential, select the iam-role-to-role credential type, and then select “Create new credential”. 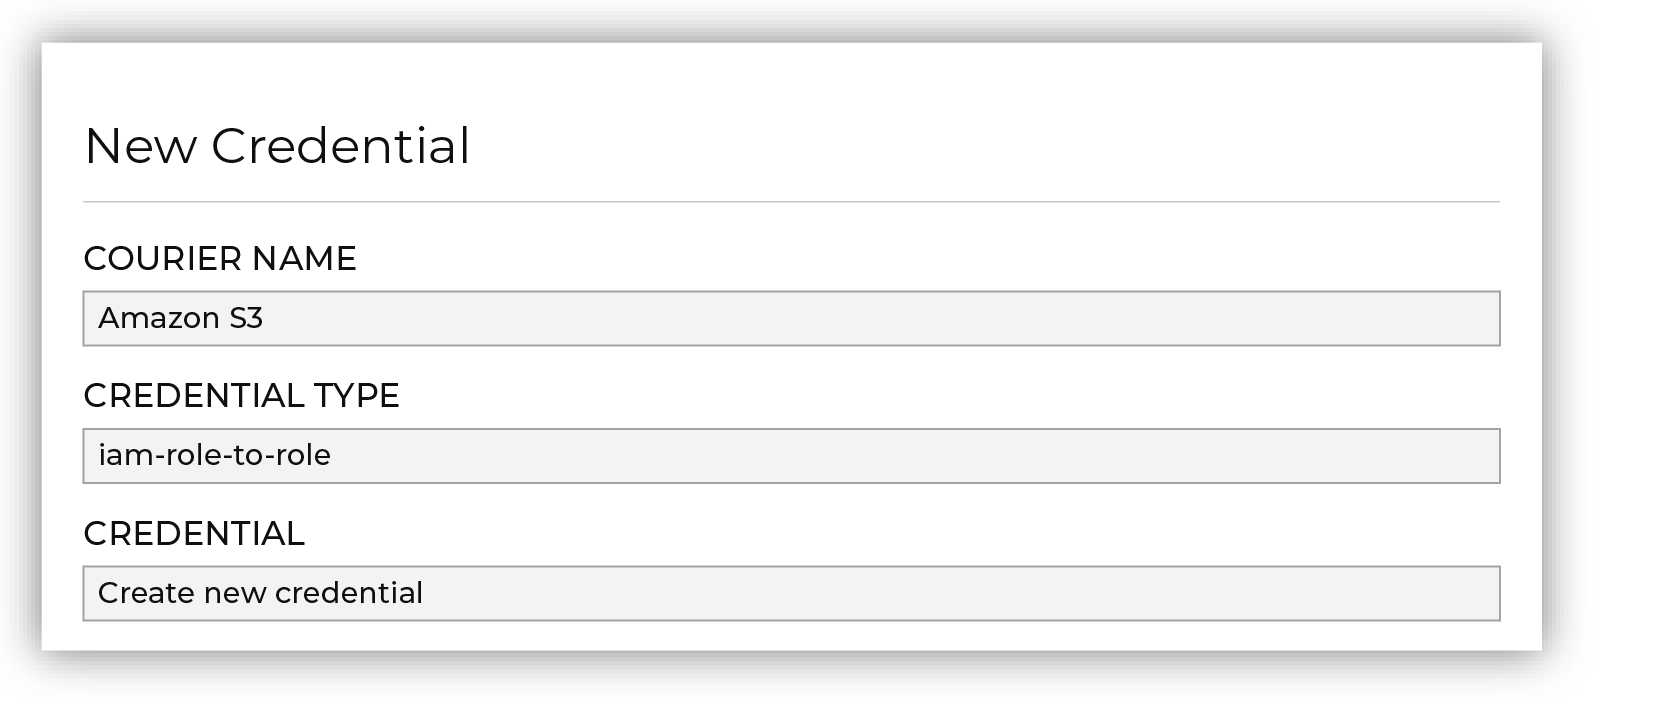
|

|
Next configure the settings that are specific to cross-account role assumption. 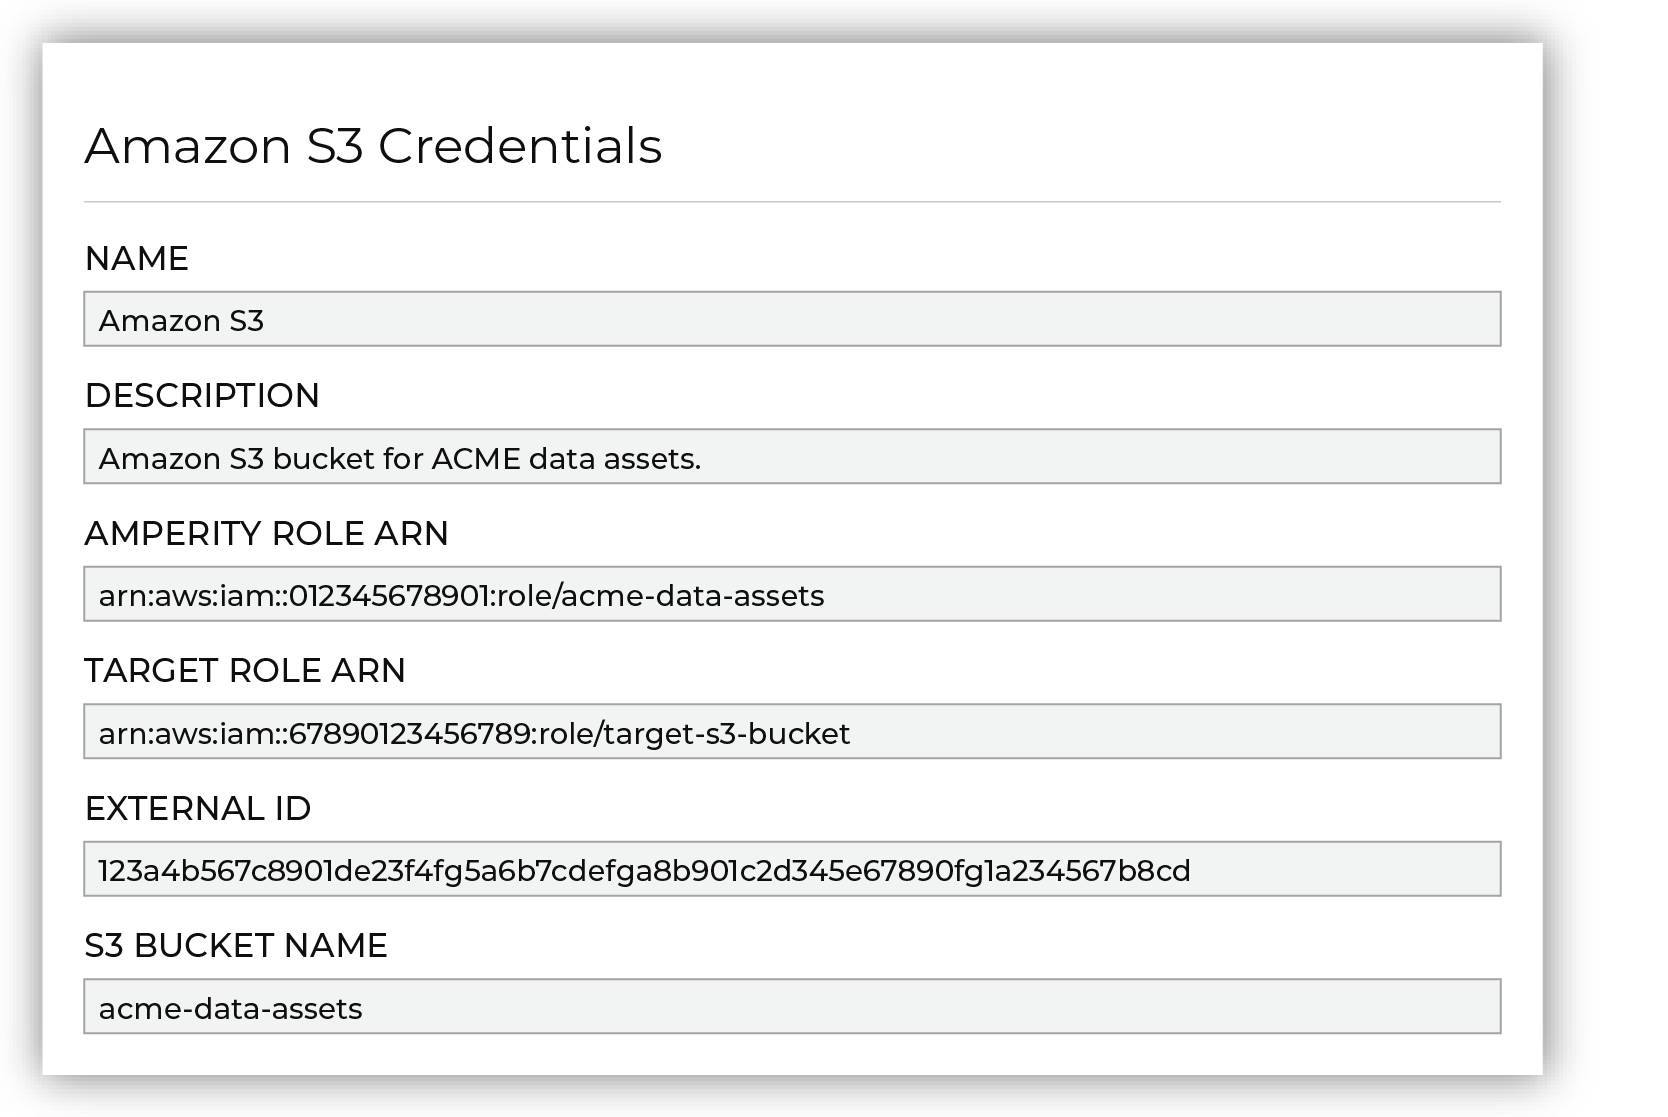
The values for the Amperity Role ARN and External ID fields – the Amazon Resource Name (ARN) for your Amperity tenant and its external ID – are provided automatically. You must provide the values for the Target Role ARN and S3 Bucket Name fields. Enter the target role ARN for the IAM role that Amperity uses to access the customer-managed Amazon S3 bucket, and then enter the name of the Amazon S3 bucket. |

|
Review the following sample policy, and then add a similar policy to the customer-managed Amazon S3 bucket that allows Amperity access to the bucket. Add this policy as a trusted policy to the IAM role that is used to manage access to the customer-managed Amazon S3 bucket. The policy for the customer-managed Amazon S3 bucket is unique, but will be similar to: 1{
2 "Statement": [
3 {
4 "Sid": "AllowAmperityAccess",
5 "Effect": "Allow",
6 "Principal": {
7 "AWS": "arn:aws:iam::account:role/resource"
8 },
9 "Action": "sts:AssumeRole",
10 "Condition": {
11 "StringEquals": {
12 "sts:ExternalId": "01234567890123456789"
13 }
14 }
15 }
16 ]
17}
The value for the role ARN is similar to: arn:aws:iam::123456789012:role/prod/amperity-plugin
An external ID is an alphanumeric string of 2-1224 characters without spaces and may include the following symbols: plus (+), equal (=), comma (,), period (.), at (@), colon (:), forward slash (/), and hyphen (-). |

|
Click Continue to test the configuration and validate the connection to the customer-managed Amazon S3 bucket, after which you is able to continue the steps for adding a courier. |
Add data source and feed
Add a data source that pulls data from Dynamic Yield.
Configure Amperity to pull one or more files, and then for each file review the settings, define the schema, activate the courier, and then run a manual workflow. Review the data that is added to the domain table.
To add a data source for Dynamic Yield
|
|
Open the Sources page to configure Dynamic Yield. Click the Add courier button to open the Add courier dialog box. Select Dynamic Yield. Do one of the following:
|
|
|
Credentials allow Amperity to connect to Dynamic Yield and must exist before a courier can be configured to pull data from Dynamic Yield. Select an existing credential from the Credential dropdown, and then click Continue. Tip A courier that has credentials that are configured correctly shows a “Connection successful” status, similar to: 
|
|
|
Select the file that is pulled to Amperity, either by browsing into storage and selecting it or by providing a filename pattern. 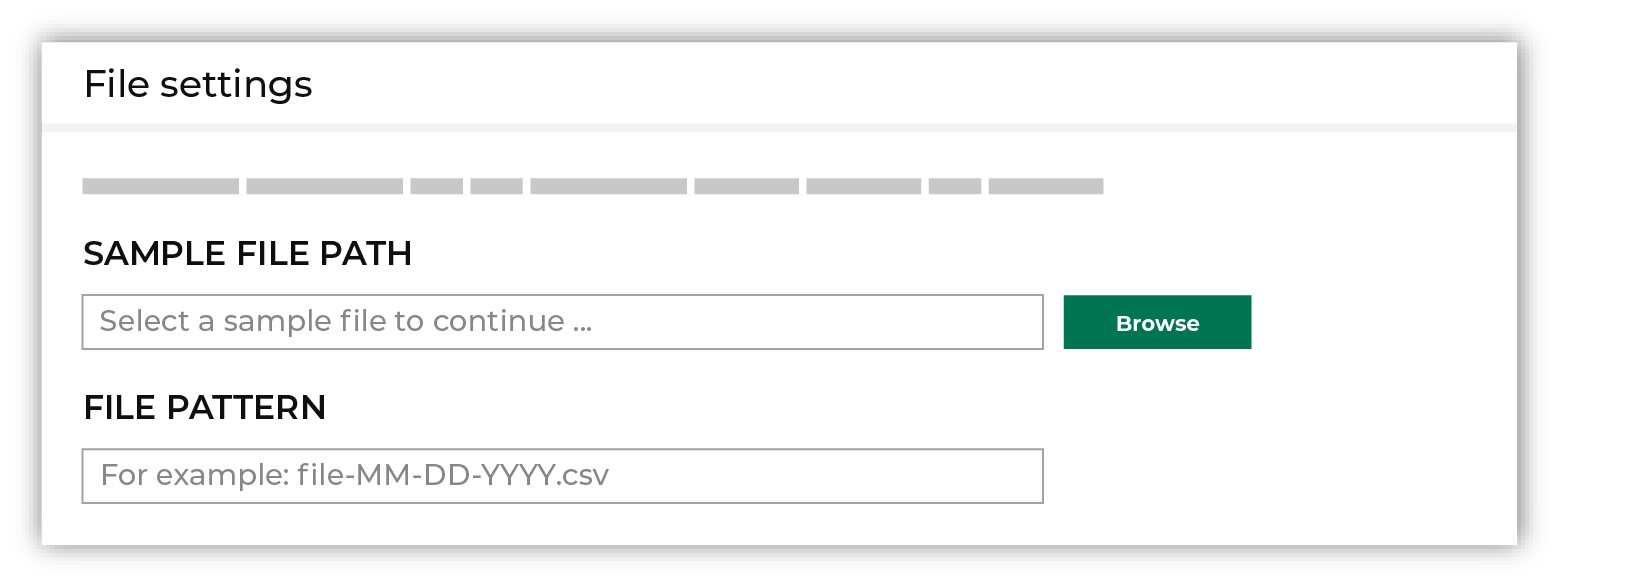
Click Browse to open the File browser. Select the file that is pulled to Amperity, and then click Accept. Use a filename pattern to define files that will be loaded on a recurring basis, but have small changes to the filename over time, such as having a datestamp appended to the filename. Note For a new data source, this file is also used as the sample file that is used to define the schema. For an existing data source, this file must match the schema that has already been defined. 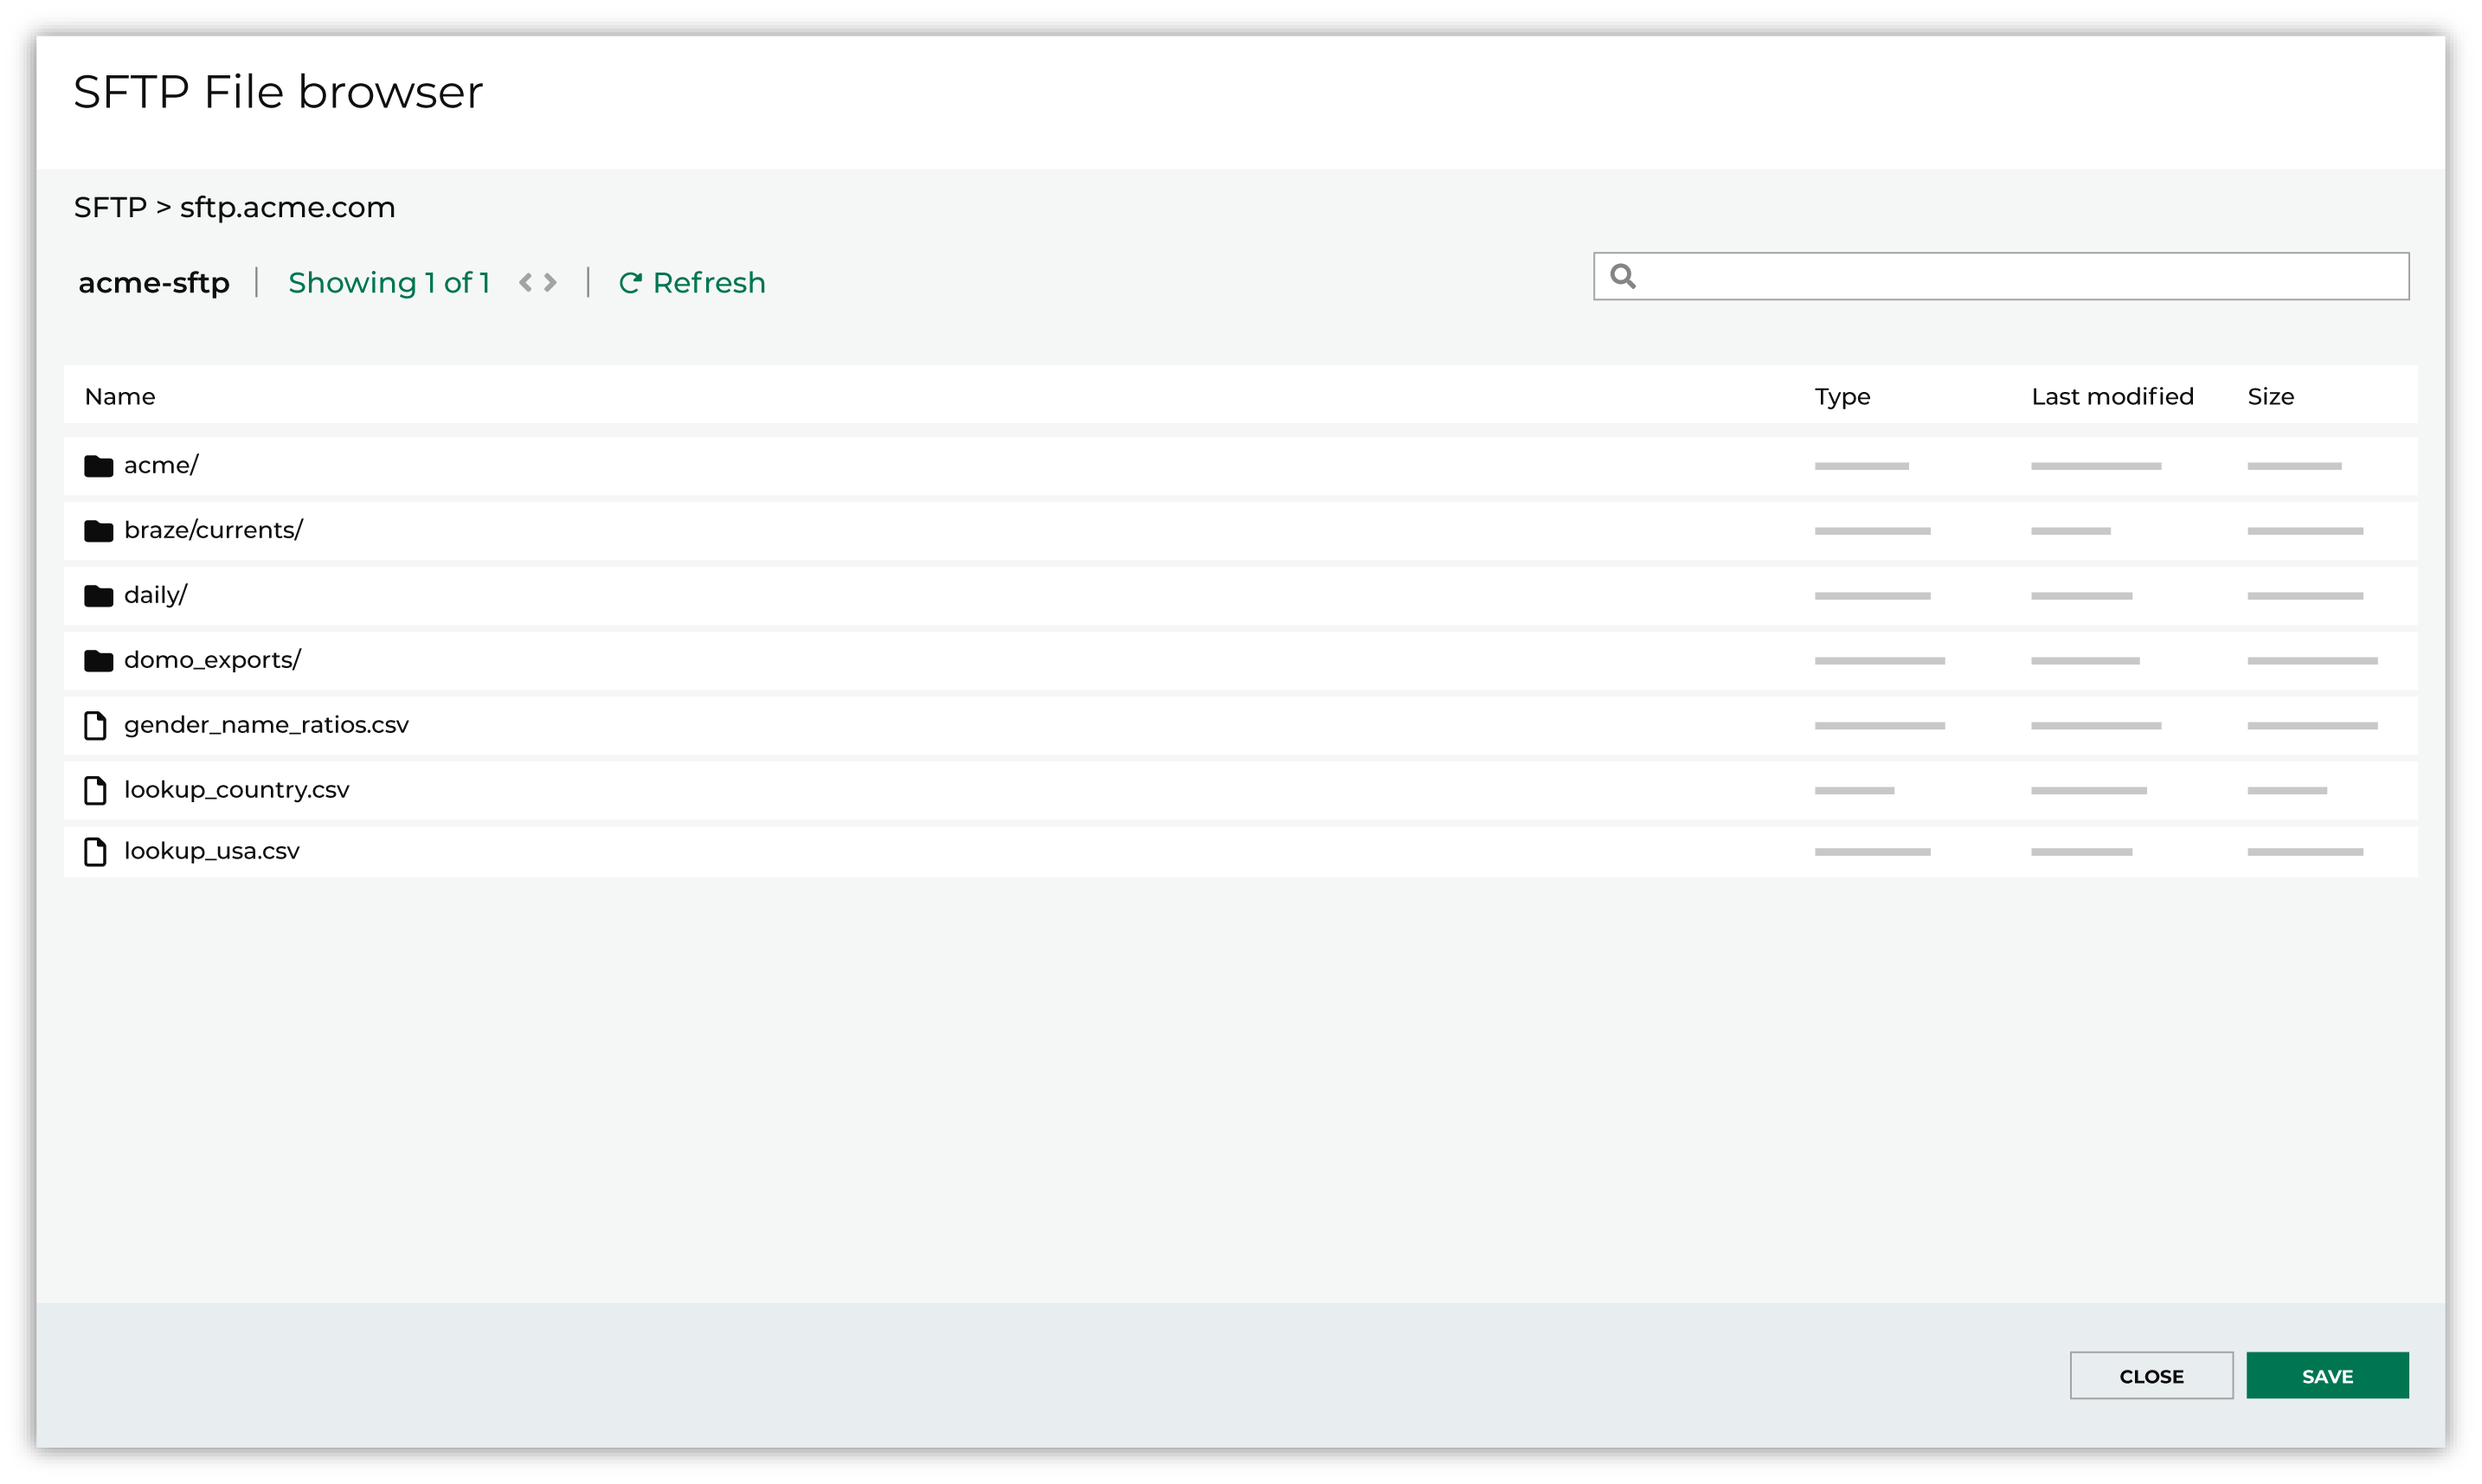
Use the PGP credential setting to specify the credentials to use for an encrypted file. 
|
|
|
Review the file. 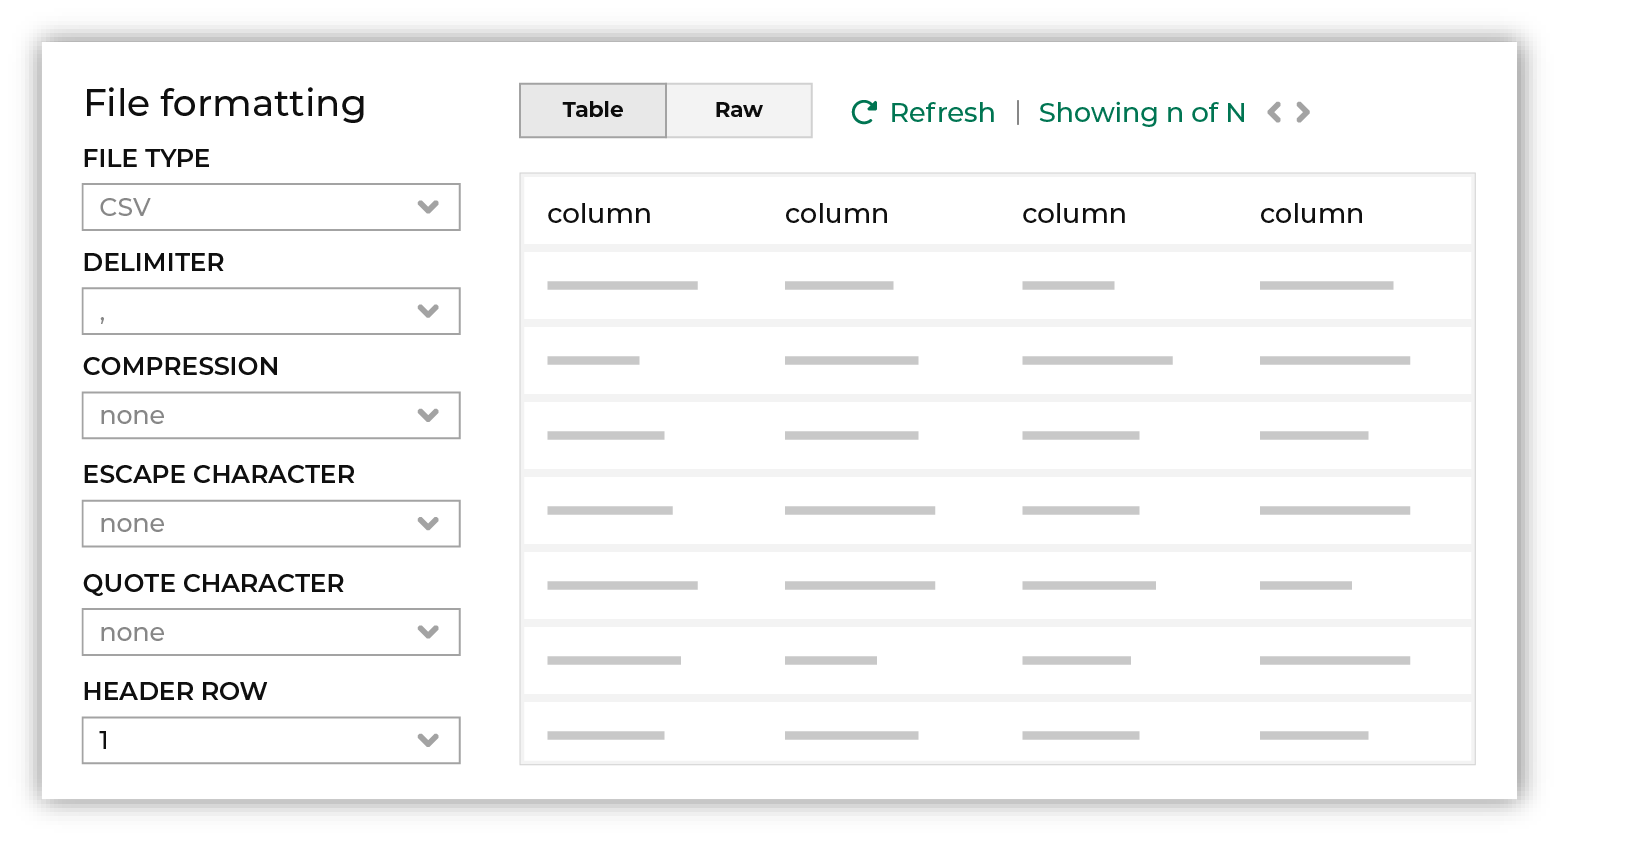
The contents of the file may be viewed as a table and in the raw format. Switch between these views using the Table and Raw buttons, and then click Refresh to view the file in that format. Note PGP encrypted files can be previewed. Apache Parquet PGP encrypted files must be less than 500 MB to be previewed. Amperity will infer formatting details, and then add these details to a series of settings located along the left side of the file view. File settings include:
Review the file, and then update these settings, if necessary. |
|
|
Each file that is loaded to Amperity must have a defined schema, after which the data in the file is loaded into a domain table ready for use with workflows within Amperity. New feed To use a new data source, choose the Create new feed option, select an existing source from the Source dropdown or type the name of a new data source, and then enter the name of the feed. 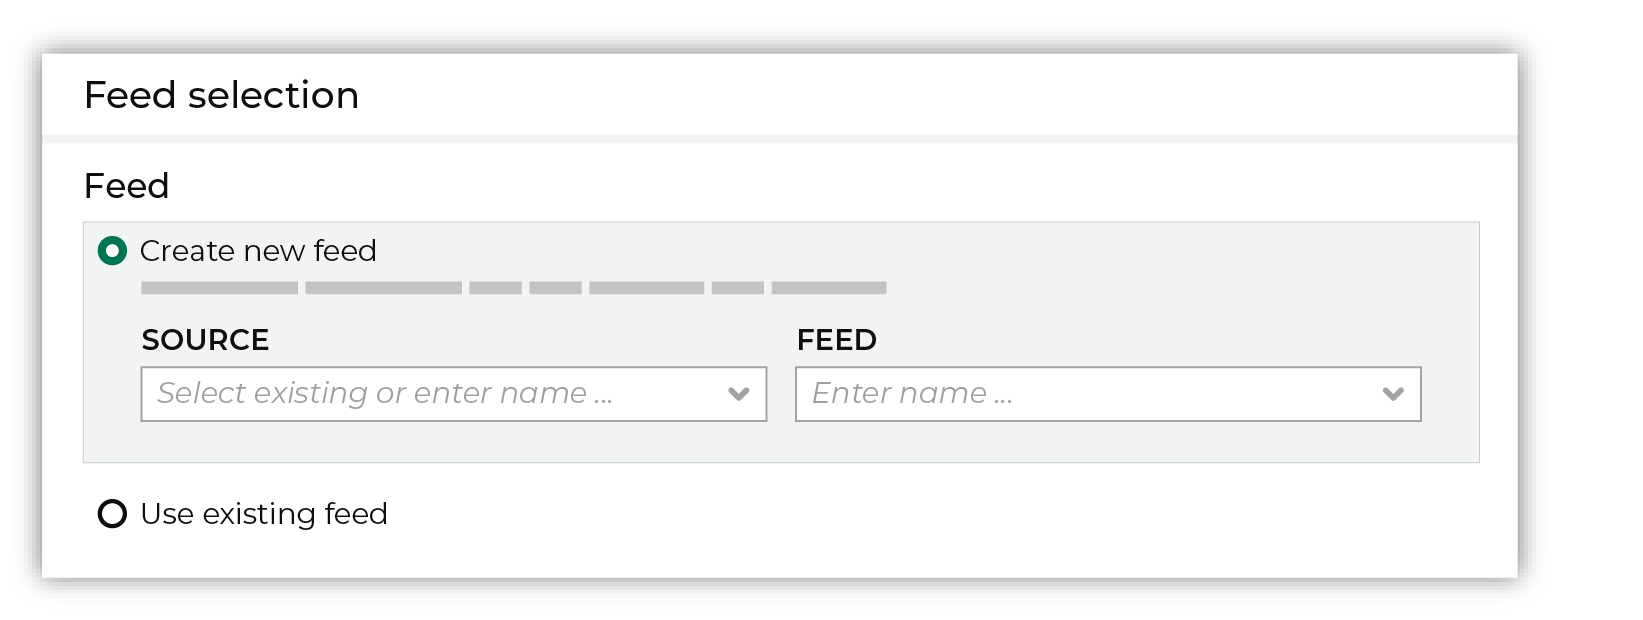
After you choose a load type and save the courier configuration, you will configure the feed using the data within the sample file. Existing feed To use an existing feed, choose the Use existing feed option to use an existing schema. 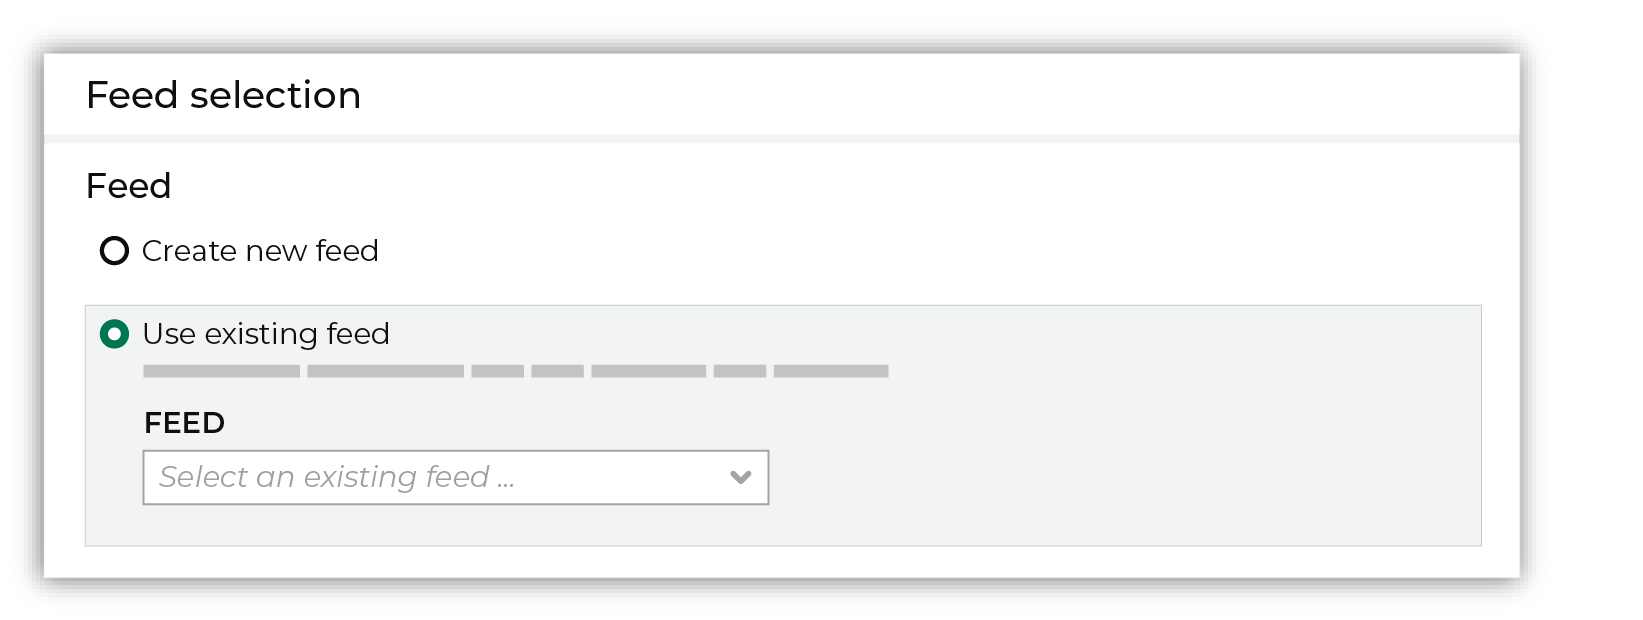
This option requires this file to match all of the feed-specific settings, such as incoming field names, field types, and primary keys. The data within the file may be different Pull data Define how Amperity will pull data from Dynamic Yield and how it is loaded to a domain table. 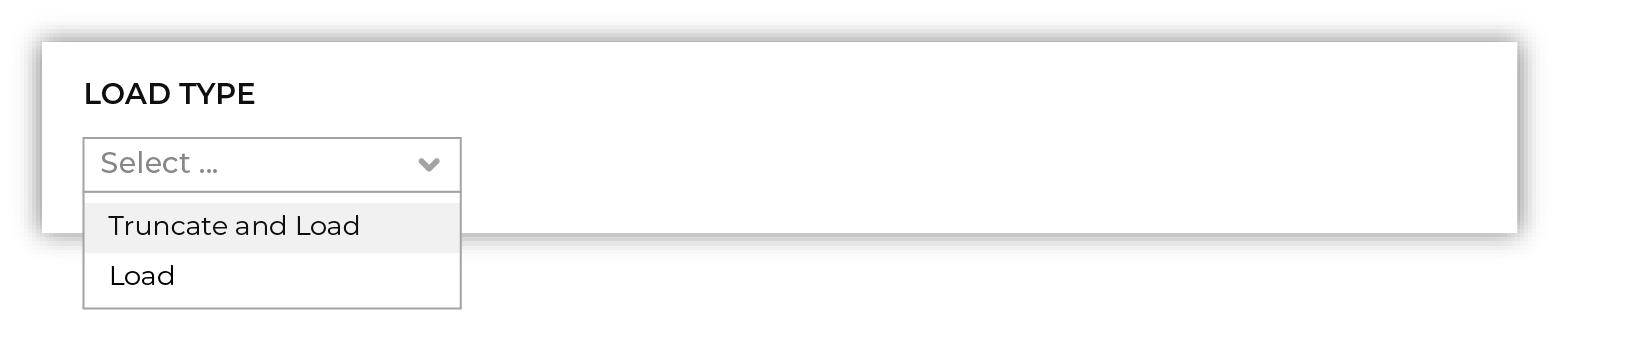
Use the Upsert option to use the selected file update existing records and insert records that do not exist. Use the Truncate and upsert option to delete all records in the existing table, and then insert records. Note When a file is loaded to a domain table using an existing file, the file that is loaded must have the same schema as the existing feed. The data in the file may be new. |

|
Use the feed editor to do all of the following:
When finished, click Activate. |

|
Find the courier related to the feed that was just activated, and then run it manually. On the Sources page, under Couriers, find the courier you want to run and then select Run from the actions menu. 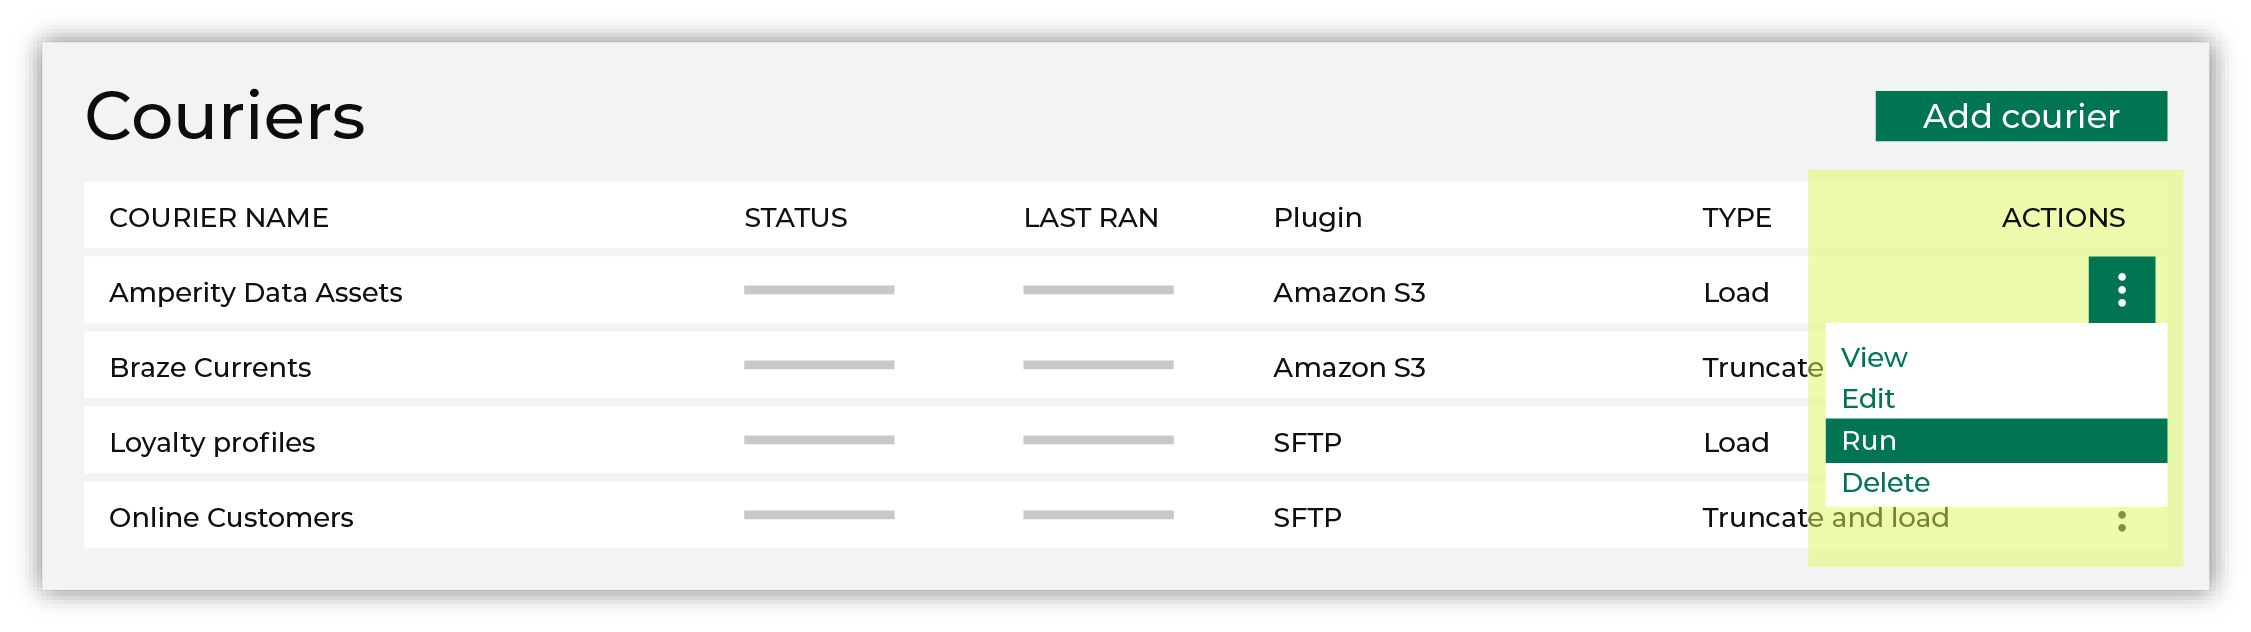
Select a date from the calendar picker that is before today, but after the date on which the file was added to the Dynamic Yield file system. 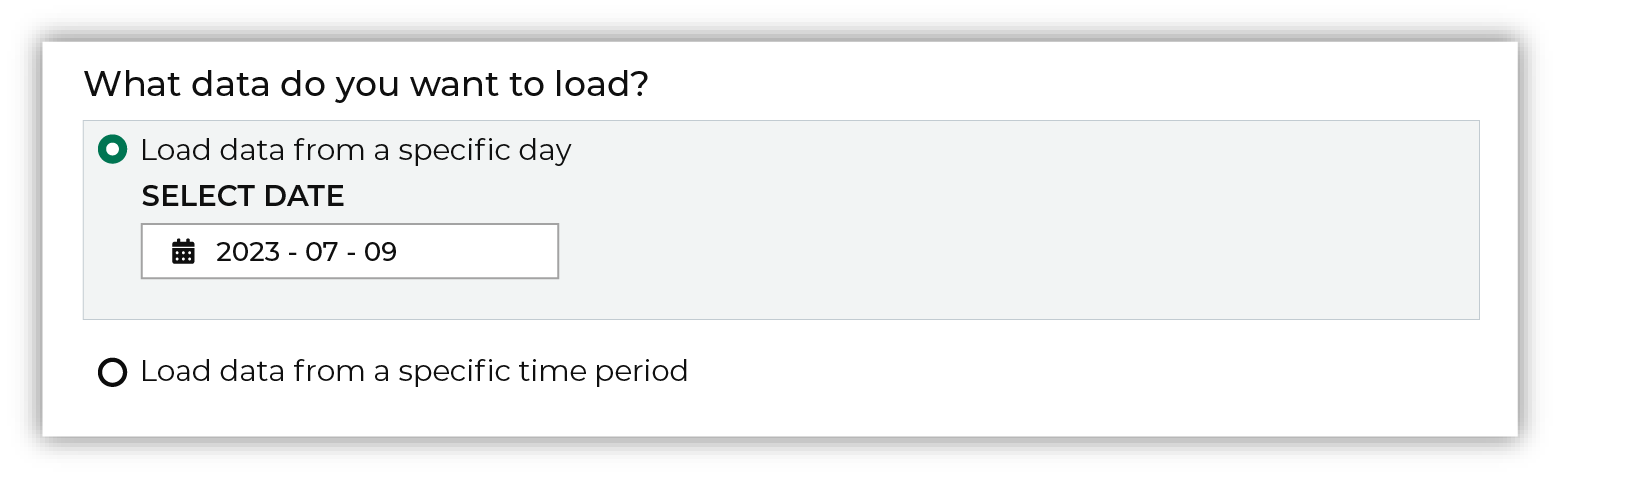
Leave the load options unselected, and then click Run. After the courier has run successfully, inspect the domain table that has the data that was loaded to Amperity. After you have verified that the data is correct, you may do any of the following:
|