Pull from Optimizely
Optimizely is an experimentation platform for testing, learning, and deploying positive digital experiences.
Optimizely can send enriched exports events data to Amperity via Amazon S3. Enriched events include details such as event timestamps, event IDs, event tags, event names, visitor IDs, session IDs, experiment IDs, and variation IDs.
The steps that are required to pull interactions records to Amperity from Optimizely:
Get details
Amperity can be configured to pull data from Optimizely using Amazon S3. This requires the following configuration details:
Access to an Optimizely data service hosted in Amazon S3.
The Amazon Resource Name (ARN) for a role with cross-account access.
The name of the Amazon S3 bucket.
A list of objects by filename and file type in the Amazon S3 bucket to be pulled to Amperity.
A sample for each file to simplify feed creation.
Note
Amperity supports using cross-account role assumption with Amazon S3 buckets when Optimizely supports the use of cross-account roles and your tenant uses the Amazon S3 data source.
Amazon S3 requirements
Amazon S3 requires the following:
Credentials that allow Amperity to access, and then read data from the Amazon S3 bucket used by Optimizely.
Files provided in Apache Parquet format and using the YYYY-MM-DD date format.
Files sent from Optimizely are located in partitions, one for decisions and one for events.
Optimizely uses AWS Key Management Service for encryption.
Amazon S3 credentials
Amperity requires the ability to connect to, and then read data from the Amazon S3 bucket used by Optimizely. The credentials that allow that connection and the permissions to read data are entered into the Amperity user interface while configuring a courier. These credentials are created and managed by the owner of the Amazon S3 bucket. Use SnapPass to share credentials with your Amperity representative, if necessary.
SnapPass allows sharing secrets in a secure, ephemeral way. Input a single or multi-line secret, define how long someone has to view the secret, and then generate a single-use URL. Share the URL to share the secret.
Optimizely S3 partitions
Enriched events exports are exported to a bucket named optimizely-events-data that has two partitions: decisions and conversions.
The paths to these partitions are similar to:
s3://optimizely-events-data/v1/account_id=<account_id>/
type=decisions/date={YYYY-MM-DD}/experiment=<experiment_id>
or
s3://optimizely-events-data/v1/account_id=<account_id>/
type=events/date={YYYY-MM-DD}/event=<event_name>
where:
optimizely-events-data is the name of the Amazon S3 bucket
account_id is your unique account identifier
date is the creation date for the data
experiment_id is the unique experiment identifier used for the decisions partition
event_name is the event or entity identifier used for the events partition
The daily partition files are ready when _SUCCESS is appended to the partition path.
Note
Optimizely uses AWS Key Management Service for encryption. Amperity must be able to decrypt these files to pull them to the Amazon S3 or Azure Blob Storage location used by your tenant.
Add data source and feed
Add a data source that pulls data from Optimizely.
Configure Amperity to pull one or more files, and then for each file review the settings, define the schema, activate the courier, and then run a manual workflow. Review the data that is added to the domain table.
To add a data source for Optimizely

|
Open the Sources page to configure Optimizely. Click the Add courier button to open the Add courier dialog box. Select Optimizely. Do one of the following:
|

|
Credentials allow Amperity to connect to Optimizely and must exist before a courier can be configured to pull data from Optimizely. Select an existing credential from the Credential dropdown, and then click Continue. Tip A courier that has credentials that are configured correctly shows a “Connection successful” status, similar to: 
|

|
Select the file that is pulled to Amperity, either by browsing into storage and selecting it or by providing a filename pattern. 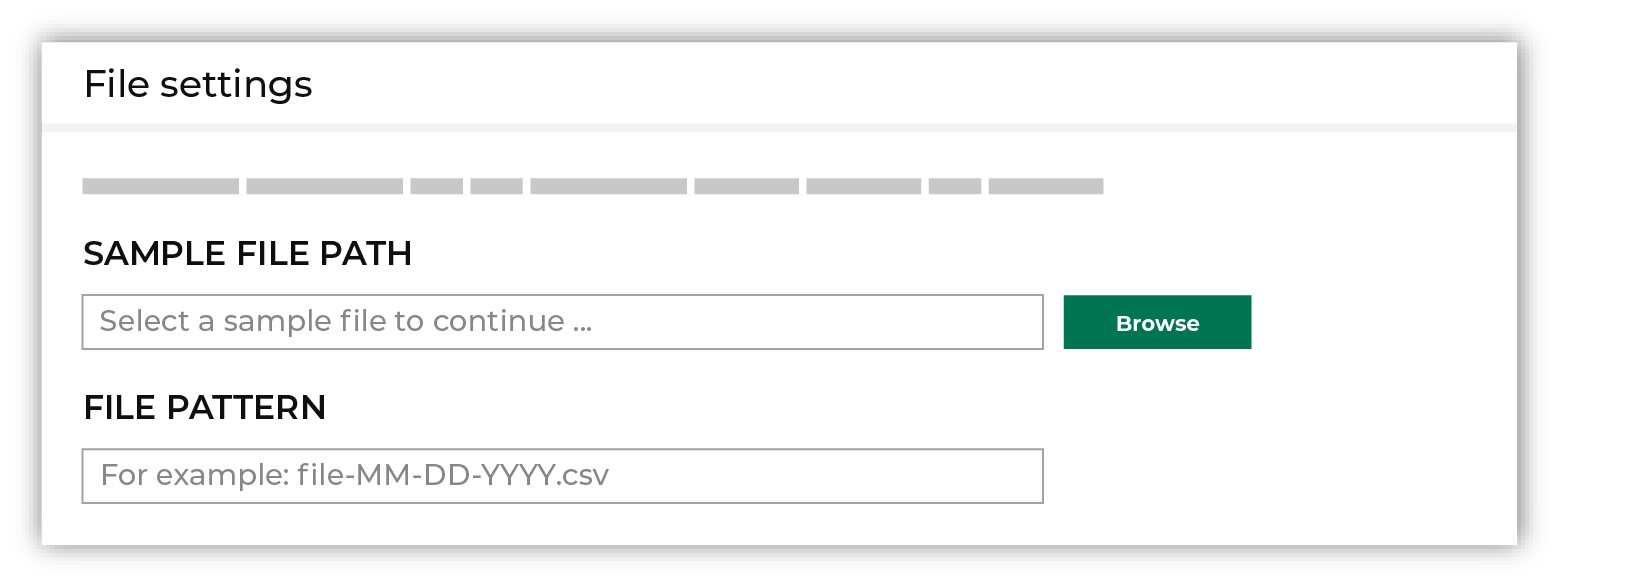
Click Browse to open the File browser. Select the file that is pulled to Amperity, and then click Accept. Use a filename pattern to define files that will be loaded on a recurring basis, but have small changes to the filename over time, such as having a datestamp appended to the filename. Note For a new data source, this file is also used as the sample file that is used to define the schema. For an existing data source, this file must match the schema that has already been defined. 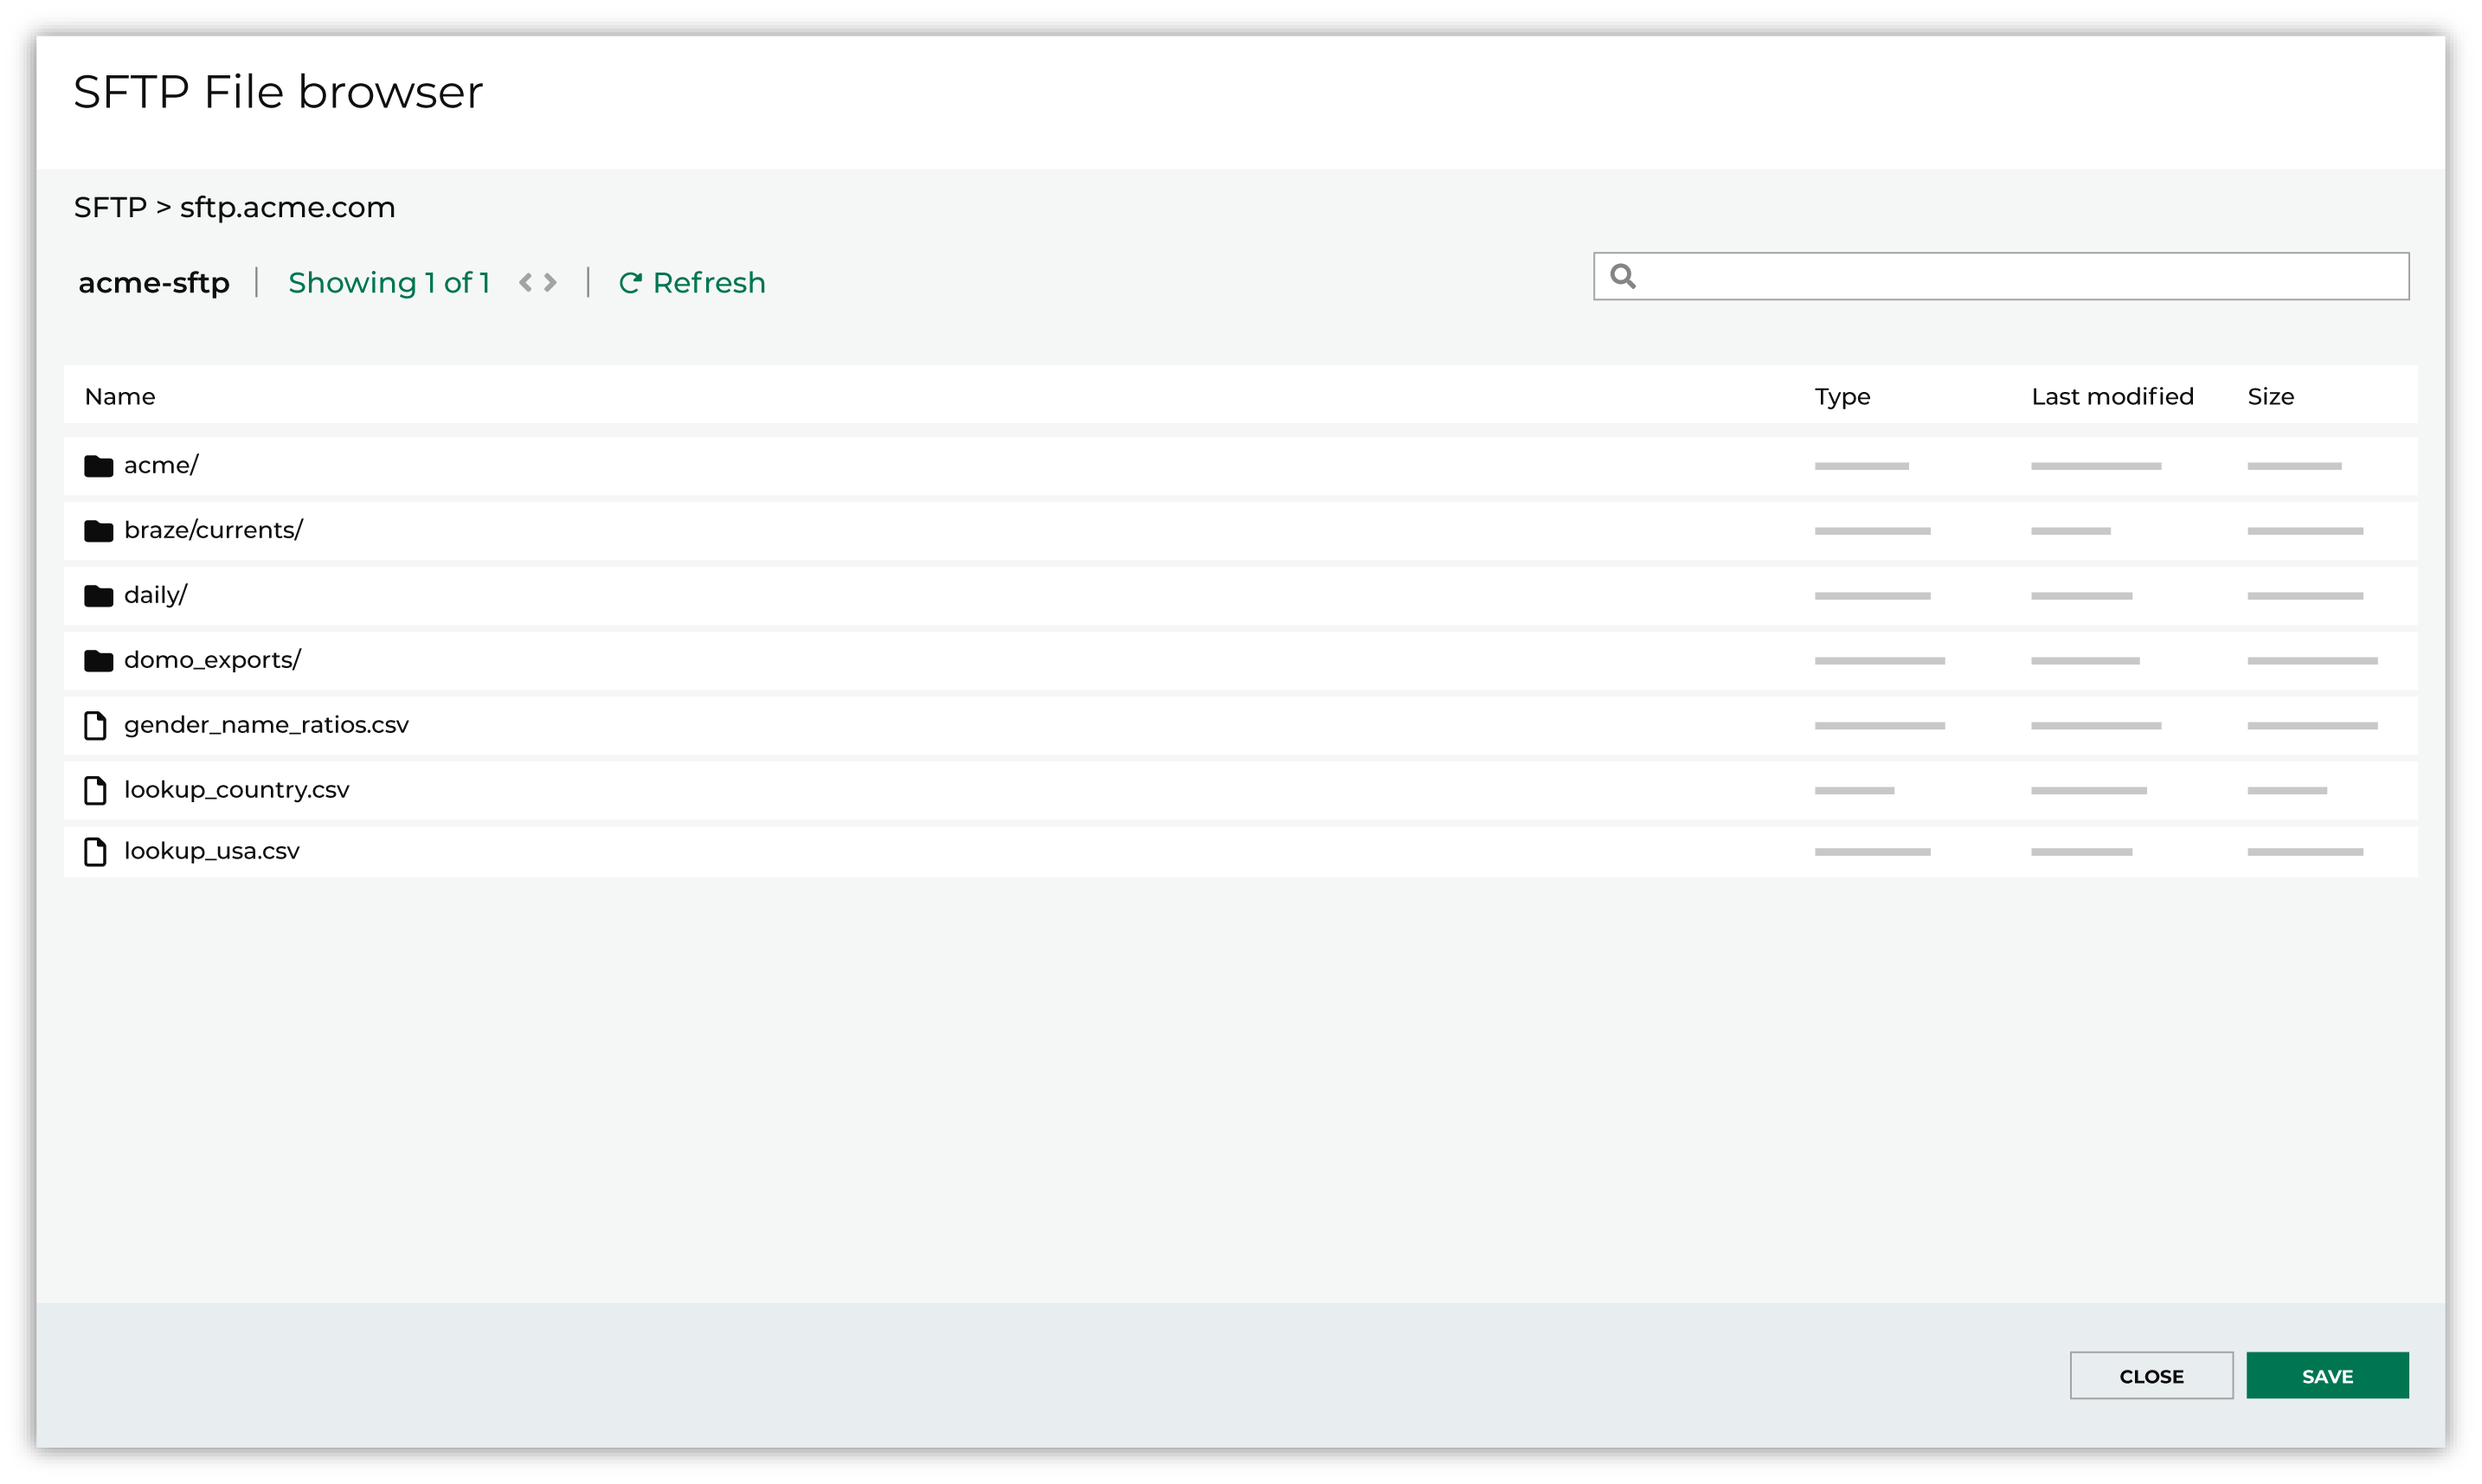
Use the PGP credential setting to specify the credentials to use for an encrypted file. 
|

|
Review the file. 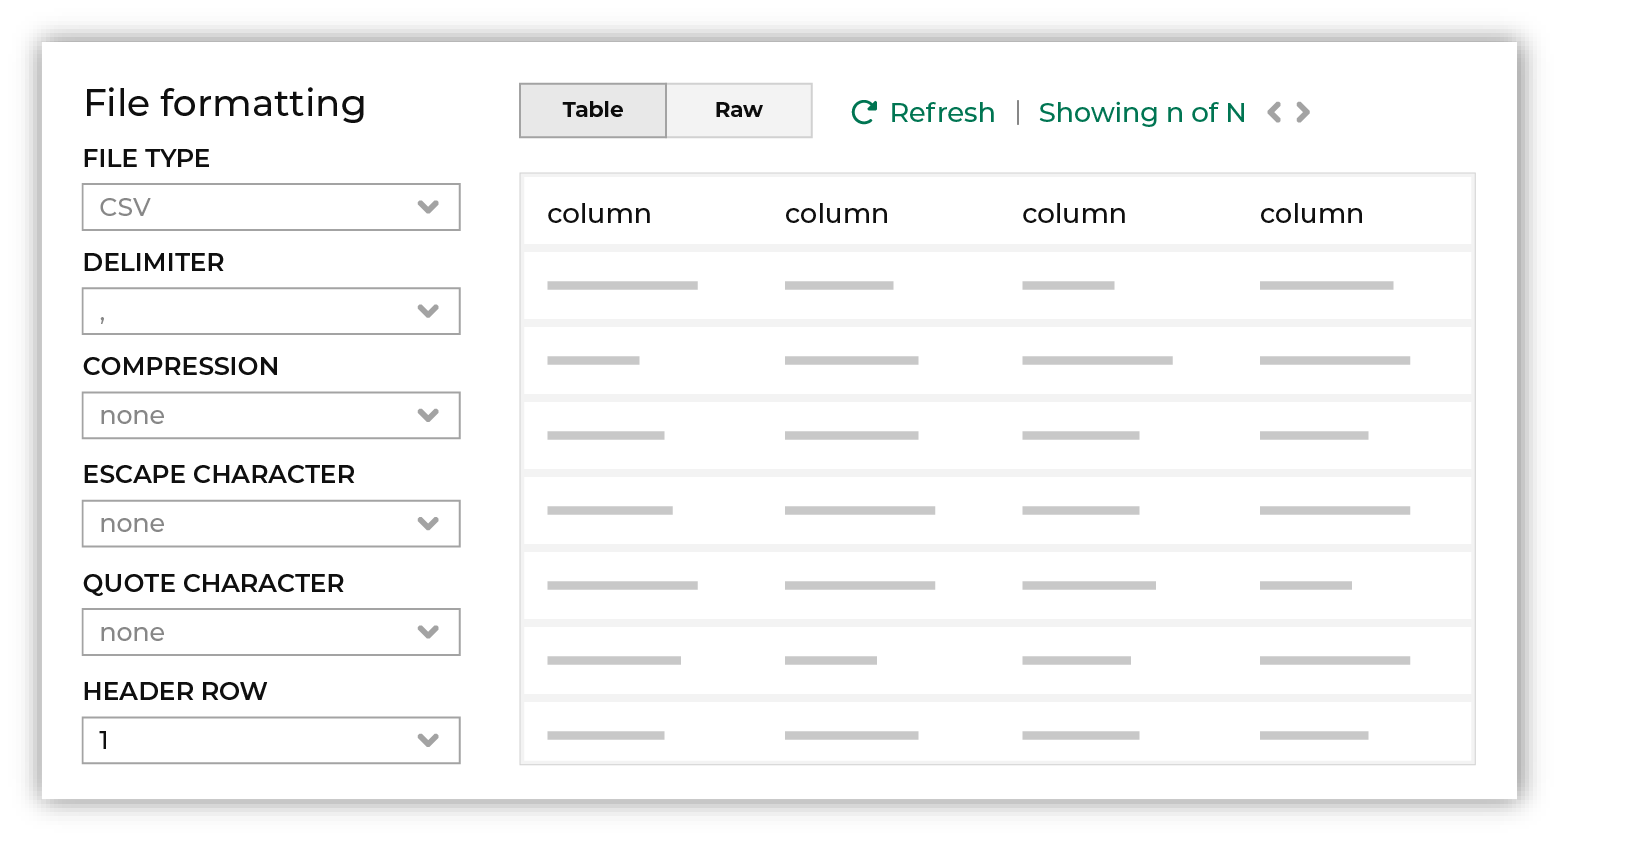
The contents of the file may be viewed as a table and in the raw format. Switch between these views using the Table and Raw buttons, and then click Refresh to view the file in that format. Note PGP encrypted files can be previewed. Apache Parquet PGP encrypted files must be less than 500 MB to be previewed. Amperity will infer formatting details, and then add these details to a series of settings located along the left side of the file view. File settings include:
Review the file, and then update these settings, if necessary. |

|
Each file that is loaded to Amperity must have a defined schema, after which the data in the file is loaded into a domain table ready for use with workflows within Amperity. New feed To use a new data source, choose the Create new feed option, select an existing source from the Source dropdown or type the name of a new data source, and then enter the name of the feed. 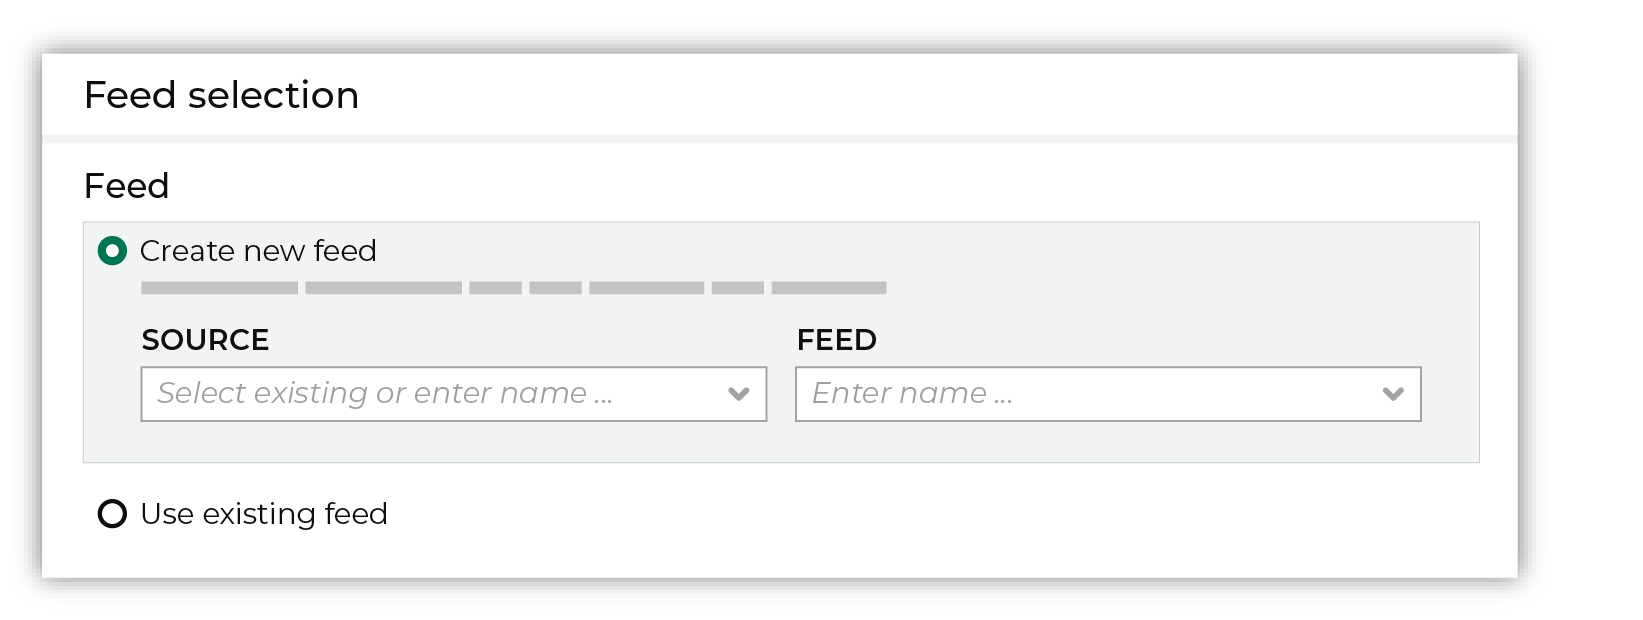
After you choose a load type and save the courier configuration, you will configure the feed using the data within the sample file. Existing feed To use an existing feed, choose the Use existing feed option to use an existing schema. 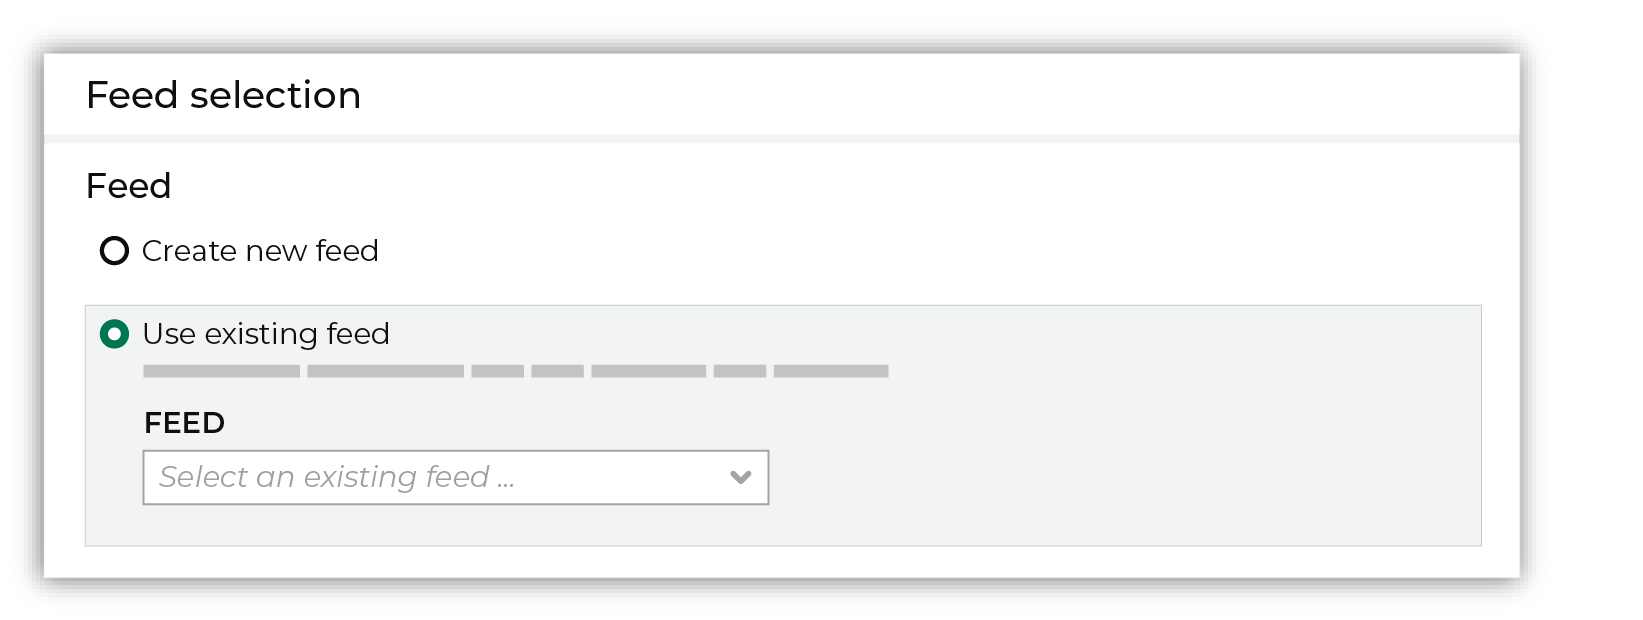
This option requires this file to match all of the feed-specific settings, such as incoming field names, field types, and primary keys. The data within the file may be different Pull data Define how Amperity will pull data from Optimizely and how it is loaded to a domain table. 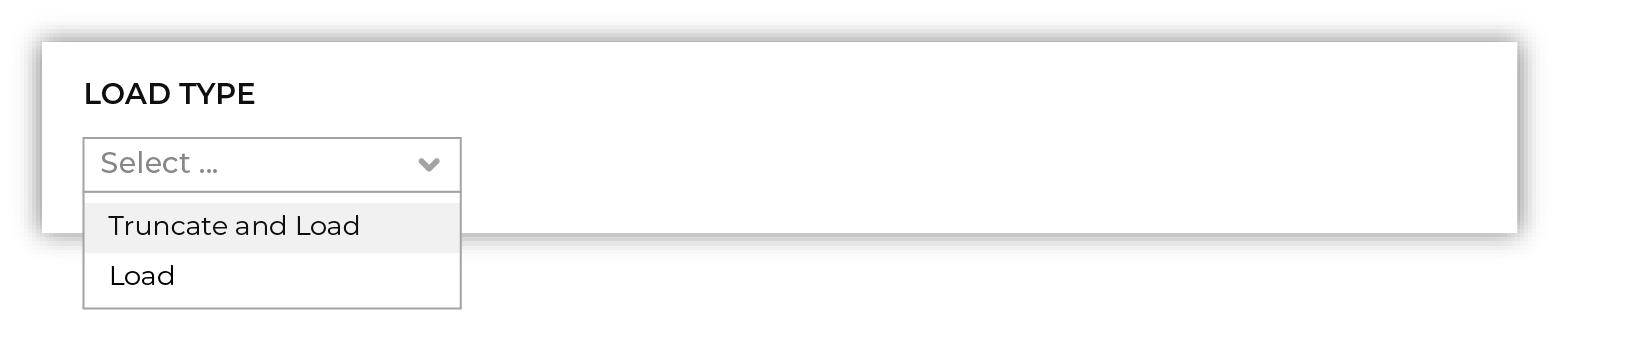
Use the Upsert option to use the selected file update existing records and insert records that do not exist. Use the Truncate and upsert option to delete all records in the existing table, and then insert records. Note When a file is loaded to a domain table using an existing file, the file that is loaded must have the same schema as the existing feed. The data in the file may be new. |

|
Use the feed editor to do all of the following:
When finished, click Activate. |

|
Find the courier related to the feed that was just activated, and then run it manually. On the Sources page, under Couriers, find the courier you want to run and then select Run from the actions menu. 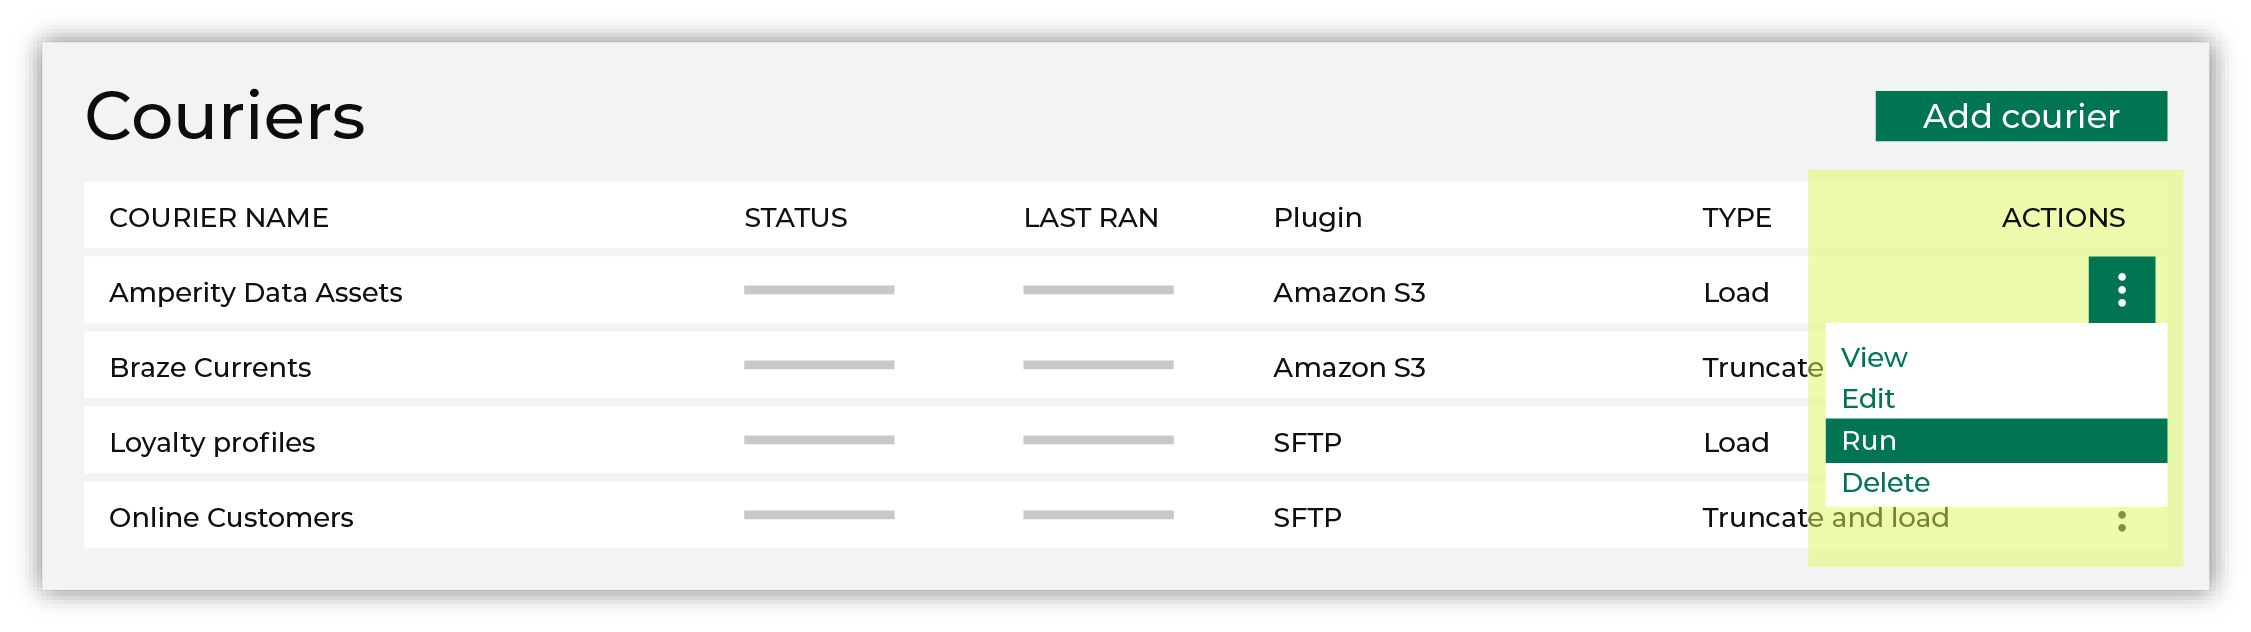
Select a date from the calendar picker that is before today, but after the date on which the file was added to the Optimizely file system. 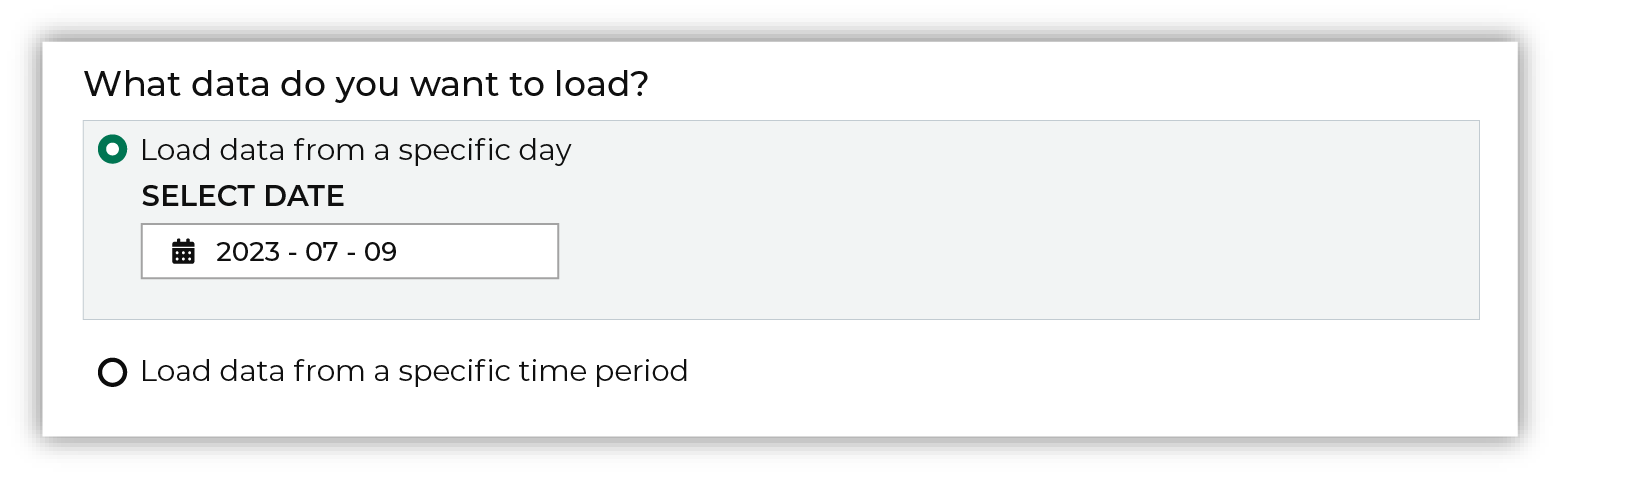
Leave the load options unselected, and then click Run. After the courier has run successfully, inspect the domain table that has the data that was loaded to Amperity. After you have verified that the data is correct, you may do any of the following:
|