
Send data to Panda Printing
Panda Printing creates high-quality print and promotional products for businesses of all sizes. If you can think of it, they can print it.
Amperity can be configured to send CSV files to Panda Printing.
Get details
Review the following details before configuring credentials for Panda Printing and before configuring Amperity to send CSV files to Panda Printing.

|
Credential settings Credentials for Panda Printing require a “username” and “passphrase”. Set the hostname to “pandareno.smartfile.com”. |
|
|
Required configuration settings
Note All other Amperity file format settings for Panda Printing are optional. |
Configure credentials
Configure credentials for Panda Printing before adding a destination.
An individual with access to Panda Printing should use SnapPass to securely share “username”, “hostname”, and “passphrase” details with the individual who will configure Amperity.
To configure credentials for Panda Printing

|
From the Settings page, select the Credentials tab, and then click the Add credential button. |

|
In the Credentials settings dialog box, do the following: From the Plugin dropdown, select Panda Printing. Assign the credential a name and description that ensures other users of Amperity can recognize when to use this destination. |

|
The settings that are available for a credential are determined by the credential type. For the “panda-printing” credential type, configure settings, and then click Save.
|
Add destination
Use a sandbox to configure a destination for Panda Printing. Before promoting your changes, send a test audience, and then verify the the results in Panda Printing. After the end-to-end workflow has been verified, push the destination from the sandbox to production.
To add a destination for Panda Printing
|
|
Open the Destinations page, and then click the Add destination button. 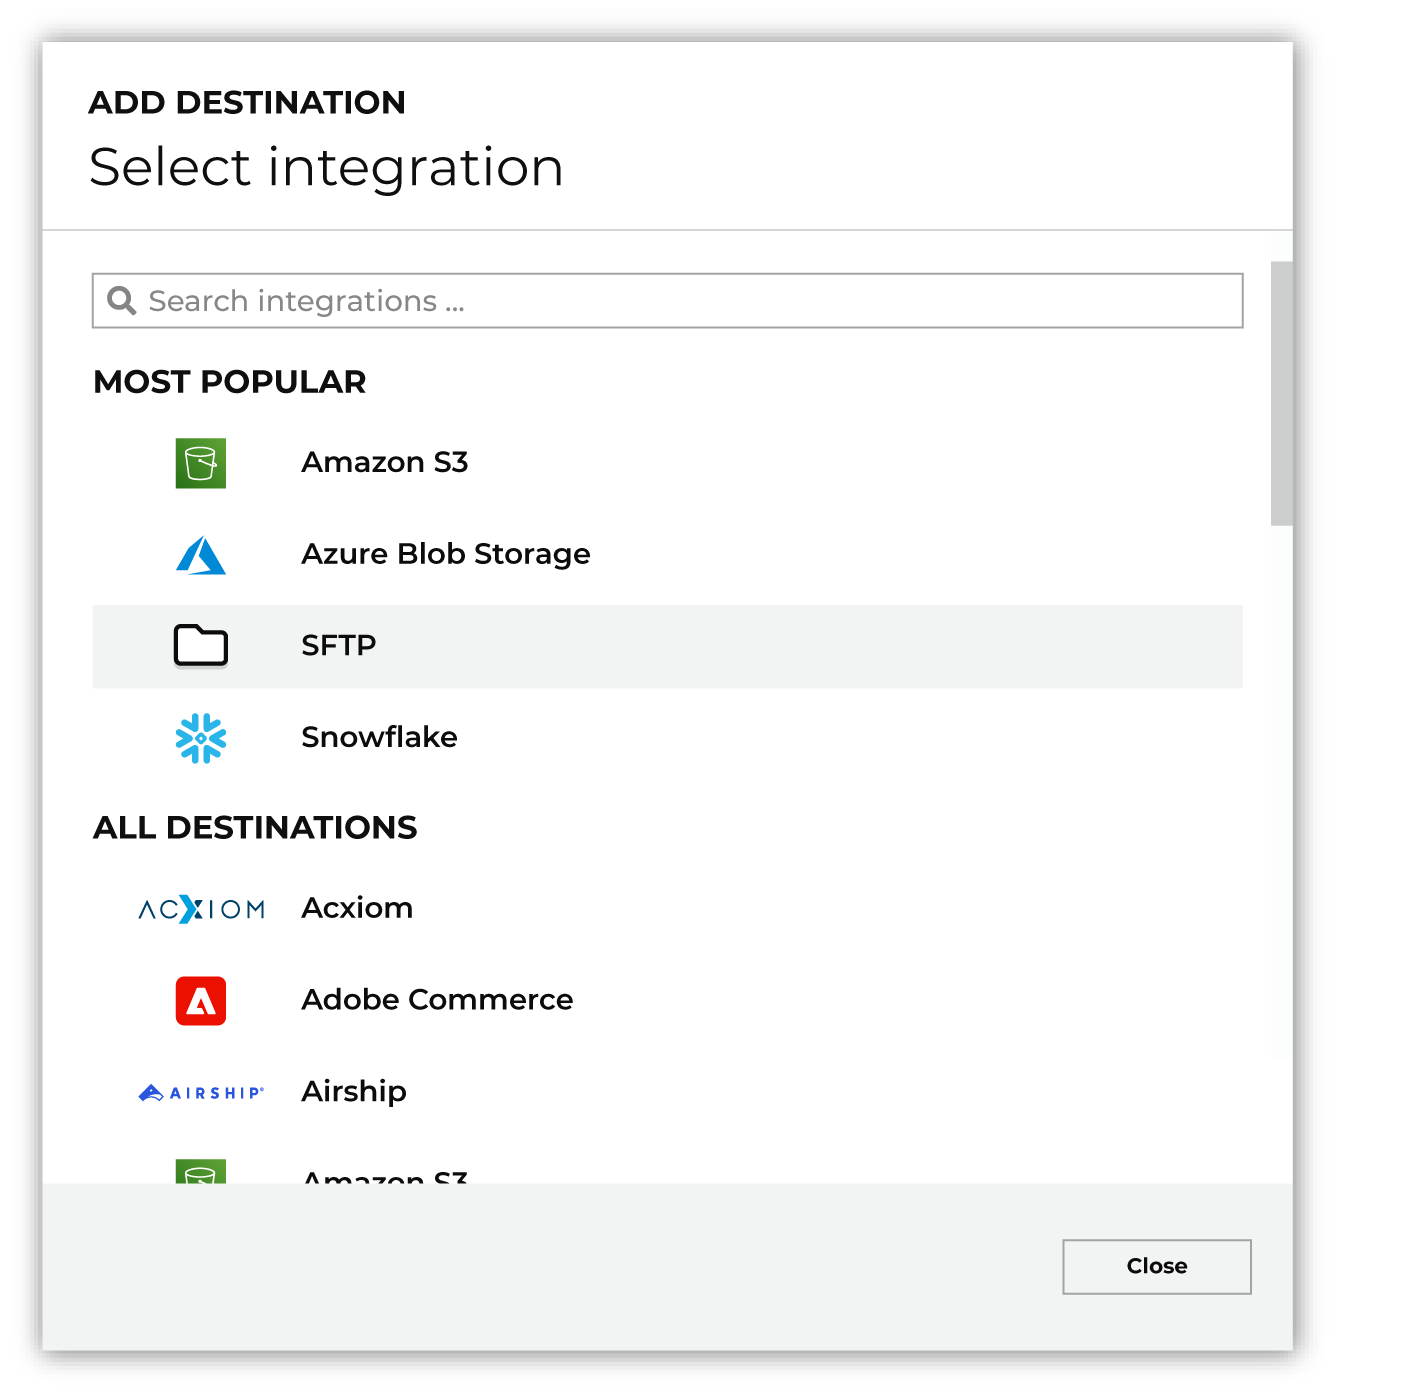
To configure a destination for Panda Printing, do one of the following:
|
|
|
Select the credential for Panda Printing from the Credential drop-down, and then click Continue. Tip Click the “Test connection” link on the “Configure destination” page to verify that Amperity can connect to Panda Printing. |
|
|
In the “Destination settings” dialog box, assign the destination a name and description that ensures other users of Amperity can recognize when to use this destination. Configure business user access By default a destination is available to all users who have permission to view personally identifiable information (PII). Enable the Admin only checkbox to restrict access to only users assigned to the Datagrid Operator and Datagrid Administrator policies. Enable the PII setting checkbox to allow users with limited access to PII access to this destination. Restricted PII access is enabled when the Restrict PII access policy option that prevents users who are assigned to that option from viewing data that is marked as PII anywhere in Amperity and from sending that data to any downstream workflow. |

|
Configure the following settings, and then click “Save”.
|

|
After this destination is configured, users may configure Amperity to:
to Panda Printing. |