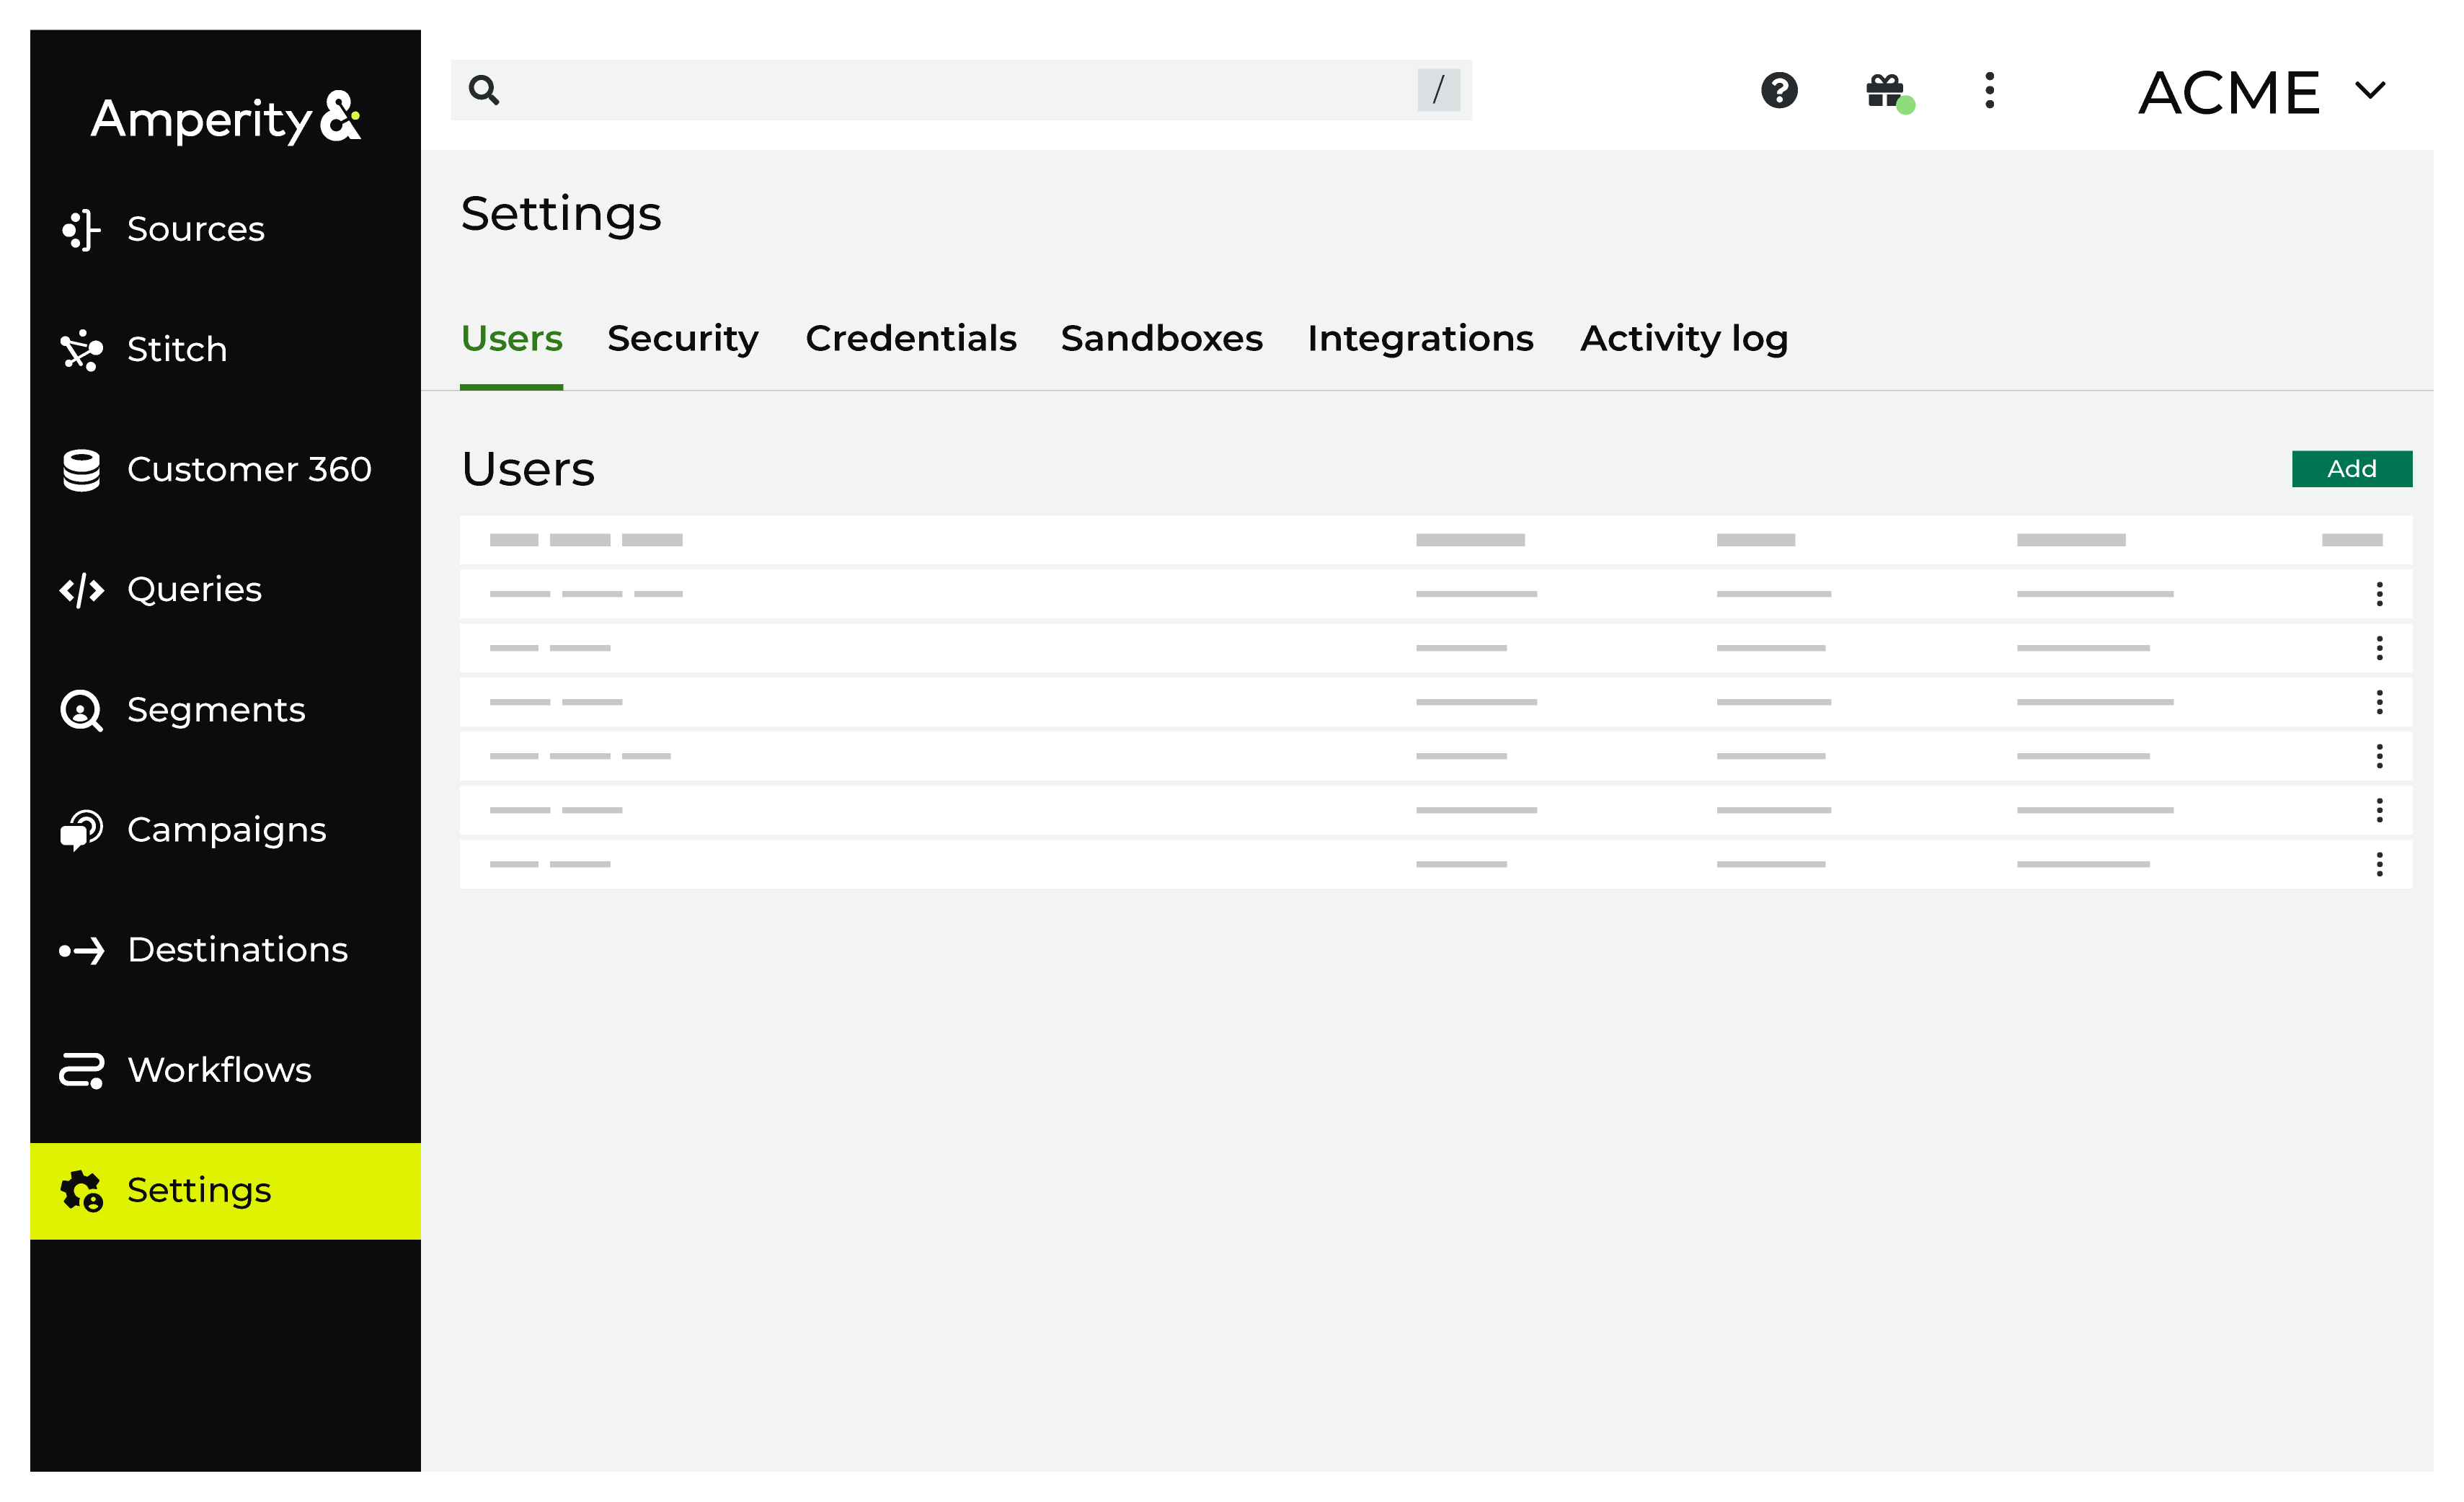
About users and activity
All of the users and all of their associated activity can be viewed and managed from a single page in the Amperity admin user interface. User access to Amperity is managed in two steps:
Authentication determines and validates who the user is.
Authorization determines what that user is allowed to do.
An unauthorized user may not access Amperity; an authorized user may only view and interact with what their policy allows.
Manage Users
The Users section allows users assigned to the User Administrator policy option to self-service the management of individual users who have access to your tenant. Please contact your Amperity account representative if you have lost access to your User Administrator account.
Add users
Before a user can log into Amperity they must be added and a policy must be assigned to them. The Amperity admin interface allows users to be managed directly using name and password authentication.
To add a user
Open the Users & Activity tab.
Click Add User. This opens the Add User dialog box.
Enter the user’s full name (e.g. “Justin Currie”) and the email address with which they will log into Amperity (e.g. “justin.currie@amperity.com”). Only users from a known domain are allowed to access Amperity.
Select the policy to which this user will be assigned.
Select a resource group to which this user will be assigned.
Be sure to send the user a welcome to Amperity email. (This is enabled by default.)
Click Save.
Delete users
All users who should no longer be allowed access to Amperity should be deleted. This will delete the user for all tenants to which that user is assigned. Use the revoke tenant access process to delete a user from a tenant when that user has access to more than one tenant.
To delete a user
Open the Users & Activity tab.
Under Users, from the list of users, select the ellipses menu, and then click Delete.
Edit users
If the details for a user change, such as changing the policy to which they are associated, their details may be updated.
To edit a user
Open the Users & Activity tab.
Under Users, from the list of users, select the ellipses menu, and then click Edit. The Edit User dialog box opens.
Make your changes.
Click Save.
Revoke tenant access
Amperity users may have access to more than one tenant in Amperity. For example when two brands are managed as separate tenants. If a user has access to more than one set of data, access to an individual tenant may be revoked, which will prevent the user from being able to access this tenant. Access to any other tenant to which that user is assigned remains unchanged.
To revoke tenant access
Open the Users & Activity tab.
Under Users, from the list of users, select the ellipses menu, and then click Revoke tenant access.
Allowlist domains
Only users from a known domain are allowed to access Amperity. Amperity maintains a list of approved domains for all users. This acts as an additional step to verify that all users are approved users. Any user that is created with an unknown domain will be automatically denied.
To allowlist a domain
Open the Users & Activity tab.
Under Users click Add User. The Create User dialog box opens.
Under the Email box, click the Domain link. The Request to Allowlist a Domain dialog box opens.
Add the domain for which the request is being made, and then specify the reason why it should be allowlisted.
Click Send.
About SSO group mappings
Amperity supports the use of single sign-on (SSO) to manage the users who can access your tenant.
About resource groups
A resource group represents one or more databases in the Customer 360 tab. Users with access to a resource group can build queries and segments against that database and can send data from that database to downstream workflows.
“All resource groups”
Amperity includes one default resource group: “All resource groups”.
Users that are granted access to the “All resource groups” resource group are allowed to interact with all of the databases in the Customer 360 tab.
Custom resource groups
Use a custom resource group to support any combination of team member access to brand-specific databases.
Note
Users who are associated with a custom resource group cannot access the Sources tab. (The Sources tab requires users to be able to access all data available to the tenant.)
Users who are associated with a custom resource group may be able to view the Stitch tab (depending on their policy), but will not be able to view personally identifiable information (PII).
To add a custom resource group
As a user with Admin privileges, open the Users & Activity tab.
Next to Resource Groups, click Add Resource Group.
Enter the name of the custom resource group and a description.
Click Save.
Assign users to resource groups
Assign a user to a policy, and then associate that policy to a resource group. A user may be assigned to more than one policy. A policy may be associated with any resource group.
Assign users to policies and resource groups when they are added to Amperity. This can be done using the Amperity UI or from your identity provider (IdP) when managing users with SSO group mappings.
Database permissions
A database may be associated with a single custom resource group. A custom resource group may be associated with more than one database.
Note
A database is always associated with the “All resource groups” resource group.
A database that is assigned permission to a custom resource group allows users associated with that resource group to:
View that database from the Customer 360 tab.
View all tables in that database.
Configure database exports from that database.
Build segments and queries that run against that database.
Design campaigns that send the results of segments to downstream workflows.
Use destinations to send the results of queries to downstream workflows.
Note
Users who are associated with the “All resource groups” resource group are allowed to add and edit databases in the Customer 360 tab and run Spark SQL queries against all of the data in the tenant.
To set database permissions for a custom resource group
From the Customer 360 tab, under All Databases, click the ellipses menu for a database, and then click Change Permissions. This opens the Permissions dialog box.
Click Standard Access, and then select a custom resource group from the drop-down list.
Click Save.
Multi-brand tenants
Use a combination of custom resource groups to define how teams in your organization can interact with brand databases in Amperity, where each custom resource represents a brand.
For example, a tenant with multiple brands, a global analytics team, multiple brand-specific teams, and multiple databases can:
Configure a policy for the global analytics team and assign the policy to the “All resource groups” resource group.
Define a custom resource group for the owners of brand A, and then configure these owners with a policy that is assigned to the brand A resource group.
Define a custom resource group for the owners of brand B, and then configure these owners with a policy that is assigned to the brand B resource group.
Configure the database for brand A for permissions to the custom resource group associated with brand A.
Configure the database for brand B for permissions to the custom resource group associated with brand B.
This will allow members of the global analytics team to access the databases for brands A and B while ensuring that brand owners can only access their brand’s database.
About BI Connect
Business Intelligence Connect is an Amperity-managed cloud data warehouse that provides an easy-to-access location from which you can use any BI tool to access all of your Amperity data.
Important
Business Intelligence Connect is licensed for presentation of Amperity-sourced data within BI tools and contexts. It is not meant to be a general data warehouse solution.
Loading data into the Business Intelligence Connect data warehouse from sources other than Amperity is considered out-of-license. Customers that wish to load data to the Business Intelligence Connect data warehouse from other data sources should contact their Amperity account team to discuss options.
Business Intelligence Connect is available upon request for Amperity tenants who have licensed Amp360. After the data warehouse for Business Intelligence Connect is configured by Amperity for your tenant, you can send data from Amperity to the data warehouse, and then connect any of your BI tools to that data.
About user activity
Amperity keeps records of all user activity, when the user does the following actions:
A user views personally identifiable information (PII)
Personally identifiable information (PII) leaves the Amperity platform
Changes are made to a user’s authorization
All activity may be downloaded to a CSV file and individual event, user, and object IDs may be copied.
The activity list displays the following columns:
Date The date and time of the action (displayed in your local time-zone).
User The user who took the action. For most users, this is that user’s friendly name or email address. An auth token is displayed for users that accesses Amperity programatically.
Action The action taken in the application. Generally this will take the form of “action type/action”. For example, activating a segment appears as “segment/activate” and running a segment for download appears as “query.exec/download”.
Note
A few actions in the list are not user-triggered. For example, when a user is granted a new authorization policy, both the grant and the receipt appear on separate rows, so the recipient appears as an attributed action that was triggered by the grantor.
Object The object against which the action occurred.
For example, if a user ran a segment, that segment’s name is displayed. If a user sent a segment to a destination, both the name of the segment and the destination name will be displayed. If the user was the recipient of a new authorization policy, the policy name will be displayed.
This list can be expanded to display a larger set of data by clicking Show More button at the bottom of the list. Click any header to sort by column.
To download all user activity
From the ellipses menu in the top right, click Users & Activity.
Under Activity click Download.
A CSV file named events-yyyy-mm-dd-timestamp.csv is downloaded.
To copy activity IDs
Open the Users & Activity tab.
Under Activity, from the row for which you want to copy IDs, select the ellipses menu, and then click Copy Event ID, Copy Object ID, or Copy User ID.
Activity downloads
The first row of the user activity file contains the following column headers, and then a row for each tracked event:
column name |
Description |
---|---|
event-id |
The Amperity internal identifier for the event. This can be used to request additional information about the event, if needed. |
event-type |
Appears in the activity list as the Action column. |
happened-at |
The time the user triggered the action. Appears in the activity list as the Date column. Note The downloaded date and time are in GMT, where the UI displays the same information in the local timezone. |
recorded-at |
The time at which the system recorded the action. May be slightly different than happened-at time due to the asynchronous nature of Amperity. |
principal-id |
The identifier of the user who triggered the action, where user be an API key or other non-human user. This does not appear directly in the activity list. |
principal-name |
The friendly name of the user, if available, otherwise the email address or API key. Appears in the activity list as the User column. |
principal-email |
The email address of the user. May be NULL when the user is an API key. |
external-id |
Internal value only; always NULL in downloaded log files. |
source |
The component within Amperity that added the log entry. This is not always the component that triggered the action itself. |
object |
The identifier for the object for which the action occurred. |
object-name |
A composed string that describes the object(s) for which the action occurred. Appears in the activity list as the Object column. |
origin-ip |
The IP address of the user who triggered the event. |