Configure destinations for Azure Blob Storage
Microsoft Azure Blob Storage can store data files of any size for any file format supported by Amperity.
Configure Amperity to send Apache Parquet (recommended), CSV, JSON, NDJSON, PSV, or TSV files to any Azure Blob Storage container.
Get details
Review the following details before configuring credentials for Azure Blob Storage and before configuring Amperity to send Apache Parquet (recommended), CSV, JSON, NDJSON, PSV, or TSV files to any Azure Blob Storage container.

|
Azure Blob Storage container details You need to know the following details about the Azure Blob Storage container to which Amperity sends data.
|
|
|
Credential types and settings Amperity supports the following credential types for Azure Blob Storage: |
|
|
Required configuration settings File format
Note All other Amperity file format settings for Azure Blob Storage are optional. |
Configure credentials
Configure credentials for Azure Blob Storage before adding a destination.
Amperity supports the following credential types for Azure Blob Storage:
An individual with access to Azure Blob Storage should use SnapPass to securely share “azure-blob-connection-string”, “azure-blob-shared-access-signature”, or “azure-blob-storage-uri” details with the individual who configures Amperity.
Connection string
A connection string includes the information that allows Amperity to access your Azure Blob Storage account.
To configure credentials using a connection string

|
From the Settings page, select the Credentials tab, and then click the Add credential button. |
|
In the Credentials settings dialog box, do the following: From the Plugin dropdown, select Azure Blob Storage. Assign the credential a name and description that ensures other users of Amperity can recognize when to use this destination. From the Credential type dropdown, select azure-blob-connection-string. |
|
The settings that are available for a credential are determined by the credential type. For the azure-blob-connection-string credential type, configure the following settings, and then click Save. 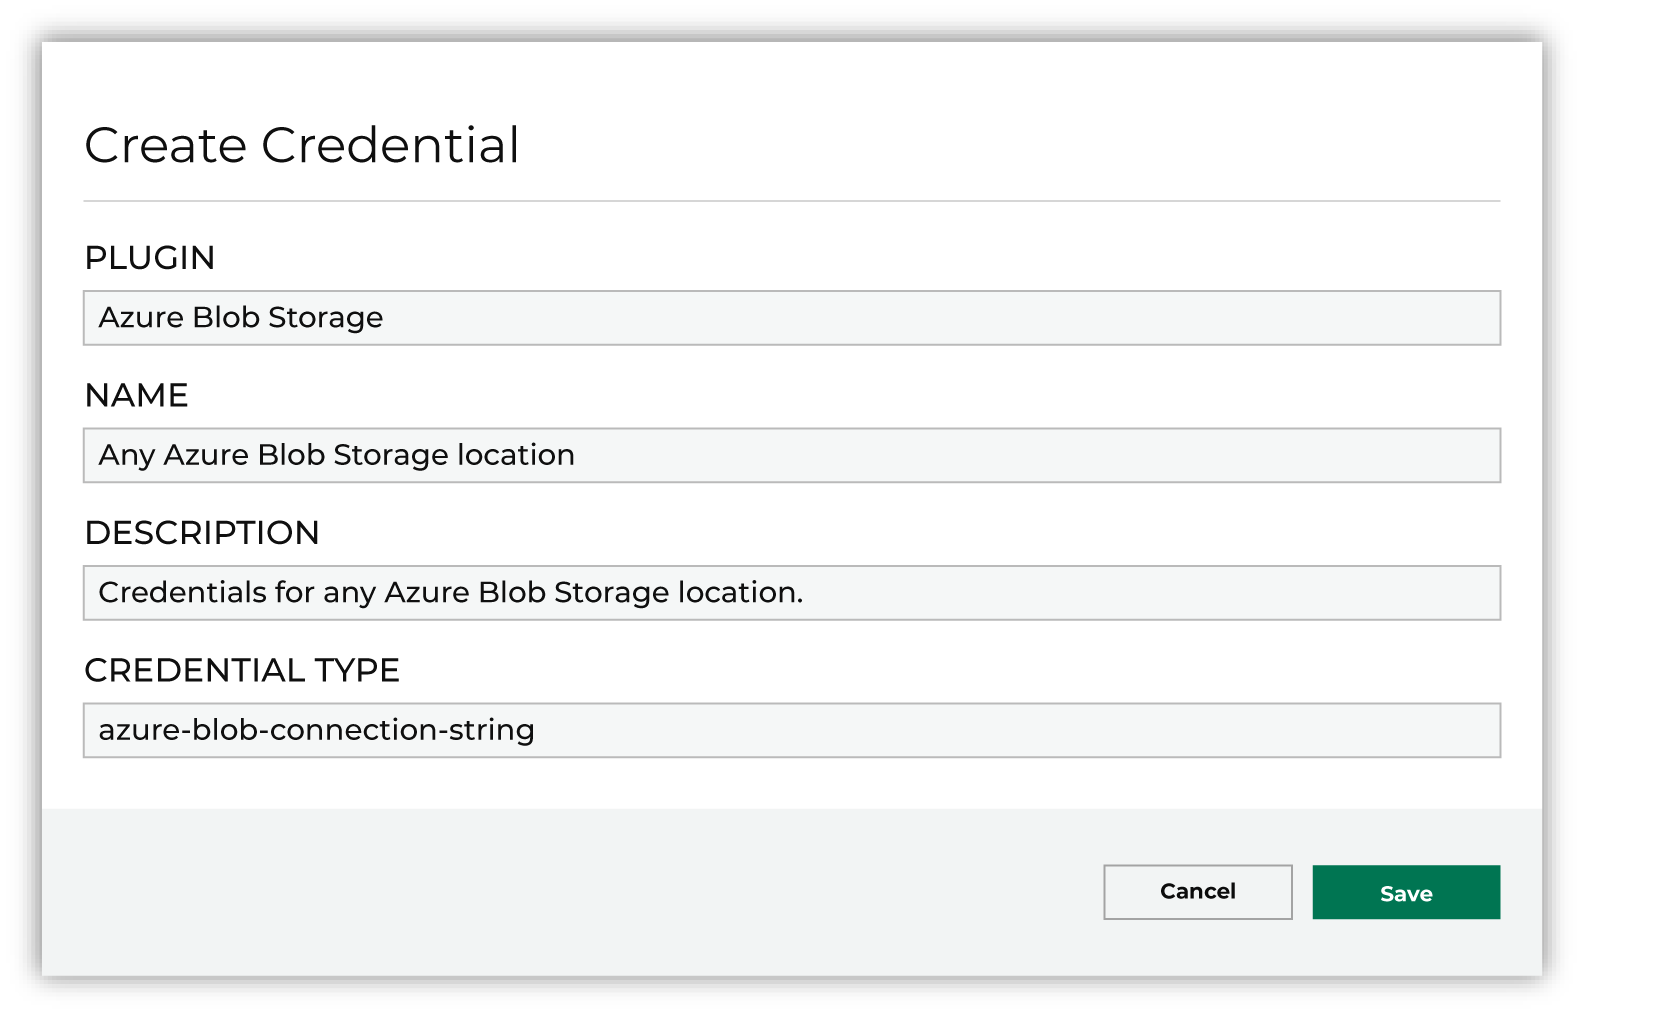
The settings that are available for a credential vary by credential type. For the “azure-blob-connection-string”, “azure-blob-shared-access-signature”, or “azure-blob-storage-uri” credential type, configure settings, and then click Save. Connection string
Container
|
Shared access signature
A service-level shared access signature (SAS) specifies which resources in your Azure Blob Storage account are accessible, what permissions that access allows on resources in the container, and the length of time for which the SAS token is valid.
Important
When Microsoft Azure is configured to use a shared access signature (SAS) to grant restricted access rights to Microsoft Azure storage resources, be sure to use the correct SAS token string for credentials within Amperity. Assign the SAS token the following permissions within Microsoft Azure: READ, ADD, CREATE, WRITE, DELETE, and LIST.
To configure credentials using a shared access signature
|
|
From the Settings page, select the Credentials tab, and then click the Add credential button. 
|
|
|
In the Credentials settings dialog box, do the following: From the Plugin dropdown, select Azure Blob Storage. Assign the credential a name and description that ensures other users of Amperity can recognize when to use this destination. From the Credential type dropdown, select azure-blob-shared-access-signature. |
|
|
The settings that are available for a credential are determined by the credential type. For the azure-blob-shared-access-signature credential type, configure the following settings, and then click Save.
The settings that are available for a credential vary by credential type. For the “azure-blob-connection-string”, “azure-blob-shared-access-signature”, or “azure-blob-storage-uri” credential type, configure settings, and then click Save. Account name
Container
Shared access signature
|
Storage URI
Each Azure Blob Storage resource has a storage URI , which has the name of the account and the name of the container in which blob storage is located.
To configure credentials using a storage URI
|
|
From the Settings page, select the Credentials tab, and then click the Add credential button. 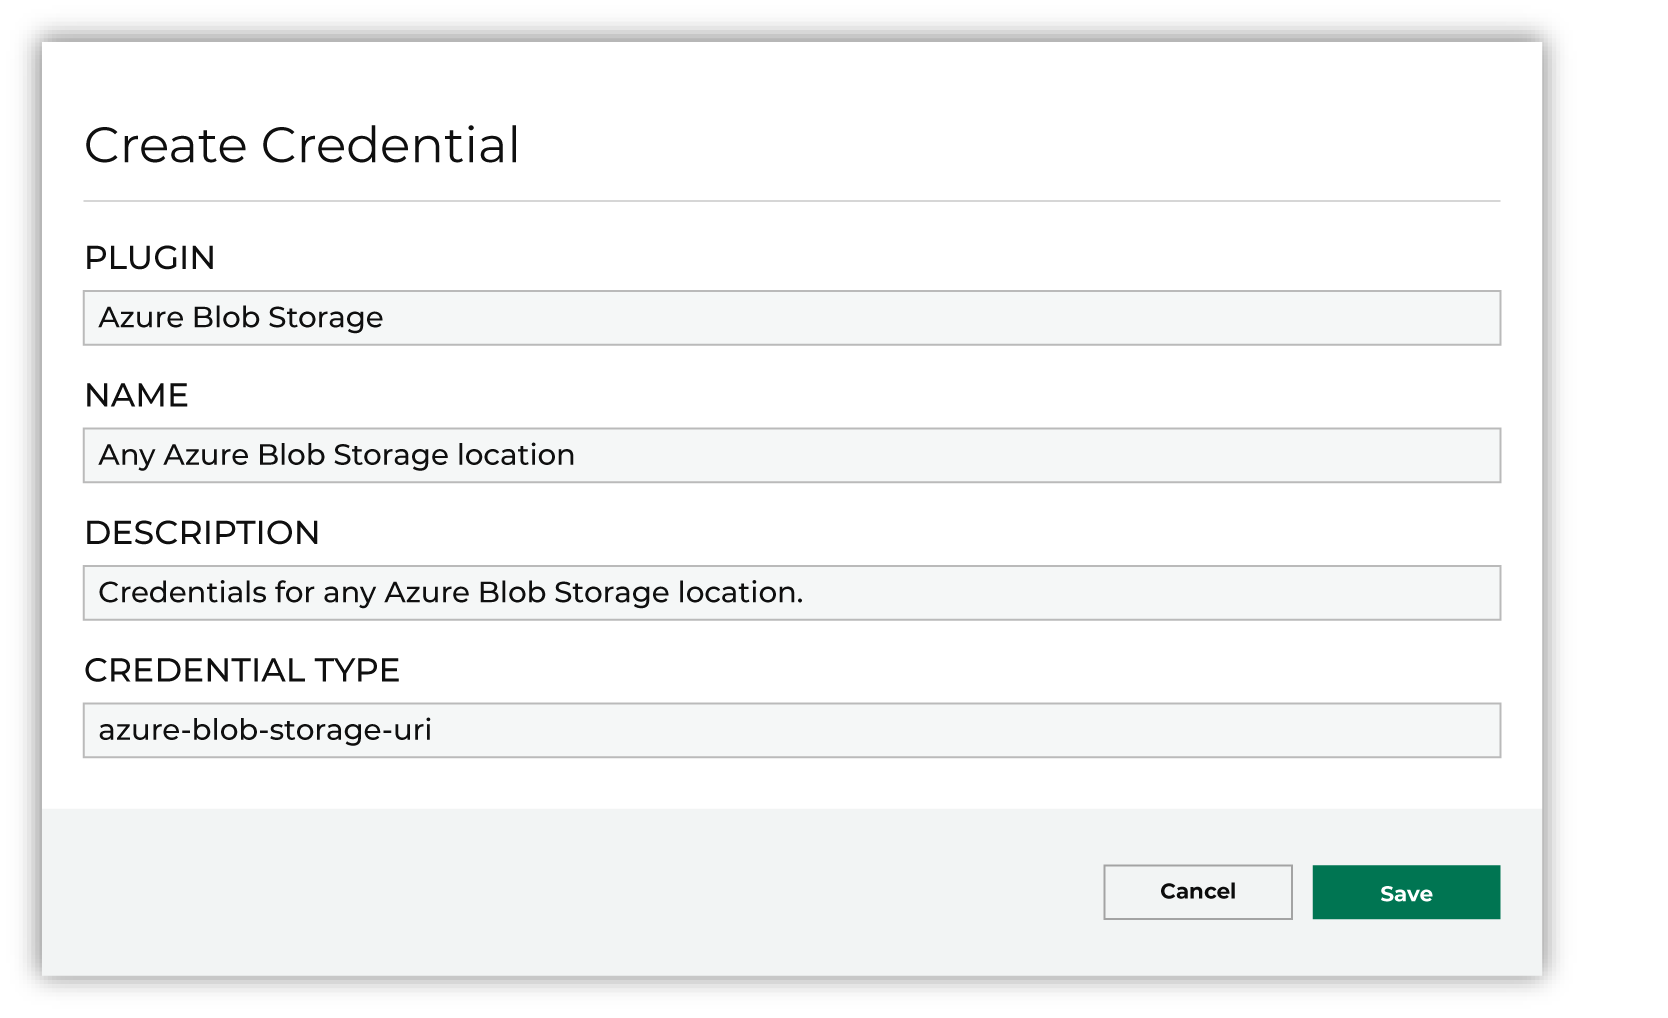
|
|
|
In the Credentials settings dialog box, do the following: From the Plugin dropdown, select Azure Blob Storage. Assign the credential a name and description that ensures other users of Amperity can recognize when to use this destination. From the Credential type dropdown, select azure-blob-storage-uri. |
|
|
The settings that are available for a credential are determined by the credential type. For the azure-blob-storage-uri credential type, configure the following settings, and then click Save.
The settings that are available for a credential vary by credential type. For the “azure-blob-connection-string”, “azure-blob-shared-access-signature”, or “azure-blob-storage-uri” credential type, configure settings, and then click Save. Container
Storage URI
|
Add destination
Use a sandbox to configure a destination for Azure Blob Storage. Before promoting your changes, send a sample audience, and then verify the results in Azure Blob Storage. After verifying the end-to-end workflow, push the destination from the sandbox to production.
To add a destination for Azure Blob Storage
|
|
Open the Destinations page, select the New destinations button, and then select Orchestration. 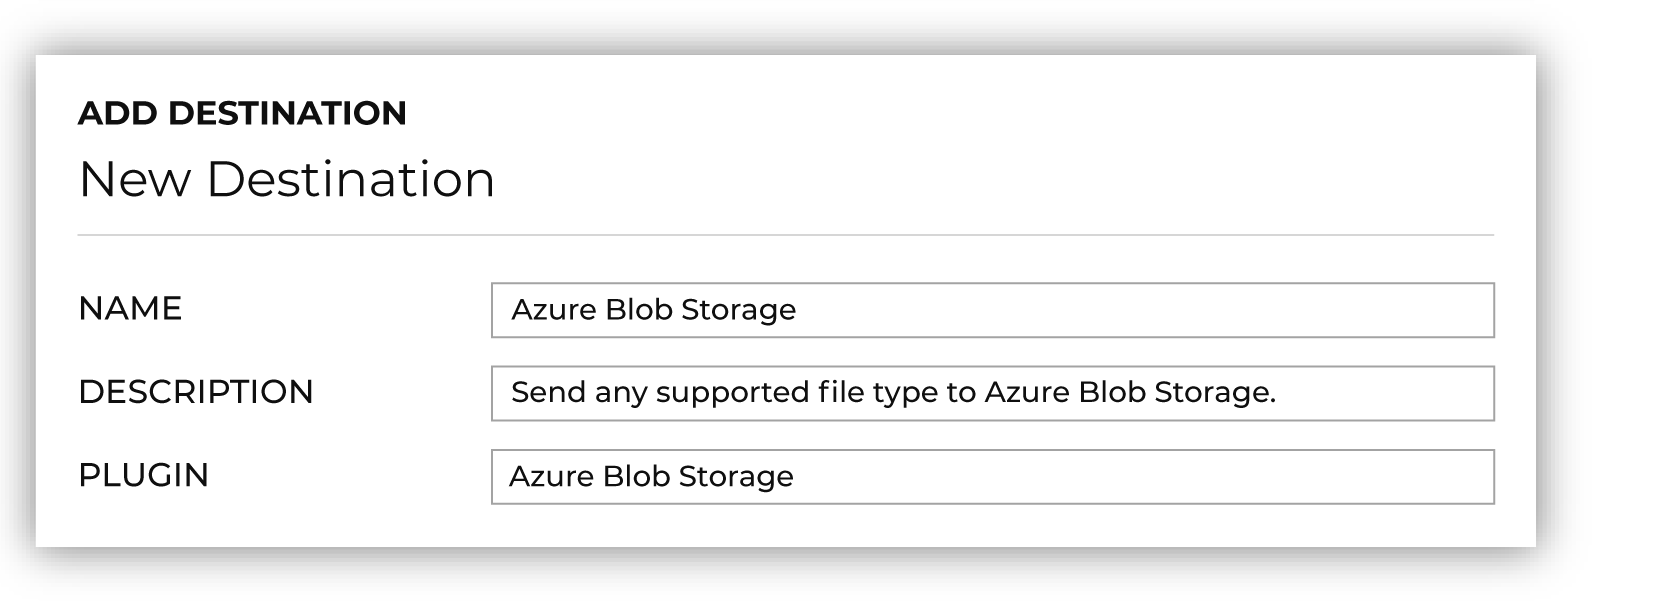
To configure a destination for Azure Blob Storage, do one of the following:
|
|
|
Select the credential for Azure Blob Storage from the Credential dropdown, and then click Continue. Tip Amperity validates the connection when the destination is saved. If the connection cannot be validated, an error is shown and the destination is not saved. |
|
|
In the “Destination settings” dialog box, assign the destination a name and description that ensures other users of Amperity can recognize when to use this destination. Configure business user access By default a destination is available to all users who have permission to view personally identifiable information (PII). Enable the Admin only checkbox to restrict access to only users assigned to the Datagrid Operator and Datagrid Administrator policies. Enable the PII setting checkbox to allow limited access to PII for this destination. Use the Restrict PII access policy option to prevent users from viewing data marked as PII anywhere in Amperity and from sending data to downstream workflows. |

|
Configure the following settings, and then click “Save”. Blob prefix
Compression
Escape character
File format
Filename template
Header
PGP public key
Quote mode
Success file
Split outputs
Use Zip64?
Row Number
|

|
After configuring this destination users may use:
|

|
Validate the audience with Azure Blob Storage by using a sample audience with a very small membership. For example: 10 or 100 members or the minimum audience size recommended by Azure Blob Storage. Send the sample audience to Azure Blob Storage and verify the sample audience is correct in Azure Blob Storage. Make adjustments if necessary. Only send full audiences after validation is complete. |
Workflow actions
A workflow will occasionally show an error that describes what prevented a workflow from completing successfully. These first appear as alerts in the notifications pane. The alert describes the error, and then links to the Workflows tab.
Open the Workflows page to review a list of workflow actions, choose an action to resolve the workflow error, and then follow the steps that are shown.
|
|
You may receive a notifications error for a configured Azure Blob Storage destination. This appears as an alert in the notifications pane on the Destinations tab. 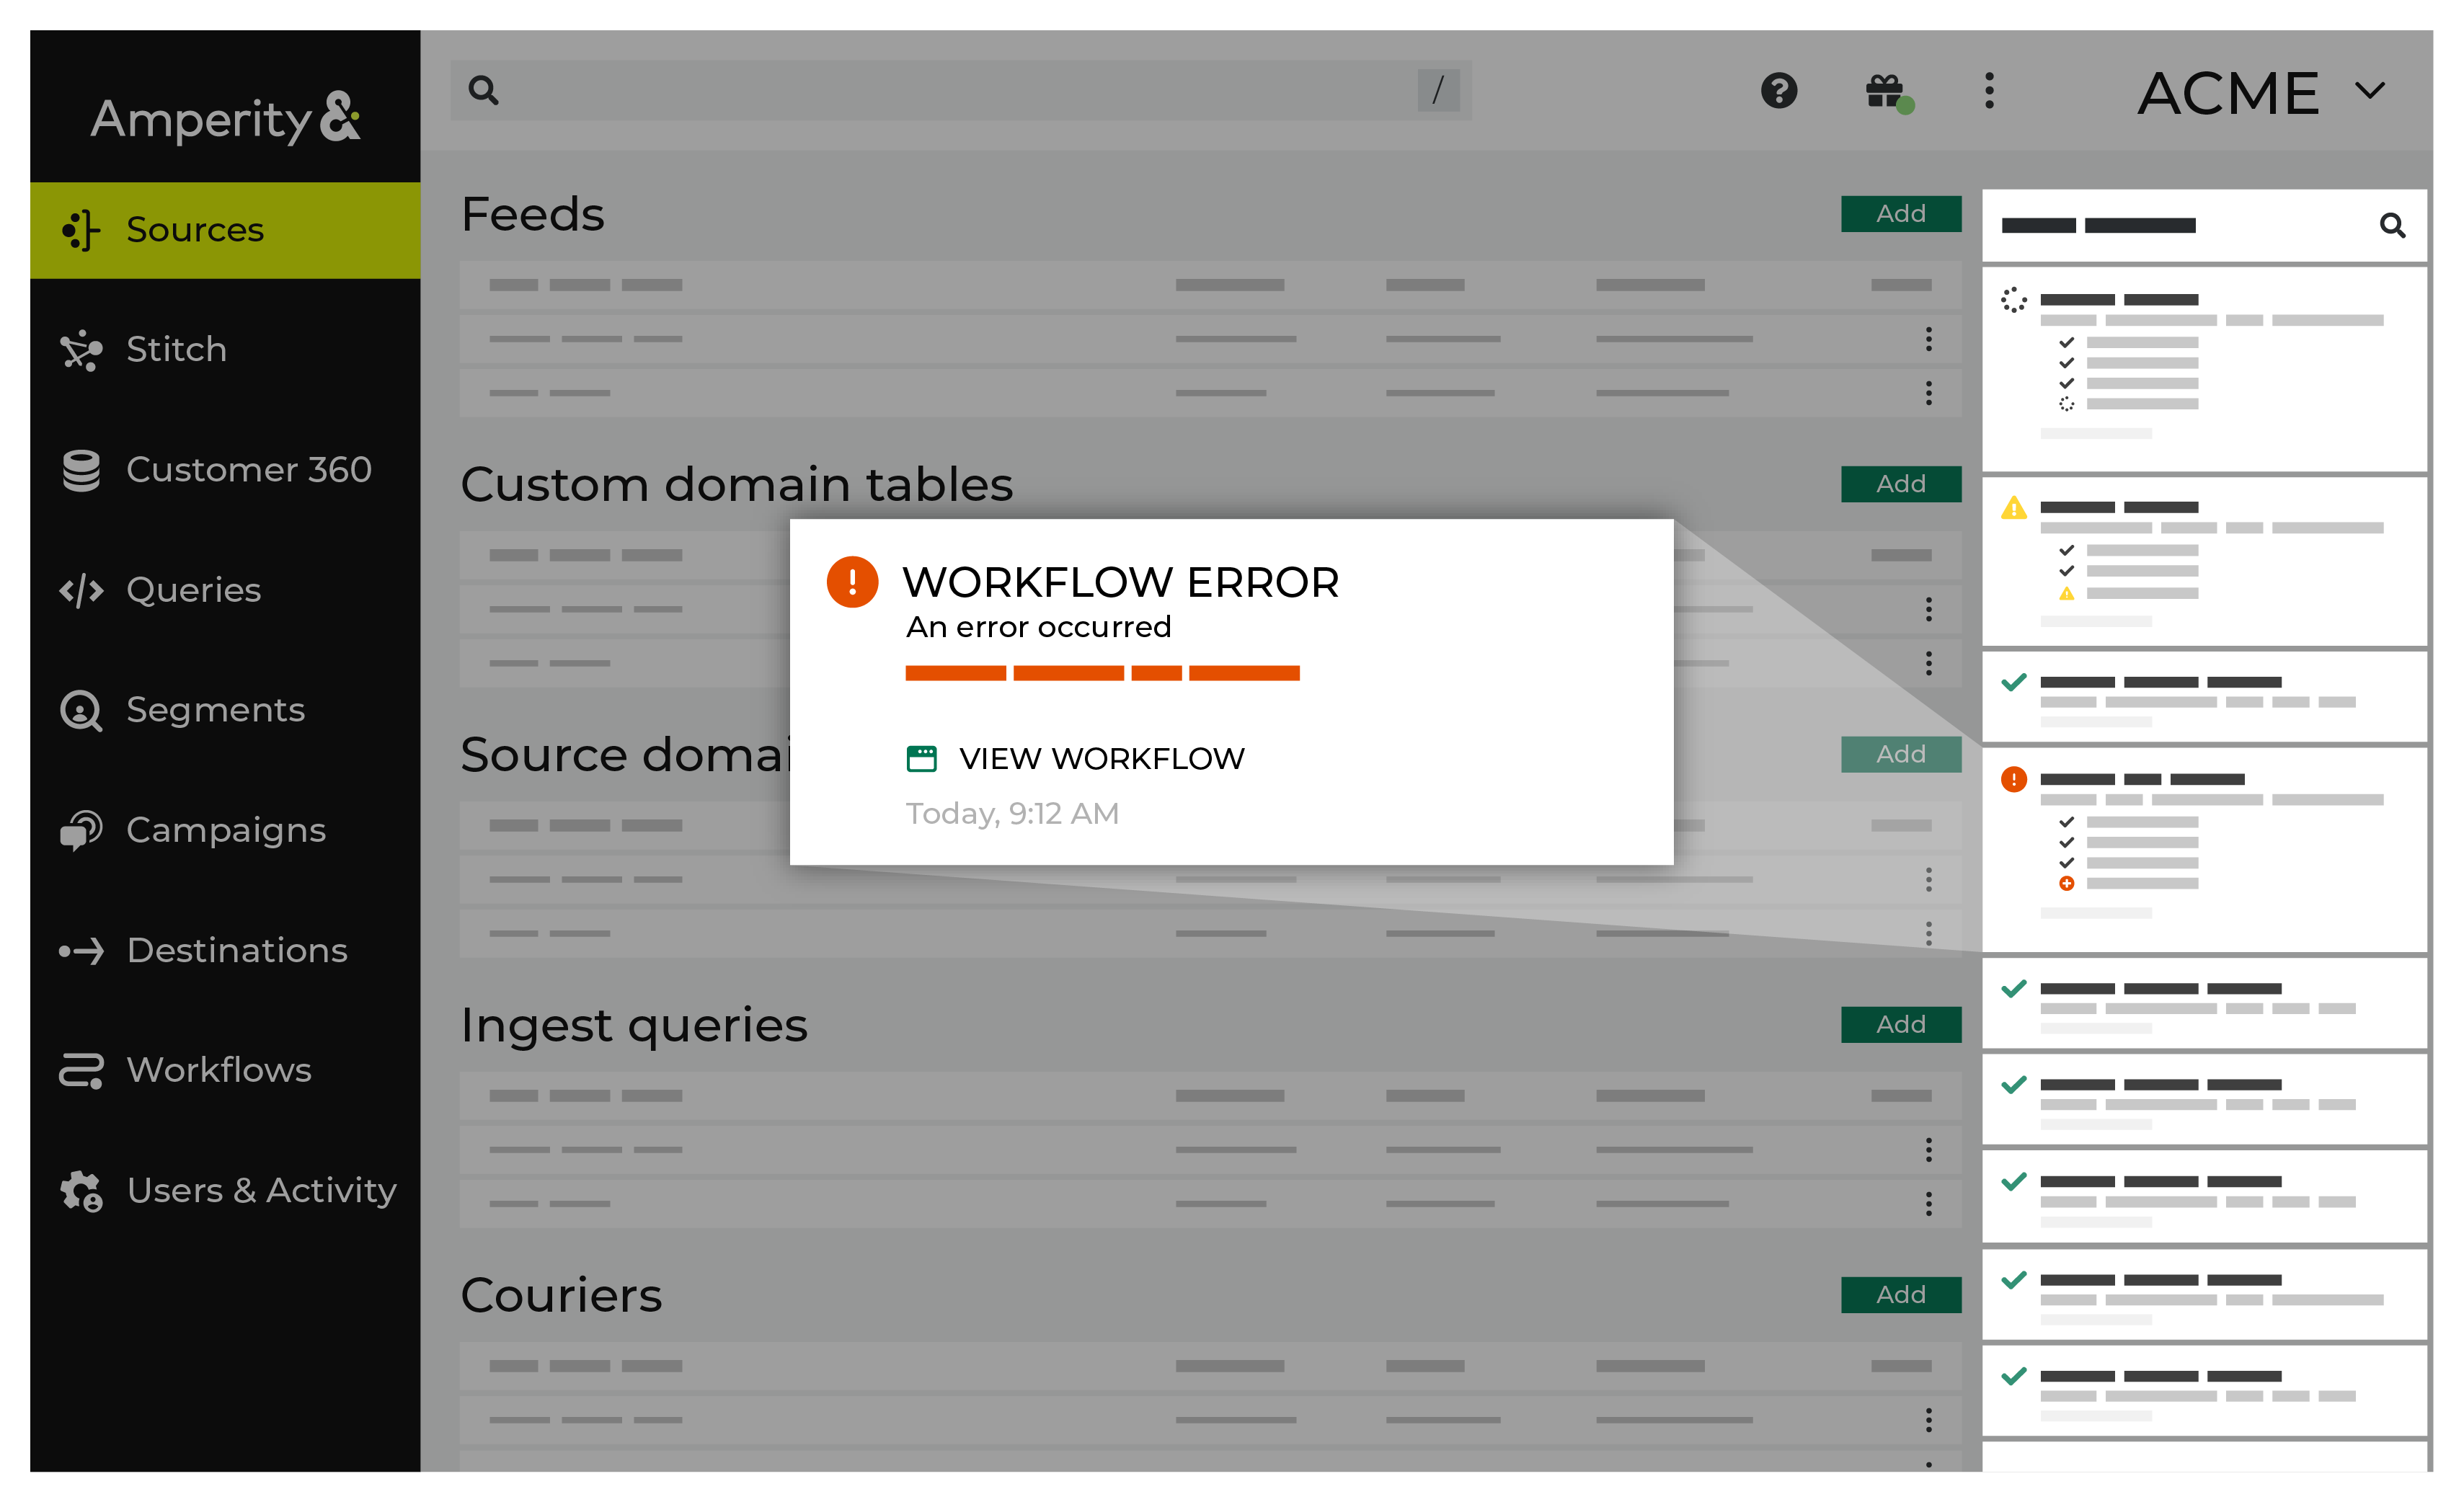
If you receive a notification error, review the details, and then click the View Workflow link to open this notification error in the Workflows page. |
|
|
On the Workflows page, review the individual steps to determine which steps have errors that require your attention, and then click Show Resolutions to review the list of workflow actions generated for this error. 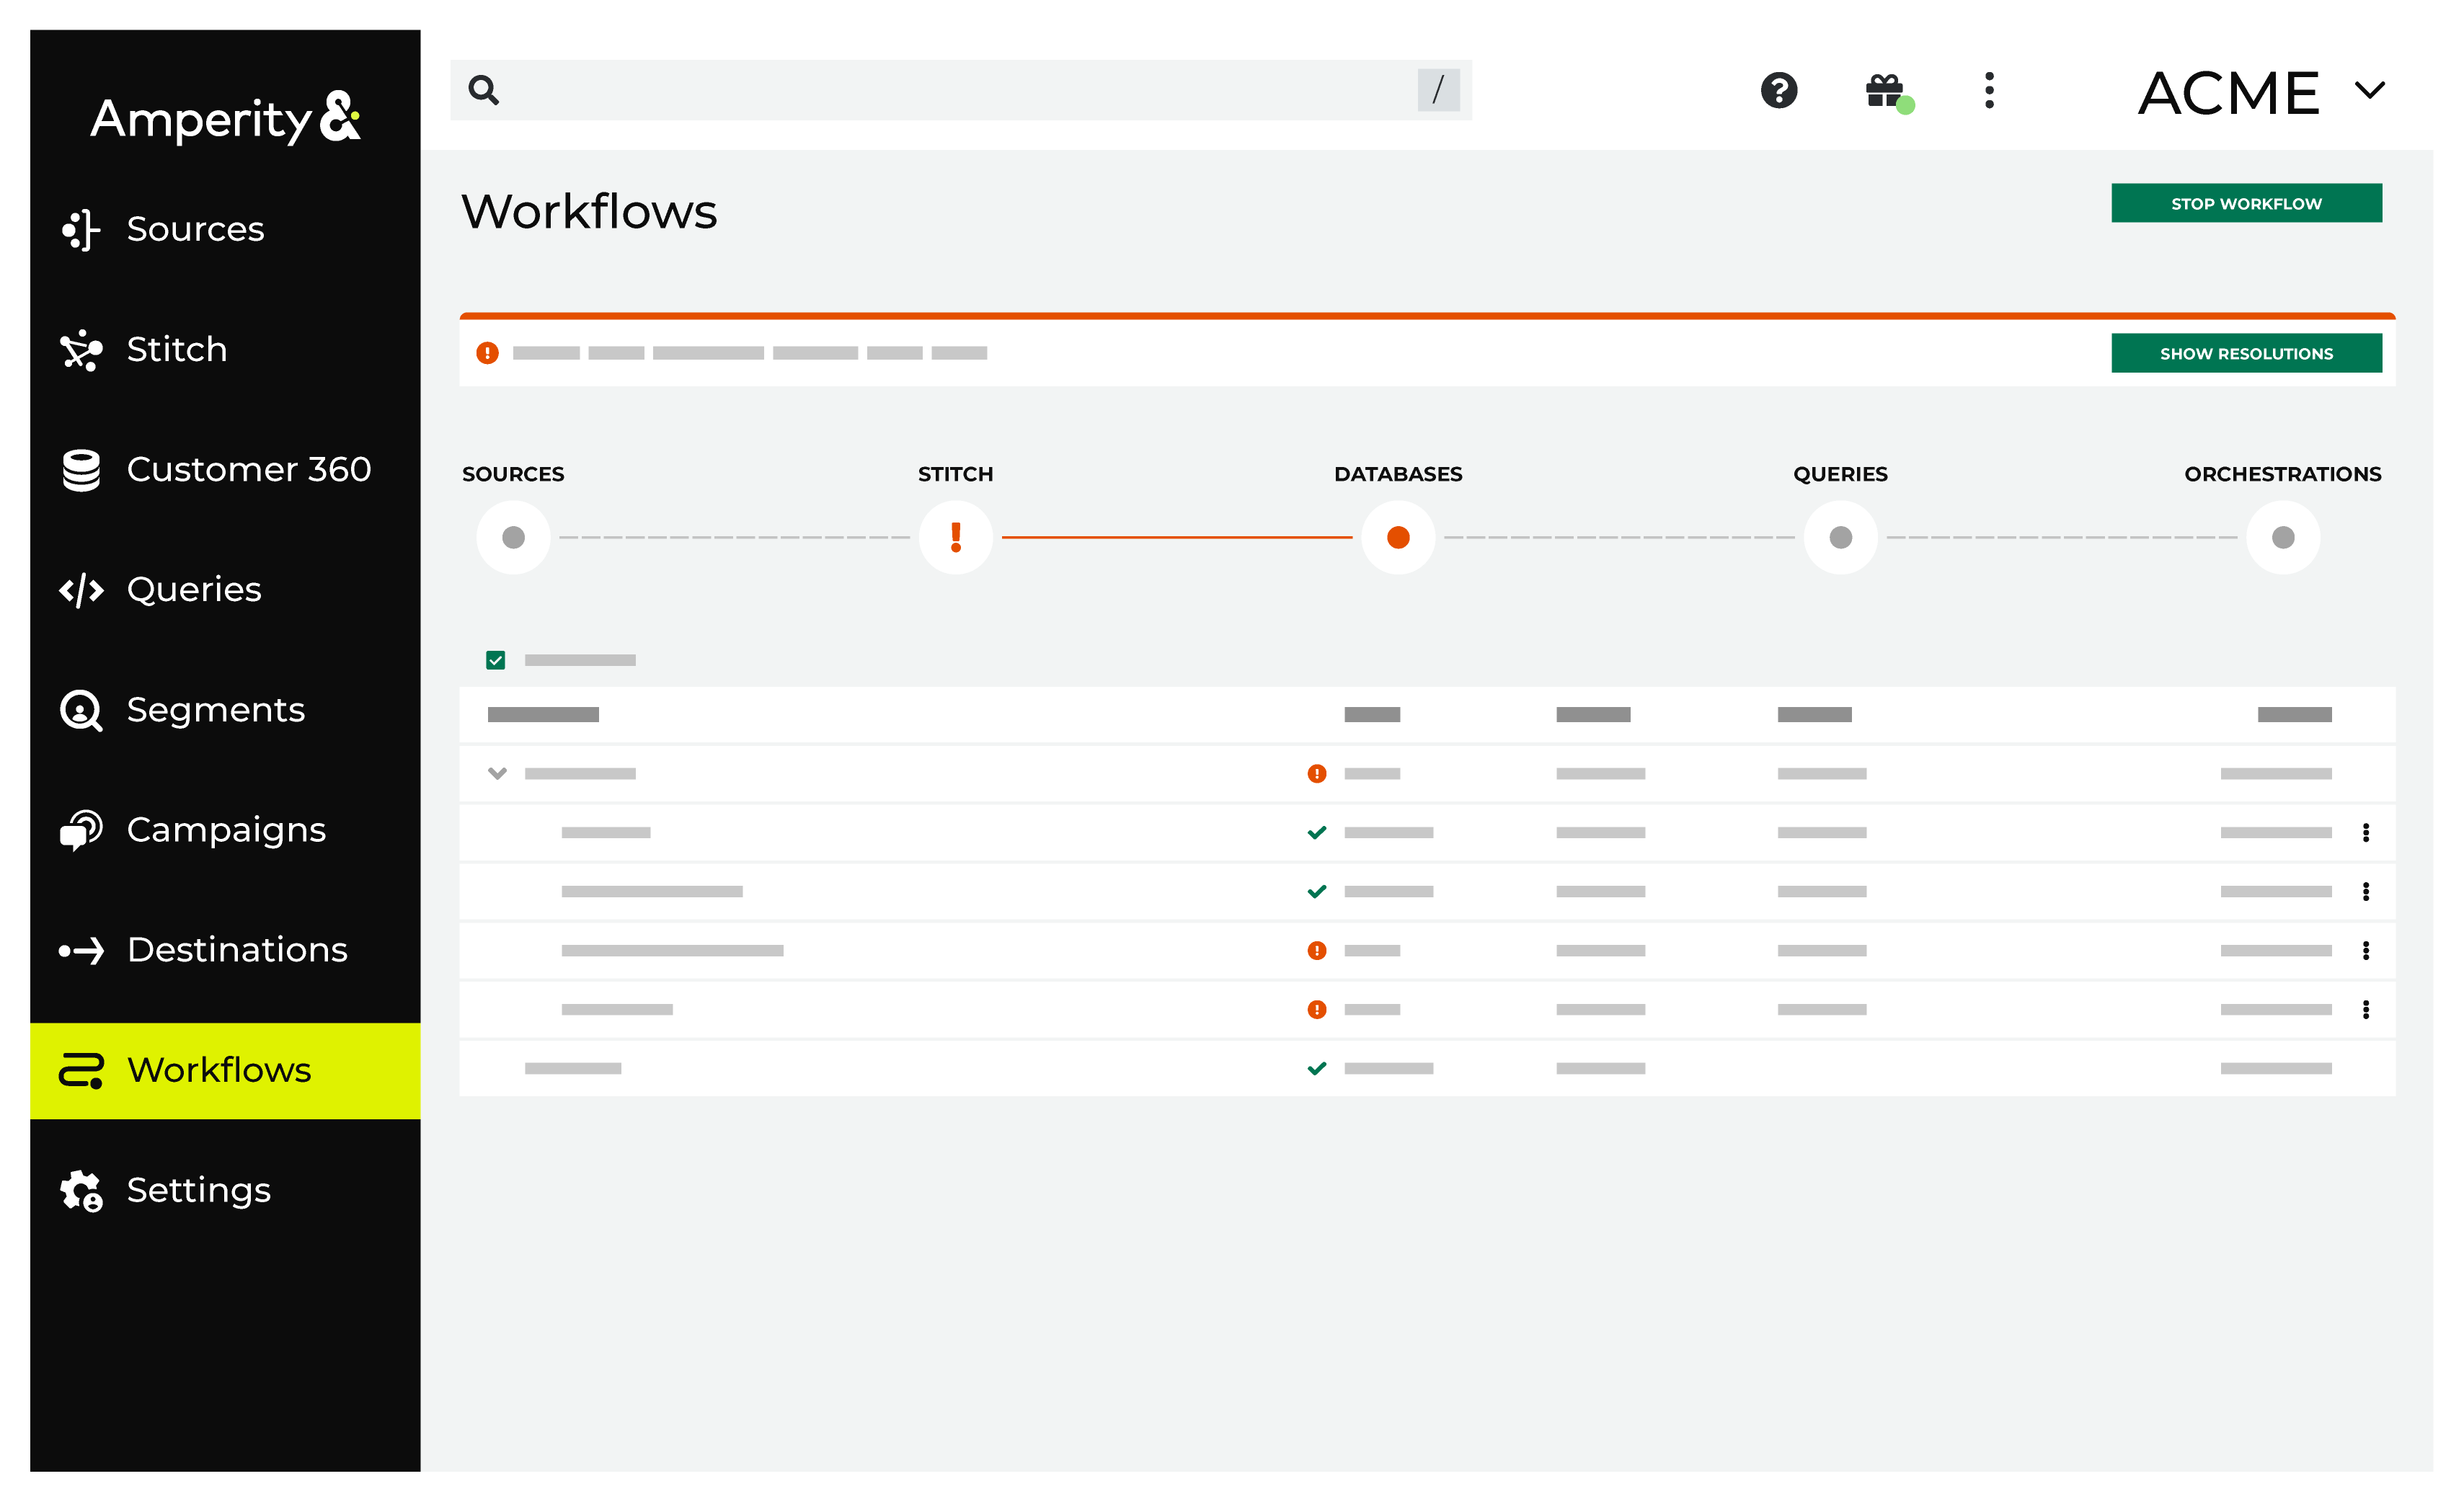
|
|
|
A list of individual workflow actions are shown. Review the list to identify which action you should take. 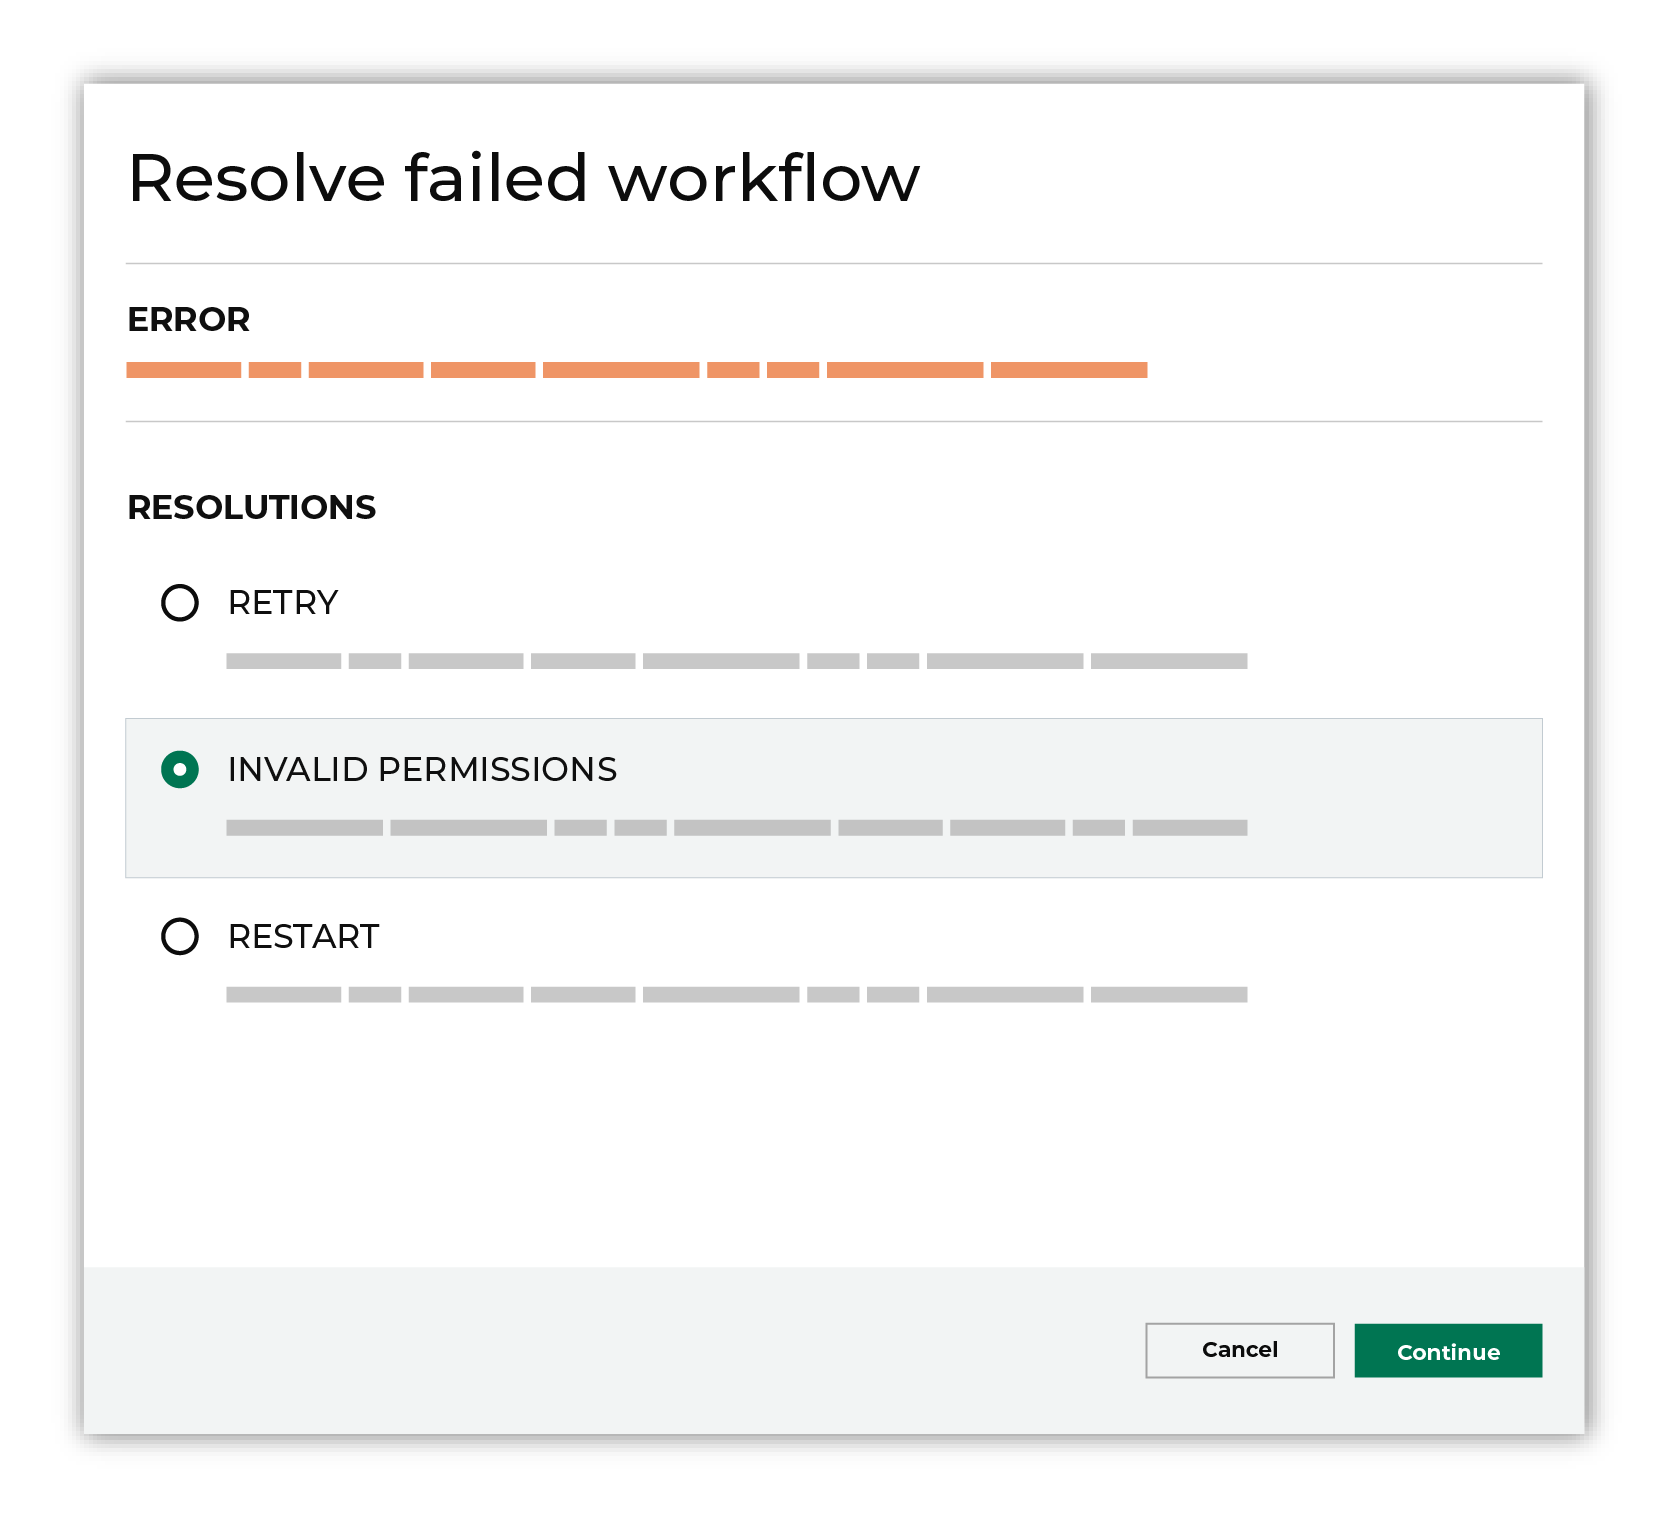
Some workflow actions are common across workflows and will often be available, such as retrying a specific task within a workflow or restarting a workflow. These types of actions can often resolve an error. In certain cases, actions are specific and are shown when certain conditions exist in your tenant. These types of actions typically must be resolved and may require steps that must be done upstream or downstream from your Amperity workflow. Amperity provides a series of workflow actions that can help resolve specific issues that may arise with Azure Blob Storage, including: |
|
|
Select a workflow action from the list of actions, and then review the steps for resolving that error. 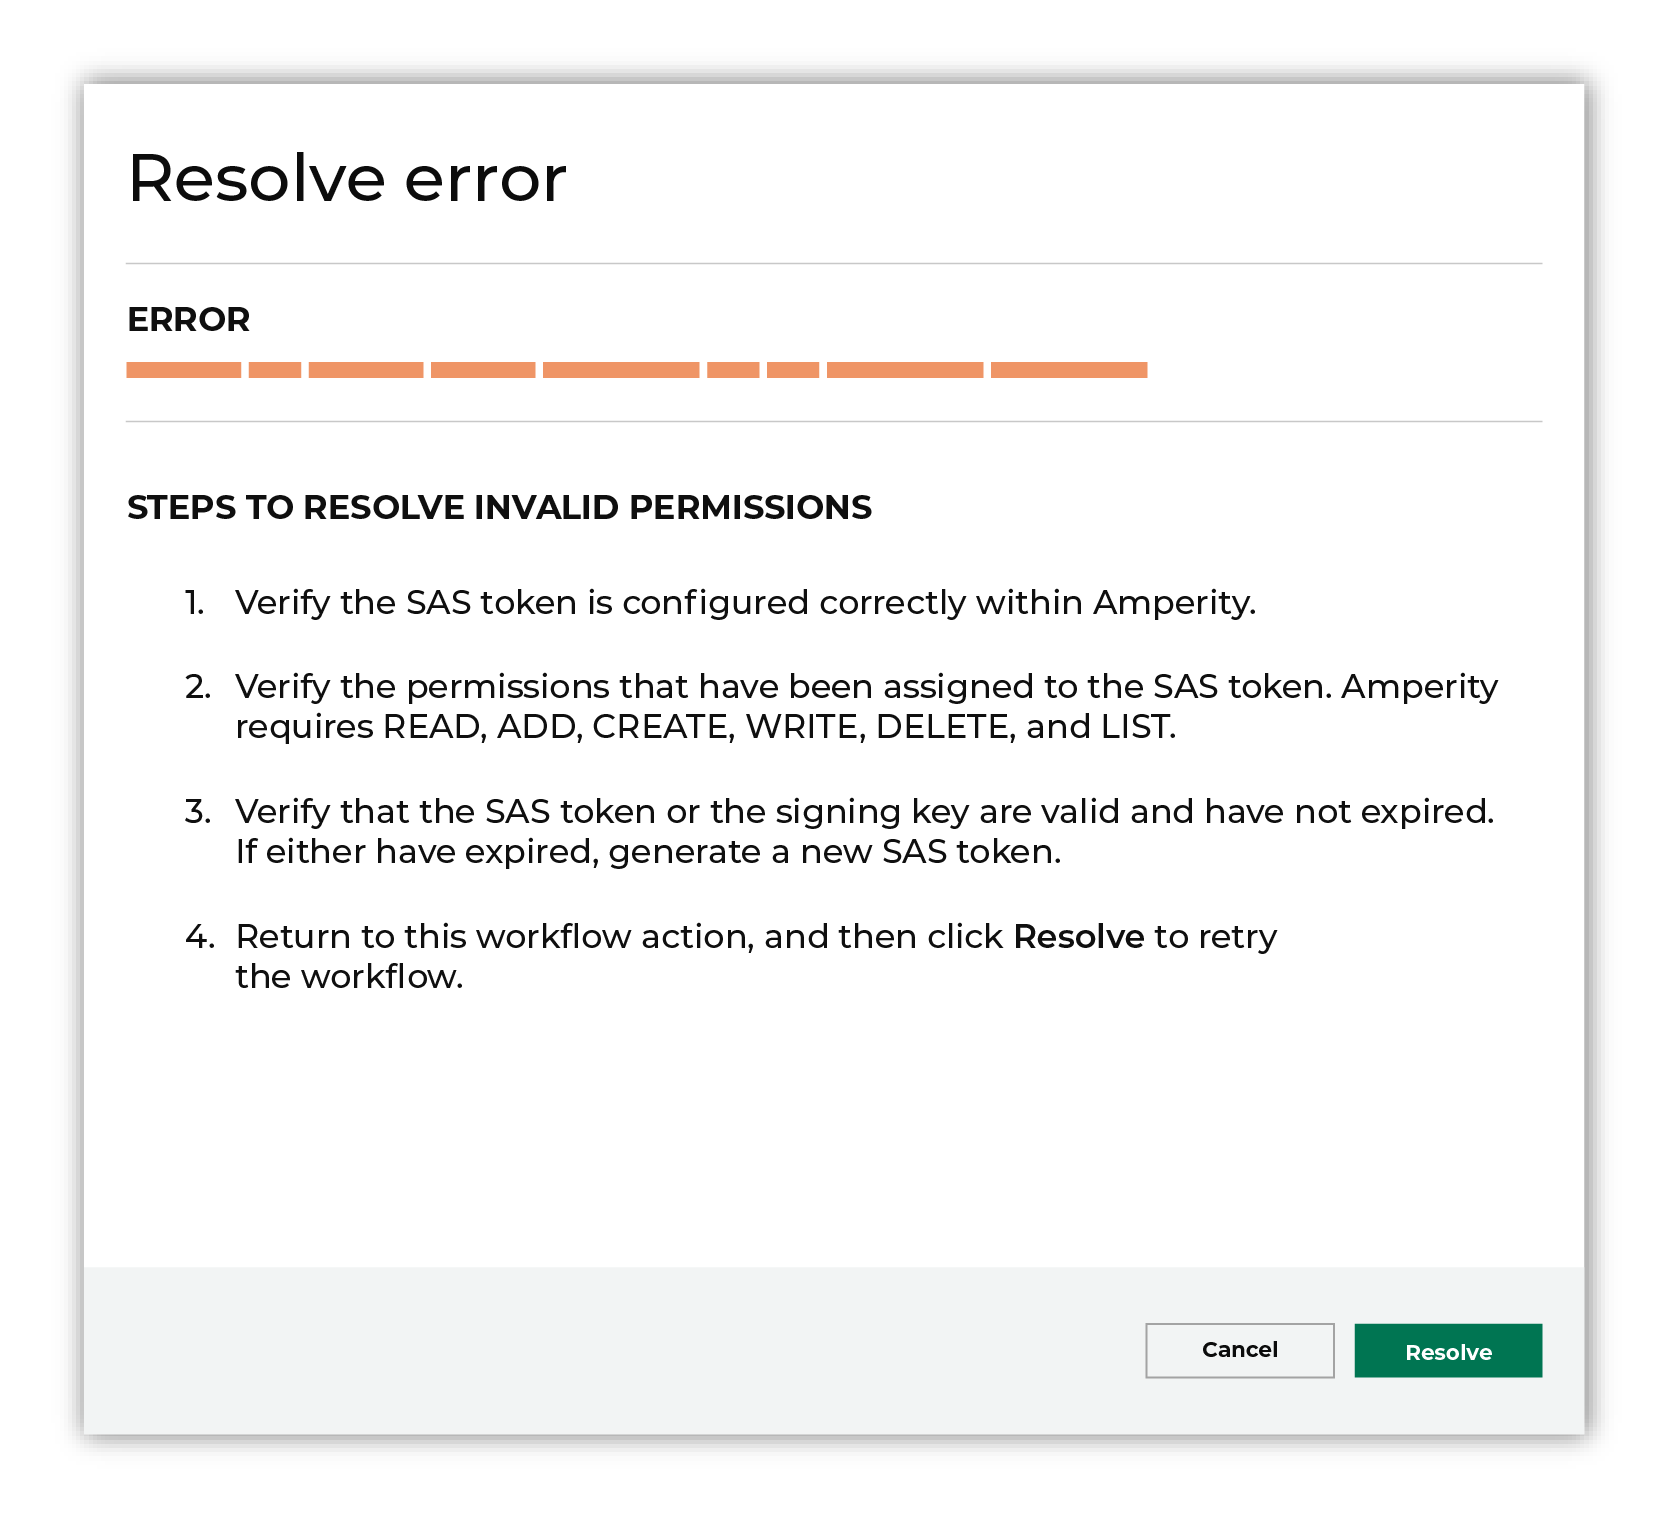
After you have completed the steps in the workflow action, click Continue to rerun the workflow. |
Invalid credentials
The credentials that are defined in Amperity are invalid.
To resolve this error, verify that the credentials required by this workflow are valid.
Open the Credentials page.
Review the details for the credentials used with this workflow. Update the credentials for Azure Blob Storage if required.
Return to the workflow action, and then click Resolve to retry this workflow.
Invalid permissions
Microsoft Azure may be configured to use a shared access signature (SAS) to grant restricted access rights to Microsoft Azure storage resources.
What is a shared access signature (SAS)?
A shared access signature (SAS) grants limited access to storage resources in Microsoft Azure. A SAS may be constrained to access only specific storage resources, have specific permissions to those resources, and be configured to expire after a set amount of time. Every SAS is signed with a key.
The SAS is appended to the URI for a storage resource. The combined URI and SAS become a token that has a set of query parameters that indiciate how a storage resource may be accessed. Use the SAS token to configure Amperity credentials to storage resources in Microsoft Azure.
An SAS token may have invalid permissions for any of the following situations:
The SAS token may be configured incorrectly within Amperity. For example: an extra character within or at the end of the SAS token. Verify the string, and then make any updates that are required for the credentials within Amperity.
The permissions for the SAS token are configured incorrectly. Amperity requires an SAS token to be assigned the following permissions: READ, ADD, CREATE, WRITE, DELETE, and LIST.
The SAS token may have expired or the signing key associated with the SAS token may have rotated.
These situations require generating a new SAS token, and then updating the credentials in Amperity.
Note
If the shared access signature is provisioned by Amperity, use the “Report a problem” feature in Amperity to contact your Amperity Support team and ask for help resolving this workflow issue.
The “Report a problem” option is available from the menu in the top navigation.
To resolve this error, determine the cause for the invalid permissions error.
Do one or more of the following:
Verify that the SAS token is configured correctly within Amperity.
Verify the permissions assigned to the SAS token. This can be done from the Microsoft Azure Portal or by using Azure Storage Explorer . The policy for the SAS token must be assigned the following permissions: READ, ADD, CREATE, WRITE, DELETE, and LIST.
Verify that the SAS token and the signing key associated with the SAS token is valid and has not expired. If either have expired, generate a new SAS token using a new signing key, if necessary.
After you have determined the cause of the invalid permissions error, make the appropriate updates within Microsoft Azure or the credentials for this destination within Amperity.
Return to the workflow action, and then click Resolve to retry this workflow.