Configure destinations for Attentive (attributes)
Attentive is your source of truth for your customers’ subscription status, while Amperity is your source of truth for profile attributes that describe those customers.
Amperity uses the Subscriptions and Custom Attributes endpoints to send custom profile attributes to Attentive. Use these attributes to apply customizable data or characteristics to each of your subscribers, and then use that information to build segments for use with campaigns and journeys.
Caution
The Attentive Custom Attributes API builds segments based on a match with customer profile attributes. Custom attributes cannot contain any sensitive or special categories of information .
Important
Field names and field values are case sensitive in Attentive. For example, field names like “Favorite color” and “Favorite Color” are treated as different custom attributes and field values like “Blue” and “blue” are treated as different values.
Queries that are run in performance mode automatically convert field names to lowercase. If a query must be run in performance mode, consider using the LOWER() function to ensure consistent capitalization is applied to field names.
Why are there two ways to send data to Attentive?
Amperity uses the subscriber segment upload process to manage segments. This process does not use an endpoint and is not subject to Attentive API rate limits . Updates appear on the Segments page within your audience in Attentive.
Get details
Review the following details before configuring credentials for Attentive and before configuring Amperity to send custom attributes to Attentive.

|
Credential settings API key
|

|
Required configuration settings Primary identifier
|

|
Sign-up units The ID for the sign-up unit . Sign-up units are managed from the Sign-up Units page in Attentive. You must provide an ID for an active sign-up unit. |
Configure credentials
Configure credentials for Attentive before adding a destination.
An individual with access to Attentive should use SnapPass to securely share “API key” details with the individual who configures Amperity.
To configure credentials for Attentive API

|
From the Settings page, select the Credentials tab, and then click the Add credential button. |

|
In the Credentials settings dialog box, do the following: From the Plugin dropdown, select Attentive. Assign the credential a name and description that ensures other users of Amperity can recognize when to use this destination. |

|
The settings that are available for a credential vary by credential type. For the “attentive-api” credential type, configure settings, and then click Save. API key
|
Add destination
Use a sandbox to configure a destination for Attentive. Before promoting your changes, send a test audience, and then verify the results in Attentive. After verifying the end-to-end workflow, push the destination from the sandbox to production.
To add a destination for Attentive API

|
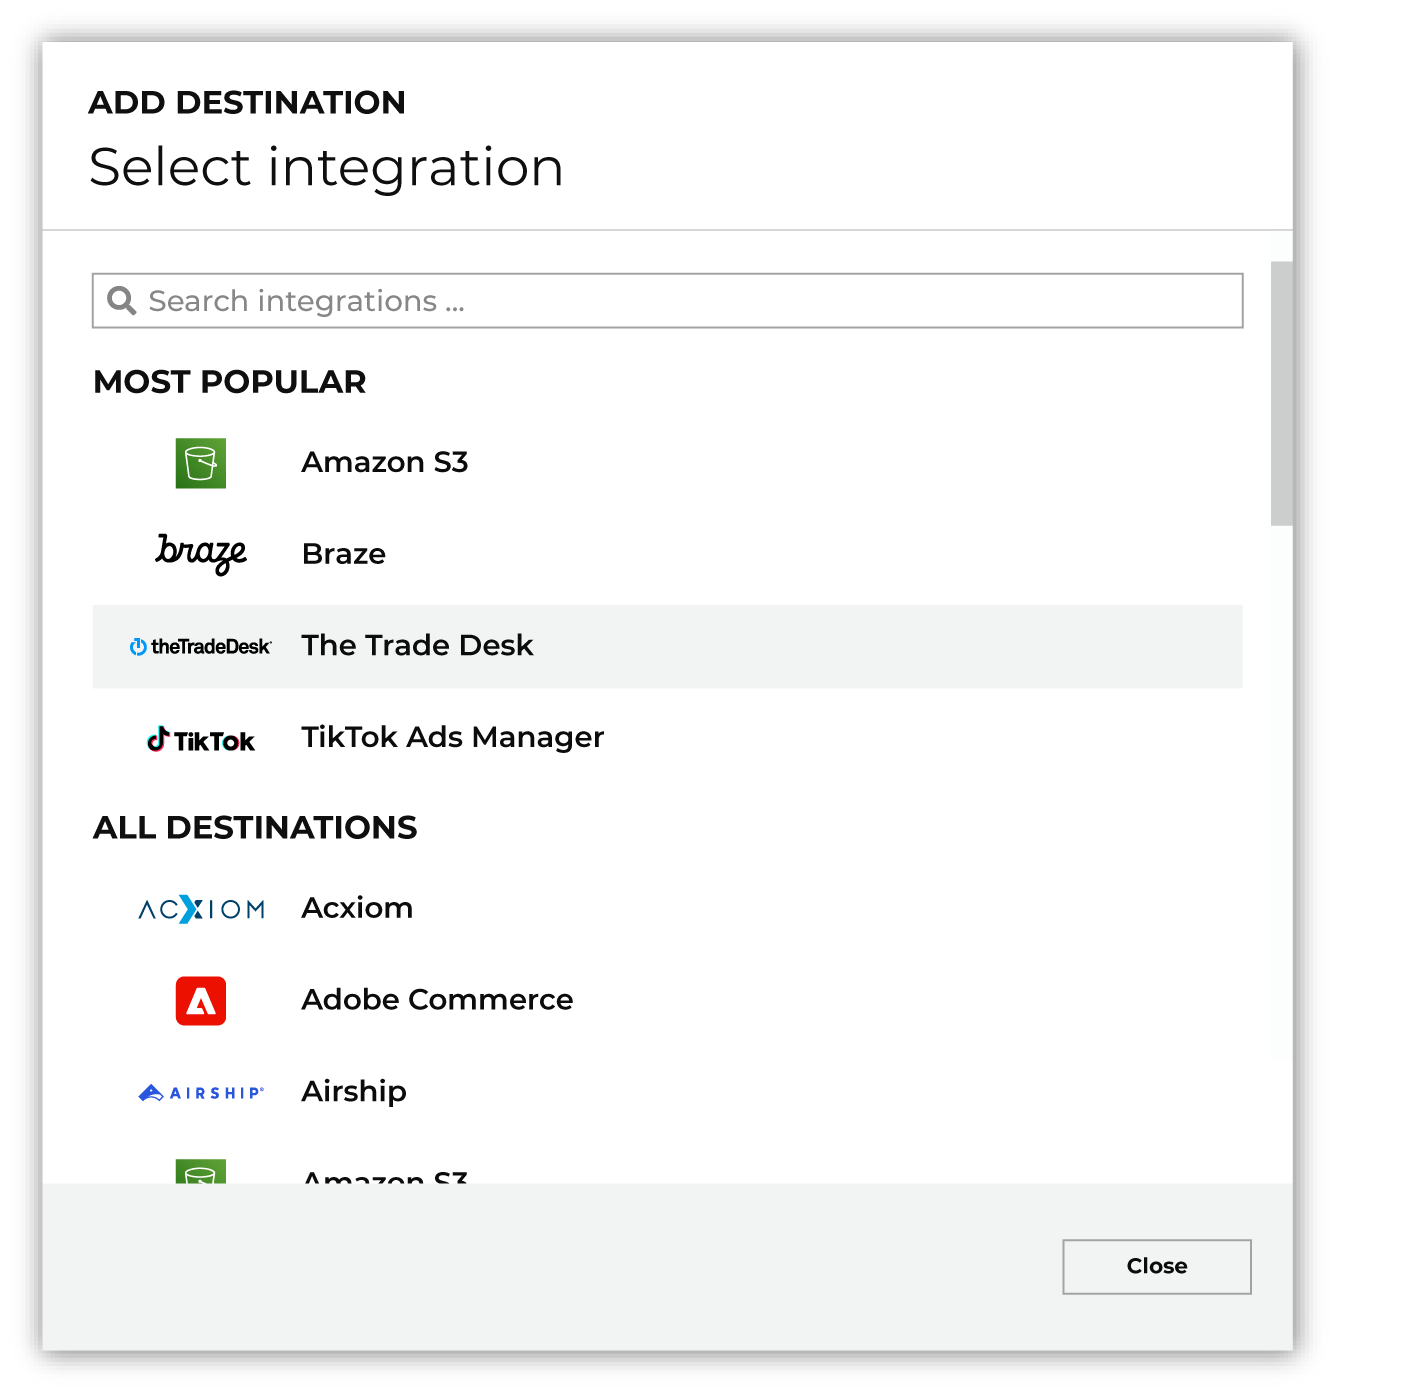
Open the Destinations page, select the New destinations button, and then select Orchestration. 
To configure a destination for Attentive, do one of the following:
|

|
Select the credential for Attentive from the Credential dropdown, and then click Continue. Tip If there are any issues with destination connectivity, an error message will display in the destination setup dialog. If the destination saves successfully, the connection is ready for use. |

|
In the “Destination settings” dialog box, assign the destination a name and description that ensures other users of Amperity can recognize when to use this destination. Configure business user access By default a destination is available to all users who have permission to view personally identifiable information (PII). Enable the Admin only checkbox to restrict access to only users assigned to the Datagrid Operator and Datagrid Administrator policies. Enable the PII setting checkbox to allow limited access to PII for this destination. Use the Restrict PII access policy option to prevent users from viewing data marked as PII anywhere in Amperity and from sending data to downstream workflows. |

|
Configure the following settings, and then click “Save”. Primary identifier
|

|
After configuring this destination users may use:
|

|
Test the connection with Attentive by using an audience with a very small membership. For example: 10 or 100 members or the minimum audience size recommended by Attentive. Send the test audience to Attentive and verify the audience is correct in Attentive. Make adjustments if necessary. Only send full audiences after validation is complete. |