Configure destinations for MoEngage
MoEngage is a cross-channel customer engagement platform built for marketers and product owners who value agility over complexity. Use real-time insights and personalized cross-channel communications and adapt to evolving customer expectations.
You can configure Amperity to send CSV files to MoEngage for the following import types:
A list of users who registered on MoEngage.
A list of anonymous users not registered on MoEngage.
Standard events, such as campaign interactions, along with user-defined events.
Get details
Review the following details before configuring credentials for MoEngage and before configuring Amperity to send CSV file in UTF-8 format to an Amazon S3 bucket.

|
Configure an Amazon S3 bucket MoEngage can pull files from a folder in an Amazon S3 bucket . Configure the bucket to grant access to MoEngage. |

|
Review file import requirements Review MoEngage requirements for file imports and review the requirements for all file imports and specific requirements for each import type. All files must be CSV files with a header row. Column names are case sensitive. For registered users The imported file must have a column that maps to the user identifier in MoEngage. Configure a filename template for registered users like this: registered_user_data_{{now|format:'dd-MM-yyyy'}}.csv
For anonymous users The imported file must have a column that maps to an anonymous identifier, such as an email address or mobile phone number. Configure a filename template for anonymous users like this: anonymous_user_data_{{now|format:'dd-MM-yyyy'}}.csv
For events The imported file must have columns that map to the time at which the event occurred and the registered user identifier. The filename for events should contain the name of the event followed by a datetime value. For example: <event-filename>_{{now|format:'dd-MM-yyyy'}}.csv
Tip Use the same name for “<event-filename>” in the filename template as the name of the event type in MoEngage. |

|
Enable S3 imports in MoEngage Use Data Imports to configure the Amazon S3 import process. Log in to MoEngage, and then navigate to Dashboard > Data > Data Imports. Use the +Import option, select the Amazon S3 import type, and then follow the steps for importing registered, anonymous, or events file types. Add connection details for the Amazon S3 bucket, such as bucket name, access key, secret key, folder path, and encryption keys. Review the imported file, and then map columns in the imported file to MoEngage attributes. |
Add destination
Use a sandbox to configure a destination for MoEngage. Before promoting your changes, send a test audience, and then verify the results in MoEngage. After verifying the end-to-end workflow, push the destination from the sandbox to production.
To add a destination for Throtle

|
Open the Destinations page, select the New destinations button, and then select Orchestration. 
To configure a destination for MoEngage, do one of the following:
|

|
Select the credential for MoEngage from the Credential dropdown, and then click Continue. Tip If there are any issues with destination connectivity, an error message will display in the destination setup dialog. If the destination saves successfully, the connection is ready for use. |

|
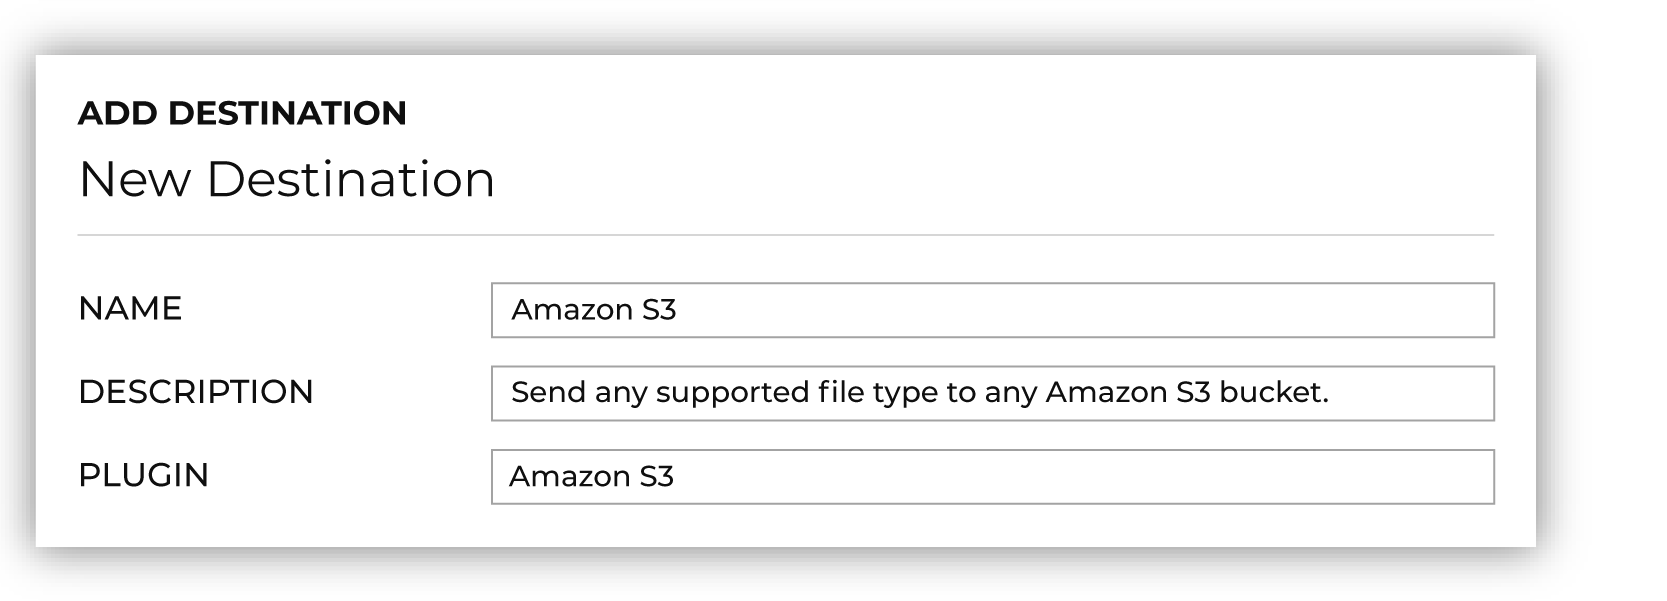
In the “Destination settings” dialog box, assign the destination a name and description that ensures other users of Amperity can recognize when to use this destination. Configure business user access By default a destination is available to all users who have permission to view personally identifiable information (PII). Enable the Admin only checkbox to restrict access to only users assigned to the Datagrid Operator and Datagrid Administrator policies. Enable the PII setting checkbox to allow limited access to PII for this destination. Use the Restrict PII access policy option to prevent users from viewing data marked as PII anywhere in Amperity and from sending data to downstream workflows. |

|
Configure the following settings, and then click “Save”. File format
Header
|

|
After configuring this destination users may use:
|

|
Test the connection with MoEngage by using an audience with a very small membership. For example: 10 or 100 members or the minimum audience size recommended by MoEngage. Send the test audience to MoEngage and verify the audience is correct in MoEngage. Make adjustments if necessary. Only send full audiences after validation is complete. |