
 Operators Guide



Configure destinations for Shopify (GraphQL)
Shopify is an e-commerce platform for online stores and retail point-of-sale systems that consolidates shopping, payments, marketing, shipping, and customer engagement tools into a single unified experience.
Use Amperity to activate an audience into Shopify (GraphQL). Build a query or segment that includes the email field, and then send it to Shopify (GraphQL).
A Shopify segment is defined by a query rather than by a member list, so there is no list to push an audience into. Instead, Amperity activates an audience as a Shopify customer tag: it matches customers by email, applies the tag to members of the audience, and removes the tag from customers that leave the audience. In Shopify, build a customer segment on the condition that the customer tag is present – for example, customer_tags CONTAINS <tag> – to act on the audience.
The customer tag identifies the audience, so changing the tag name sends the entire audience again under the new tag. Only the email match key is used – Amperity applies the tag and does not write any other profile attributes. Each run sends only the additions and removals since the previous run, not the full audience.
Note
This destination uses the Shopify GraphQL Admin API .
Beta
The Shopify (GraphQL) connector is currently in beta. Contact your Amperity representative to learn more.
Note
Sending an audience requires the write_customers access scope on the Shopify app. Pulling data does not. A credential without this scope fails the send.
Note
Shopify must already contain a customer whose email matches an audience member. Amperity applies the tag to customers that already exist; an audience member that Shopify cannot match by email is reported as a failed row.
Caution
A run can partially succeed. An individual audience member is counted as a failed row – while the rest of the run completes – when the member’s row has no email, when no Shopify customer matches the email, when more than one Shopify customer matches the email, or when Shopify rejects the tag for that customer (for example, the customer is already at Shopify’s limit of 250 tags).
Important
If none of the first 100 audience members match a Shopify customer, Amperity stops the send rather than reporting the entire audience as failed rows. This usually means that none of those members are customers of this store. Verify that the audience members shop with this store, and contact Amperity support if they do.
Note
Re-running a send is safe. Applying a tag that a customer already has, or removing a tag that a customer does not have, makes no change in Shopify.
Note
Amperity looks up one customer and applies or removes one tag per audience member, and paces the send to stay within Shopify’s API rate limits. Time a representative audience before sending to a large store.
Get details
Review the following details before configuring credentials for Shopify (GraphQL) and before configuring Amperity to send audiences to Shopify (GraphQL).

|
Credential settings Shop name
Access token
Tip Generate an Admin API access token by creating and installing a custom app in your Shopify store’s admin. Sending an audience requires the |
|
|
Required configuration settings Audience primary key
Customer tag
|
|
|
A query or segment that outputs the email field for the audience members to send to Shopify (GraphQL). |
Configure credentials
Configure credentials for Shopify (GraphQL) before adding a destination.
An individual with access to Shopify (GraphQL) should use SnapPass to securely share “Shop name” and “Access token” details with the individual who configures Amperity.
To configure credentials for Shopify (GraphQL)

|
From the Settings page, select the Credentials tab, and then click the Add credential button. |
|
In the Credentials settings dialog box, do the following: From the Plugin dropdown, select Shopify (GraphQL). Assign the credential a name and description that ensures other users of Amperity can recognize when to use this destination. |

|
The settings that are available for a credential vary by credential type. For the “shopify” credential type, configure settings, and then click Save. Shop name
Access token
|
Add destination
Use a sandbox to configure a destination for Shopify (GraphQL). Before promoting your changes, send a sample audience, and then verify the results in Shopify (GraphQL). After verifying the end-to-end workflow, push the destination from the sandbox to production.
To add a destination for Shopify (GraphQL)
|
|
Open the Destinations page, select the New destinations button, and then select Orchestration. 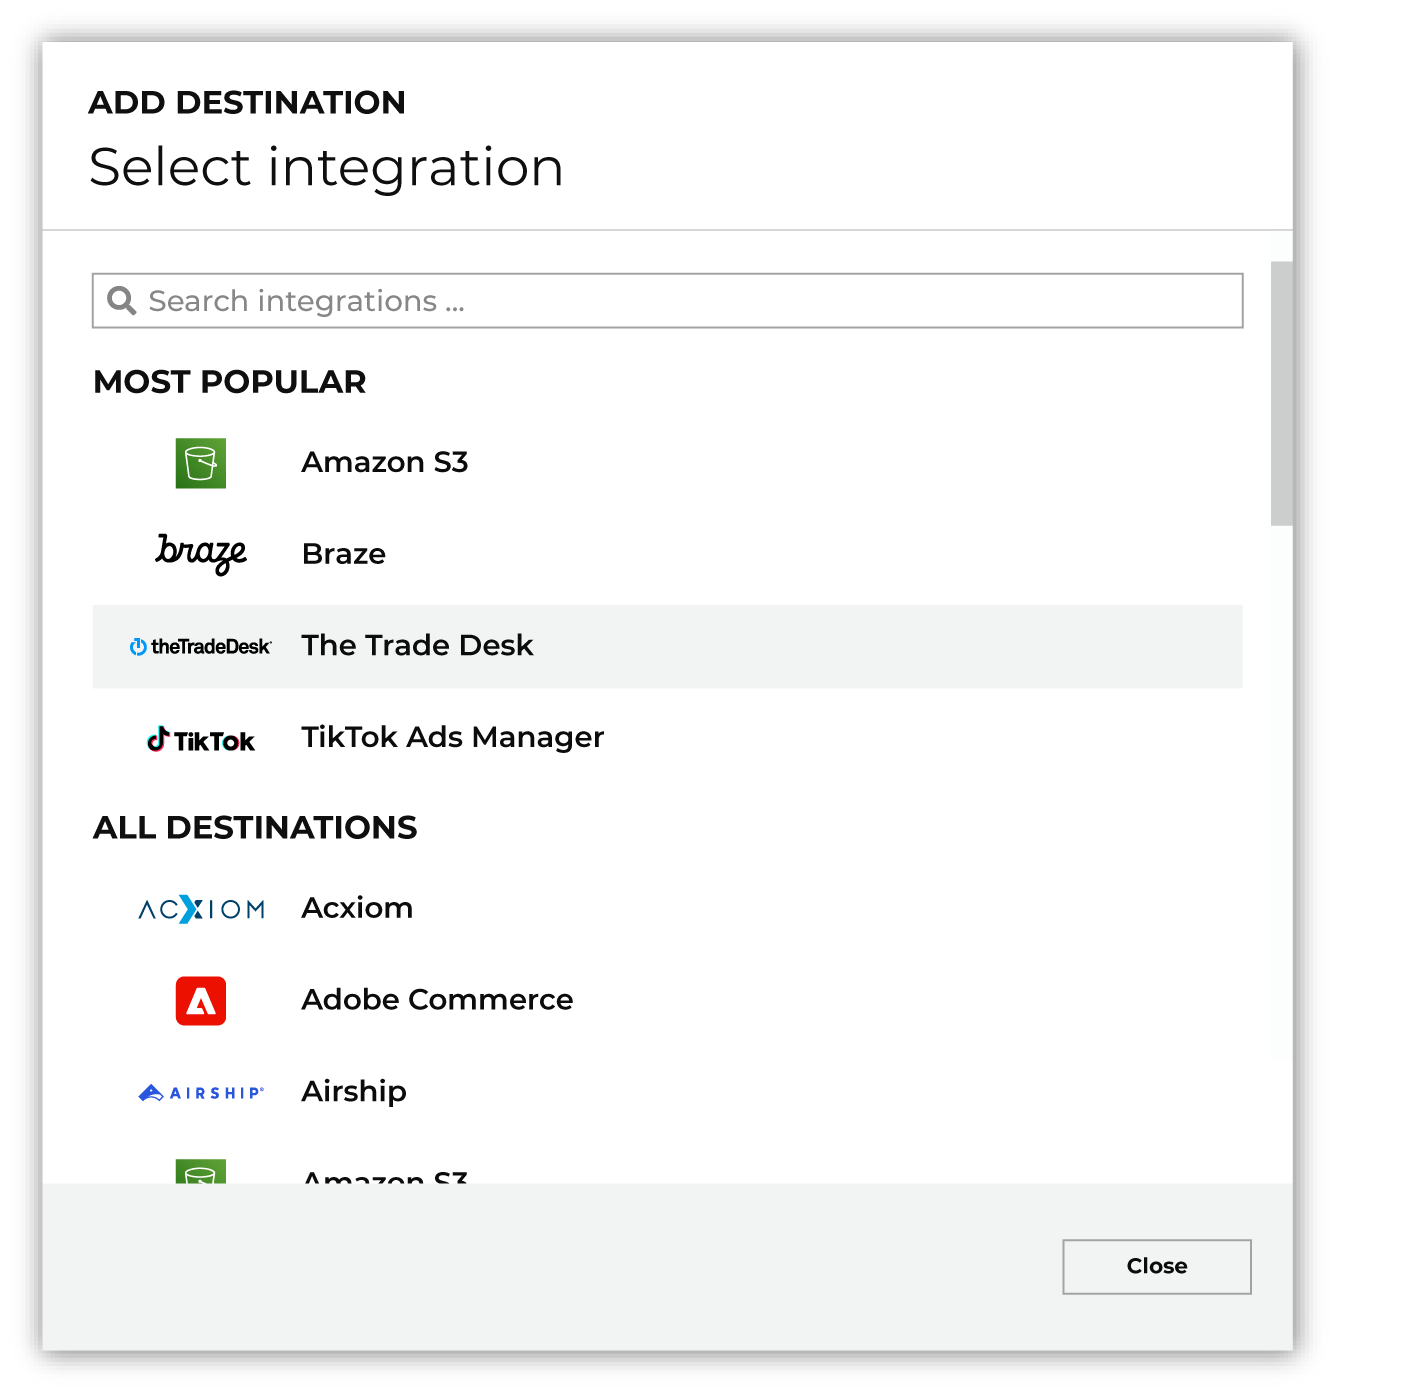
To configure a destination for Shopify (GraphQL), do one of the following:
|
|
|
Select the credential for Shopify (GraphQL) from the Credential dropdown, and then click Continue. Tip Amperity validates the connection when the destination is saved. If the connection cannot be validated, an error is shown and the destination is not saved. |
|
|
In the “Destination settings” dialog box, assign the destination a name and description that ensures other users of Amperity can recognize when to use this destination. Configure business user access By default a destination is available to all users who have permission to view personally identifiable information (PII). Enable the Admin only checkbox to restrict access to only users assigned to the Datagrid Operator and Datagrid Administrator policies. Enable the PII setting checkbox to allow limited access to PII for this destination. Use the Restrict PII access policy option to prevent users from viewing data marked as PII anywhere in Amperity and from sending data to downstream workflows. |

|
Configure the following settings, and then click “Save”. Audience primary key
Customer tag (Required at orchestration)
|

|
After configuring this destination users may use:
|

|
Validate the audience with Shopify (GraphQL) by using a sample audience with a very small membership. For example: 10 or 100 members or the minimum audience size recommended by Shopify (GraphQL). Send the sample audience to Shopify (GraphQL) and verify the sample audience is correct in Shopify (GraphQL). Make adjustments if necessary. Only send full audiences after validation is complete. |