
 Operators Guide



Configure destinations for Airship Attributes
Airship is a customer engagement platform that helps marketers connect with their customers across every stage of the customer lifecycle. The Airship Attributes destination sends customer attributes from Amperity to matching profiles in an Airship project using the Airship Attribute Lists API, where they can be used for segmentation and personalization.
You can configure Amperity to send customer attributes to Airship Attributes using the Airship Attribute Lists API. Each row is one Airship user profile. The airship_identifier column is required and holds the identifier Airship matches the row against – a named user ID, a channel ID, or an email address, depending on the Identifier type setting. Every other column in the query becomes an Airship attribute, matched to the attribute in your Airship project whose ID is exactly the column name. Values are sent to Airship as they appear in Amperity; nothing is hashed or transformed. Rows with a blank airship_identifier are dropped and counted as failed, because Airship has nothing to match them against.
Each send uploads the entire query result to a named Airship attribute list, creating the list on the first send and reusing it after that. The list name prefix selects how empty values are handled: a name beginning ua_attributes_ preserves the attribute values already on each profile, for an incremental send, while ua_attributes_snapshot_ removes attributes left empty by the upload, for a full refresh.
Amperity uploads the attributes as a compressed file, then waits for Airship to finish processing before reporting results. A large list usually finishes within 5 to 10 minutes; Amperity waits up to 30 minutes before timing out. Amperity reports how many rows Airship accepted and how many it rejected, along with a sample of any row-level errors.
Note
This destination uses the Airship Attribute Lists API .
Beta
The Airship Attributes connector is currently in beta. Contact your Amperity representative to learn more.
Note
Amperity has three separate Airship destinations, each configured with its own credentials: Airship sends CSV files over SFTP, Airship Attributes (this destination) sends profile attributes through the Airship REST API, and Airship Custom Events sends behavioral events. Attributes enrich a profile for segmentation and personalization; they do not trigger an Airship message or automation on their own.
Important
Every attribute you send must already exist in your Airship project before the first send. Create each one in the Airship dashboard under Audience > Attributes > Attribute List, with an attribute ID that matches the Amperity column name exactly and a type that matches the data. Airship checks the column headers when the upload arrives and rejects the entire upload if any column is not an existing attribute, naming one column at a time. Attributes cannot be created through the API, so this cannot be automated, and Amperity cannot check it in advance. Allow about 10 minutes after creating an attribute before sending values for it.
Note
Airship applies each upload as a whole: if Airship rejects the upload, because a column is not an existing attribute or the list fails validation, none of the rows are applied. Individual rows can still fail after an accepted upload, and Amperity reports these separately with a sample of the reasons. A successful send confirms that Airship accepted and applied the file, not that every row reached a profile: Airship counts a row as applied even when its identifier matches no existing user, holding that data for 90 days before discarding it. If a send reports success but you see no change in Airship, confirm that the Identifier type matches the identifier your Airship project uses.
Note
Airship enforces these limits per attribute list and project: 10 million rows and 101 columns per list (one identifier column plus up to 100 attributes), 1.5 GB per uploaded file, a list name of at most 64 characters, 100 attribute lists per project, and 250 attributes per project. Airship does not publish a request rate limit.
Get details
Review the following details before configuring credentials for Airship Attributes and before configuring Amperity to send attributes to Airship Attributes.

|
Credential settings Client ID
Client Secret
App Key
Data Center
Create these credentials in your Airship project under Settings > Project settings > OAuth > Add credentials. Grant the credentials the Lists permission, which covers attribute uploads, and enable the option that generates a client secret (Allow basic auth). Provide the resulting client ID, client secret, app key, and data center to Amperity. If you also use the Airship Custom Events destination, grant both the Lists and Events permissions to a single set of credentials rather than creating a separate set. |
|
|
Required configuration settings Identifier type
List name (Required at orchestration)
|
|
|
A query that outputs the fields to send to Airship Attributes. The airship_identifier field is required. Each additional field is sent as an Airship attribute and must already exist as an attribute in your Airship project. |
Configure credentials
Configure credentials for Airship Attributes before adding a destination.
An individual with access to Airship Attributes should use SnapPass to securely share “Client ID”, “Client Secret”, “App Key”, and “Data Center” details with the individual who configures Amperity.
To configure credentials for Airship Attributes

|
From the Settings page, select the Credentials tab, and then click the Add credential button. |

|
In the Credentials settings dialog box, do the following: From the Plugin dropdown, select Airship Attributes. Assign the credential a name and description that ensures other users of Amperity can recognize when to use this destination. |

|
The settings that are available for a credential vary by credential type. For the “airship-attributes” credential type, configure settings, and then click Save. Client ID
Client Secret
App Key
Data Center
Create these credentials in your Airship project under Settings > Project settings > OAuth > Add credentials. Grant the credentials the Lists permission, which covers attribute uploads, and enable the option that generates a client secret (Allow basic auth). Provide the resulting client ID, client secret, app key, and data center to Amperity. If you also use the Airship Custom Events destination, grant both the Lists and Events permissions to a single set of credentials rather than creating a separate set. |
Add destination
Use a sandbox to configure a destination for Airship Attributes. Before promoting your changes, send a sample audience, and then verify the results in Airship Attributes. After verifying the end-to-end workflow, push the destination from the sandbox to production.
To add a destination for Airship Attributes
|
|
Open the Destinations page, select the New destinations button, and then select Orchestration. 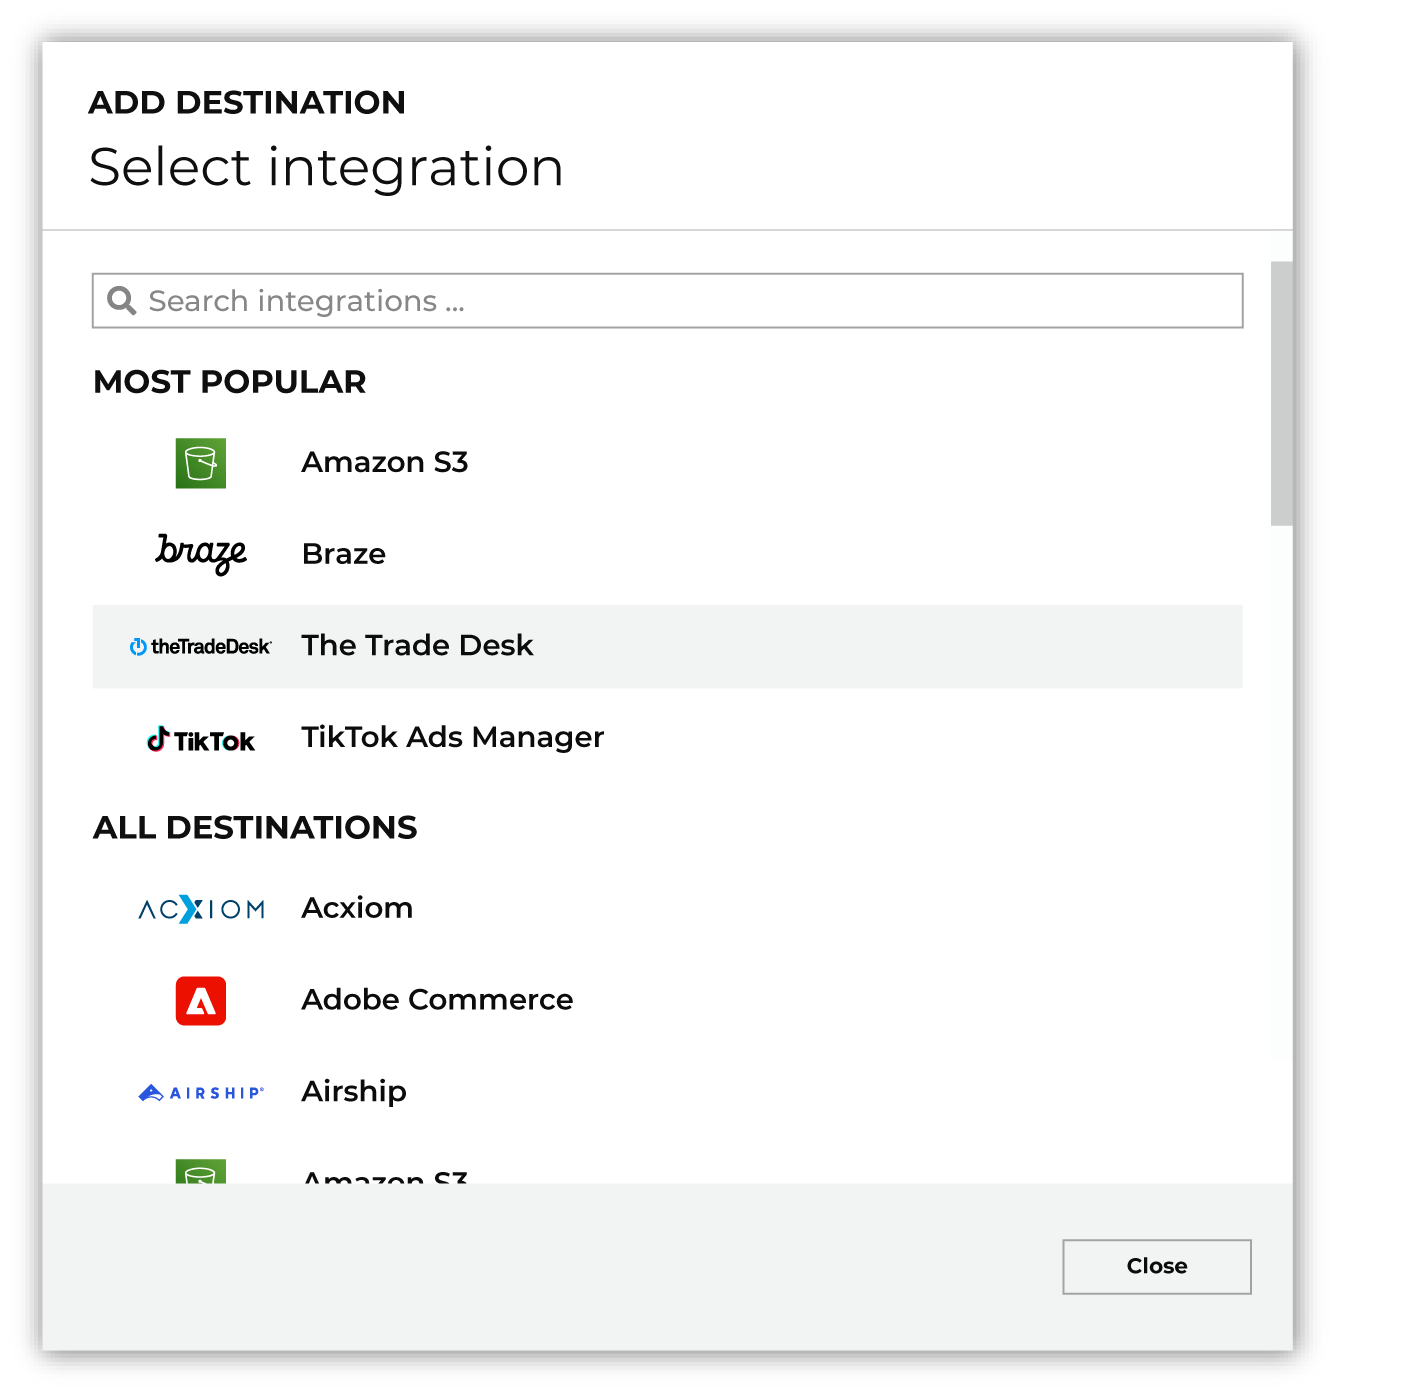
To configure a destination for Airship Attributes, do one of the following:
|
|
|
Select the credential for Airship Attributes from the Credential dropdown, and then click Continue. Tip Amperity validates the connection when the destination is saved. If the connection cannot be validated, an error is shown and the destination is not saved. |
|
|
In the “Destination settings” dialog box, assign the destination a name and description that ensures other users of Amperity can recognize when to use this destination. Configure business user access By default a destination is available to all users who have permission to view personally identifiable information (PII). Enable the Admin only checkbox to restrict access to only users assigned to the Datagrid Operator and Datagrid Administrator policies. Enable the PII setting checkbox to allow limited access to PII for this destination. Use the Restrict PII access policy option to prevent users from viewing data marked as PII anywhere in Amperity and from sending data to downstream workflows. |

|
Configure the following settings, and then click “Save”. Identifier type
List name (Required at orchestration)
|

|
After configuring this destination users may use:
|

|
Validate the audience with Airship Attributes by using a sample audience with a very small membership. For example: 10 or 100 members or the minimum audience size recommended by Airship Attributes. Send the sample audience to Airship Attributes and verify the sample audience is correct in Airship Attributes. Make adjustments if necessary. Only send full audiences after validation is complete. |