
 Operators Guide



Configure destinations for Bloomreach
Bloomreach Engagement (formerly Exponea) is a customer data and marketing automation platform. Use Bloomreach Engagement to create personalized customer experiences across multiple channels.
Use Amperity to manage customer profiles in Bloomreach Engagement. Build a query or segment, and then send customer data to Bloomreach Engagement for segmentation, campaigns, and personalization. Customer profiles are identified by a Bloomreach hard identifier such as email, cookie, Google Analytics ID, or external ID. If a matching customer profile does not already exist in Bloomreach Engagement, Amperity creates it.
This destination uses the Bloomreach Engagement API .
Important
Amperity sends segment membership to Bloomreach Engagement in one of two ways, depending on the credential.
As an external segment, when the credential has an External segments integration. Amperity registers the segment in Bloomreach Engagement under the Segment name, and then adds and removes customers as their membership changes. The segment appears in Bloomreach Engagement under Analyses > External segments and is stored on each customer profile as the boolean property
ext_segment_<name>:truewhile the customer is in the segment, andfalseafter the customer leaves it. The segment is ready to use in Bloomreach Engagement without further setup. Depending on how the integration is configured, a customer ID that matches no profile either creates a profile or is ignored. External segment membership updates count against your Bloomreach Engagement project’s monthly customer update limits.As segment membership events, when the credential has no External segments integration. Amperity records each change as an
amperity-segmentevent whosesegment_nameproperty holds the segment name and whoseactionproperty isadditionordeletion. To act on this membership in Bloomreach Engagement (for example, to target it in a campaign), build a segmentation in your Bloomreach Engagement project over these events. Until that segmentation exists, the membership data is present in Bloomreach Engagement but is not usable as a segment.
Caution
Bloomreach Engagement limits the number of distinct attributes in a project (255 by default, though this may vary based on your Bloomreach Engagement contract). An orchestration or campaign whose query or segment has more attributes than the limit fails with an error before any data is sent. When segment membership is sent as an external segment, Amperity reserves one attribute for the segment’s ext_segment_<name> property, so the query or segment may contain at most 254 attributes.
Note
Amperity sends only what changed since the previous run. For each run, Amperity chooses how to send each lane of data–customer attribute updates and segment membership changes are separate lanes–based on how many rows that lane contains:
Up to 500,000 rows in a lane are sent over the Bloomreach Engagement batch API, and Amperity receives a result for each row in the same request. Rows that Bloomreach Engagement rejects are reported as failed, and the rejection reason is recorded as an error on the orchestration or campaign run in Amperity.
More than 500,000 rows in a lane are sent over the Bloomreach Engagement Imports API as one bulk file. Bloomreach Engagement accepts each import and processes it afterward, and does not return per-row results. The run reports success when Bloomreach Engagement accepts the import, not when its rows finish processing. Import outcomes surface only in Bloomreach Engagement: in the import history in the Bloomreach Engagement console (retained for 30 days) and in
ImportErrorandImportRowsDiscardednotifications to project users. Because processing is progressive, an import that fails partway may leave rows partly applied.
The two lanes cross this threshold independently, so a single run may use the batch API for one lane and the Imports API for the other.
When segment membership is sent as an external segment, the membership lane never uses the Imports API, however many rows it contains. Amperity sends additions and removals in requests of up to 5,000 customer IDs and receives a result for each customer ID. Customer IDs that Bloomreach Engagement rejects (for example, an ID longer than 256 bytes) and audience members with no value for the Bloomreach identifier are counted as failed membership changes and reported as errors on the run, with a count for each reason. The first run that sends a segment as an external segment, including the first run after an External segments integration is added to the credential, sends every member of the audience, even if the audience has not changed. Bloomreach Engagement accepts about 1,000 customer IDs per second for external segment updates, so a large first load takes time: about 19 minutes per million members.
Warning
Attributes accumulate across everything sent to a Bloomreach Engagement project over time, and the attribute limit applies to the project’s total number of distinct attributes, not to each customer profile. Each external segment also uses one of these attributes. Once the project is at the limit:
An update that would add a new attribute is discarded as a whole. Over the batch API (up to 500,000 rows), Bloomreach Engagement accepts the update and returns no error, so the run reports these rows as succeeded. Over the Imports API, the failure surfaces only in Bloomreach Engagement’s import history and notifications, as described above.
Registering a new external segment fails, and the run stops with an error saying that the Bloomreach Engagement project has no room for another external segment.
Updates to attributes the project already has are not affected. To make room, remove unused attributes or external segments in Bloomreach Engagement, or ask Bloomreach Engagement to raise the limit.
Get details
Review the following details before configuring credentials for Bloomreach Engagement and before configuring Amperity to send customer profiles to Bloomreach Engagement.

|
Credential settings API base URL
Project token
API key ID
API secret
External segments integration ID
External segments access key
|
|
|
Required configuration settings Bloomreach identifier
Additional identifiers
Segment name
|
|
|
A query that outputs the fields that must be sent to the Bloomreach Engagement customer table. |
Configure credentials
Configure credentials for Bloomreach Engagement before adding a destination.
An individual with access to Bloomreach Engagement should use SnapPass to securely share “API base URL”, “Project token”, “API key ID”, and “API secret” details with the individual who configures Amperity.
To configure credentials for Bloomreach

|
From the Settings page, select the Credentials tab, and then click the Add credential button. |
|
In the Create credential dialog box, do the following:
|

|
The settings that are available for a credential vary by credential type. For the “bloomreach” credential type, configure settings, and then click Save. API base URL
Project token
API key ID
API secret
External segments integration ID
External segments access key
|
Add destination
Use a sandbox to configure a destination for Bloomreach Engagement. Before promoting your changes, send a sample audience, and then verify the results in Bloomreach Engagement. After verifying the end-to-end workflow, push the destination from the sandbox to production.
To add a destination for Bloomreach
|
|
Open the Destinations page, select the New destinations button, and then select Orchestration. 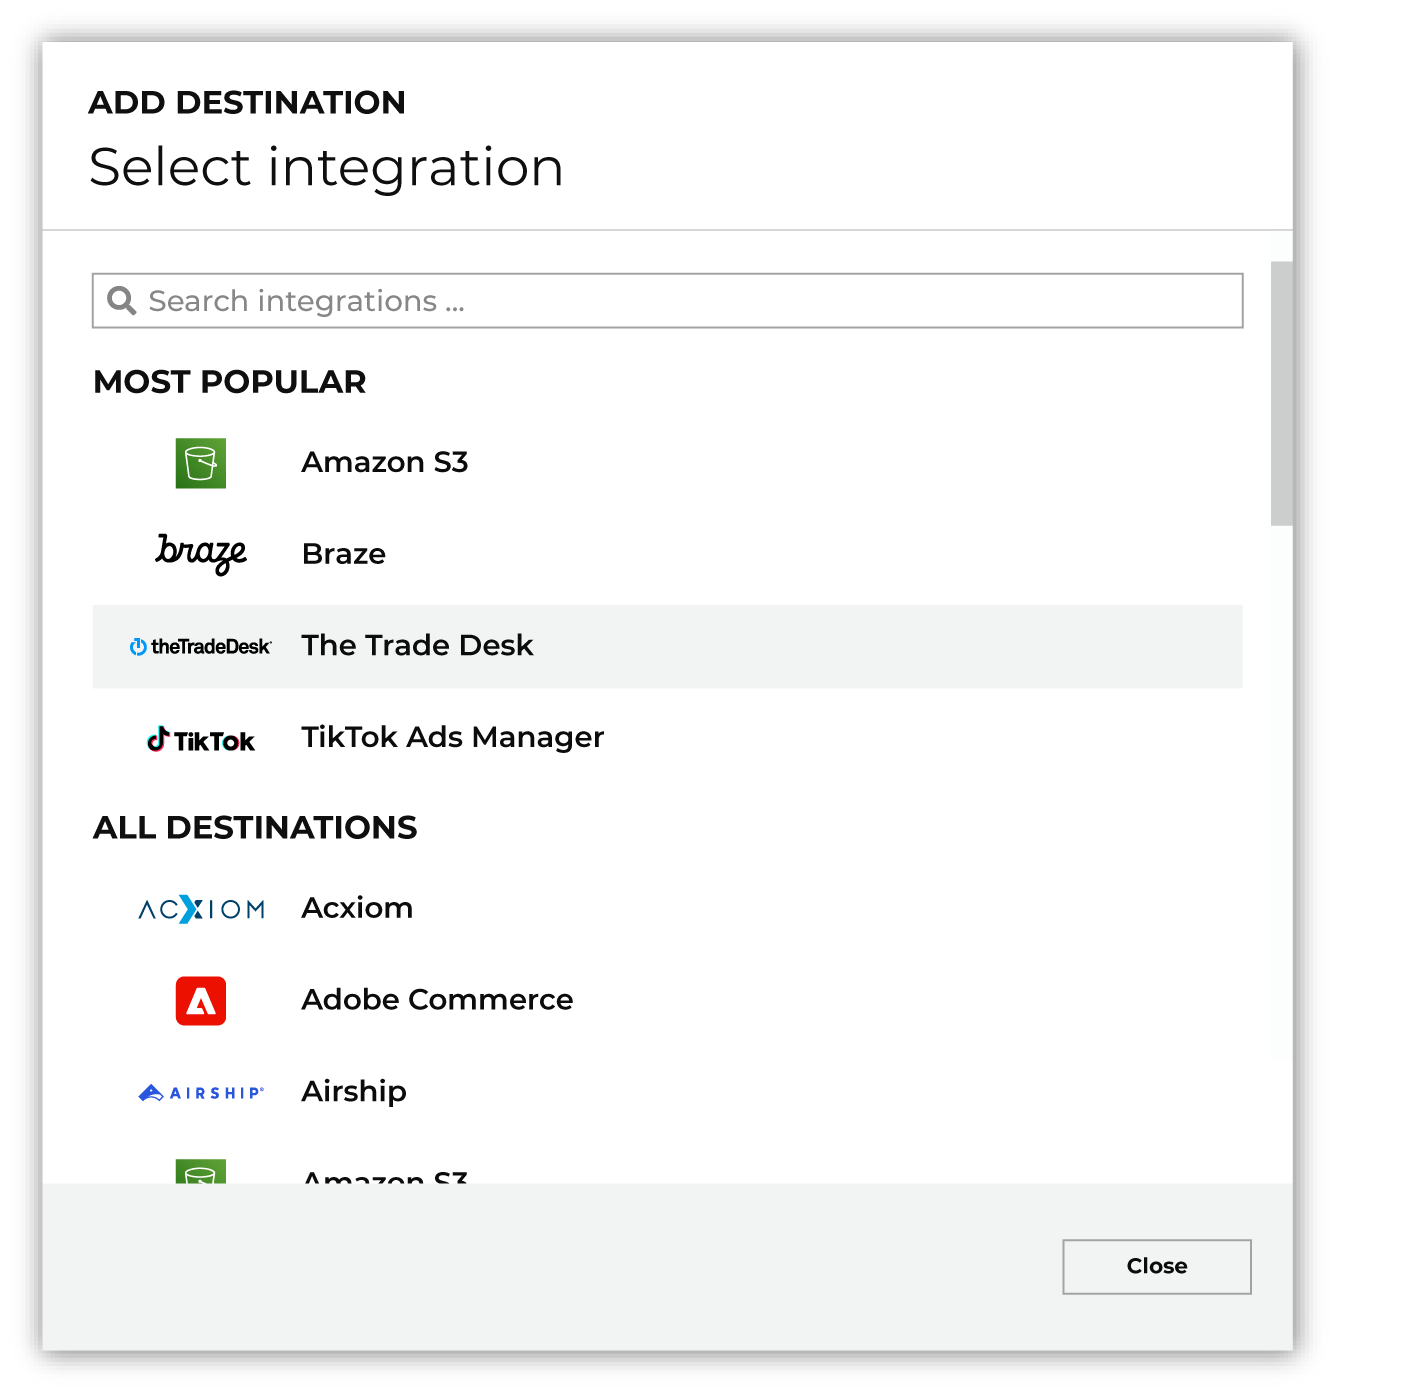
To configure a destination for Bloomreach Engagement, do one of the following:
|
|
|
Select the credential for Bloomreach Engagement from the Credential dropdown, and then click Continue. Tip Amperity validates the connection when the destination is saved. If the connection cannot be validated, an error is shown and the destination is not saved. |
|
|
In the “Destination settings” dialog box, assign the destination a name and description that ensures other users of Amperity can recognize when to use this destination. Configure business user access By default a destination is available to all users who have permission to view personally identifiable information (PII). Enable the Admin only checkbox to restrict access to only users assigned to the Datagrid Operator and Datagrid Administrator policies. Enable the PII setting checkbox to allow limited access to PII for this destination. Use the Restrict PII access policy option to prevent users from viewing data marked as PII anywhere in Amperity and from sending data to downstream workflows. |

|
Configure the following settings, and then click “Save”. Bloomreach identifier
Additional identifiers
Segment name
|

|
After configuring this destination users may use:
|

|
Validate the audience with Bloomreach Engagement by using a sample audience with a very small membership. For example: 10 or 100 members or the minimum audience size recommended by Bloomreach Engagement. Send the sample audience to Bloomreach Engagement and verify the sample audience is correct in Bloomreach Engagement. Make adjustments if necessary. Only send full audiences after validation is complete. |