About destinations
A destination is a connection between Amperity and a downstream system that allows Amperity to send data to that system.
After a destination is configured, users of Amperity can:
Use orchestrations to send the results of any query to any configured destination.
Use segments to define audiences, and then assign those segments to single-touch campaigns or to nodes in a journey. More than one destination can be configured for a campaign or for a node in a journey.
Amperity Learning Lab
Destinations are connections between Amperity and downstream systems that enable sending data to those systems.
Open Learning Lab to learn more about creating destinations for campaigns and journeys . Registration is required.
Add destinations
To add destinations to your Amperity tenant, do the following:
Get details
Each destination requires configuration, such as:
Providing credentials that allow Amperity to access the downstream location
Ensuring that certain fields are named in certain ways
Configuring Amperity to send the correct file type for file-based destinations
Configuring Amperity for audience identifiers, such as audience names, list IDs, or activation IDs
Configuration requirements are unique to each destination and use case. Review the “Get details” section for each destination that your brand wants to configure in Amperity. Review any links to external documentation to help ensure that your brand understands destination-specific requirements.
After a destination is configured, run a test using a small audience. Verify that the data has arrived correctly. Make adjustments, if necessary, before sending an audience that is used with your brand’s marketing activity.
Configure credentials
Use the Credentials page to view and manage credentials for data sources and destinations. After you have added a credential for a destination you can configure Amperity to send data to that destination.
Add destination
Use a sandbox to configure a destination for a destination. Before promoting your changes, send a sample audience, and then verify the results in a destination. After verifying the end-to-end workflow, push the destination from the sandbox to production.
To add a destination

|
Open the Destinations page, select the New destinations button, and then select Orchestration. 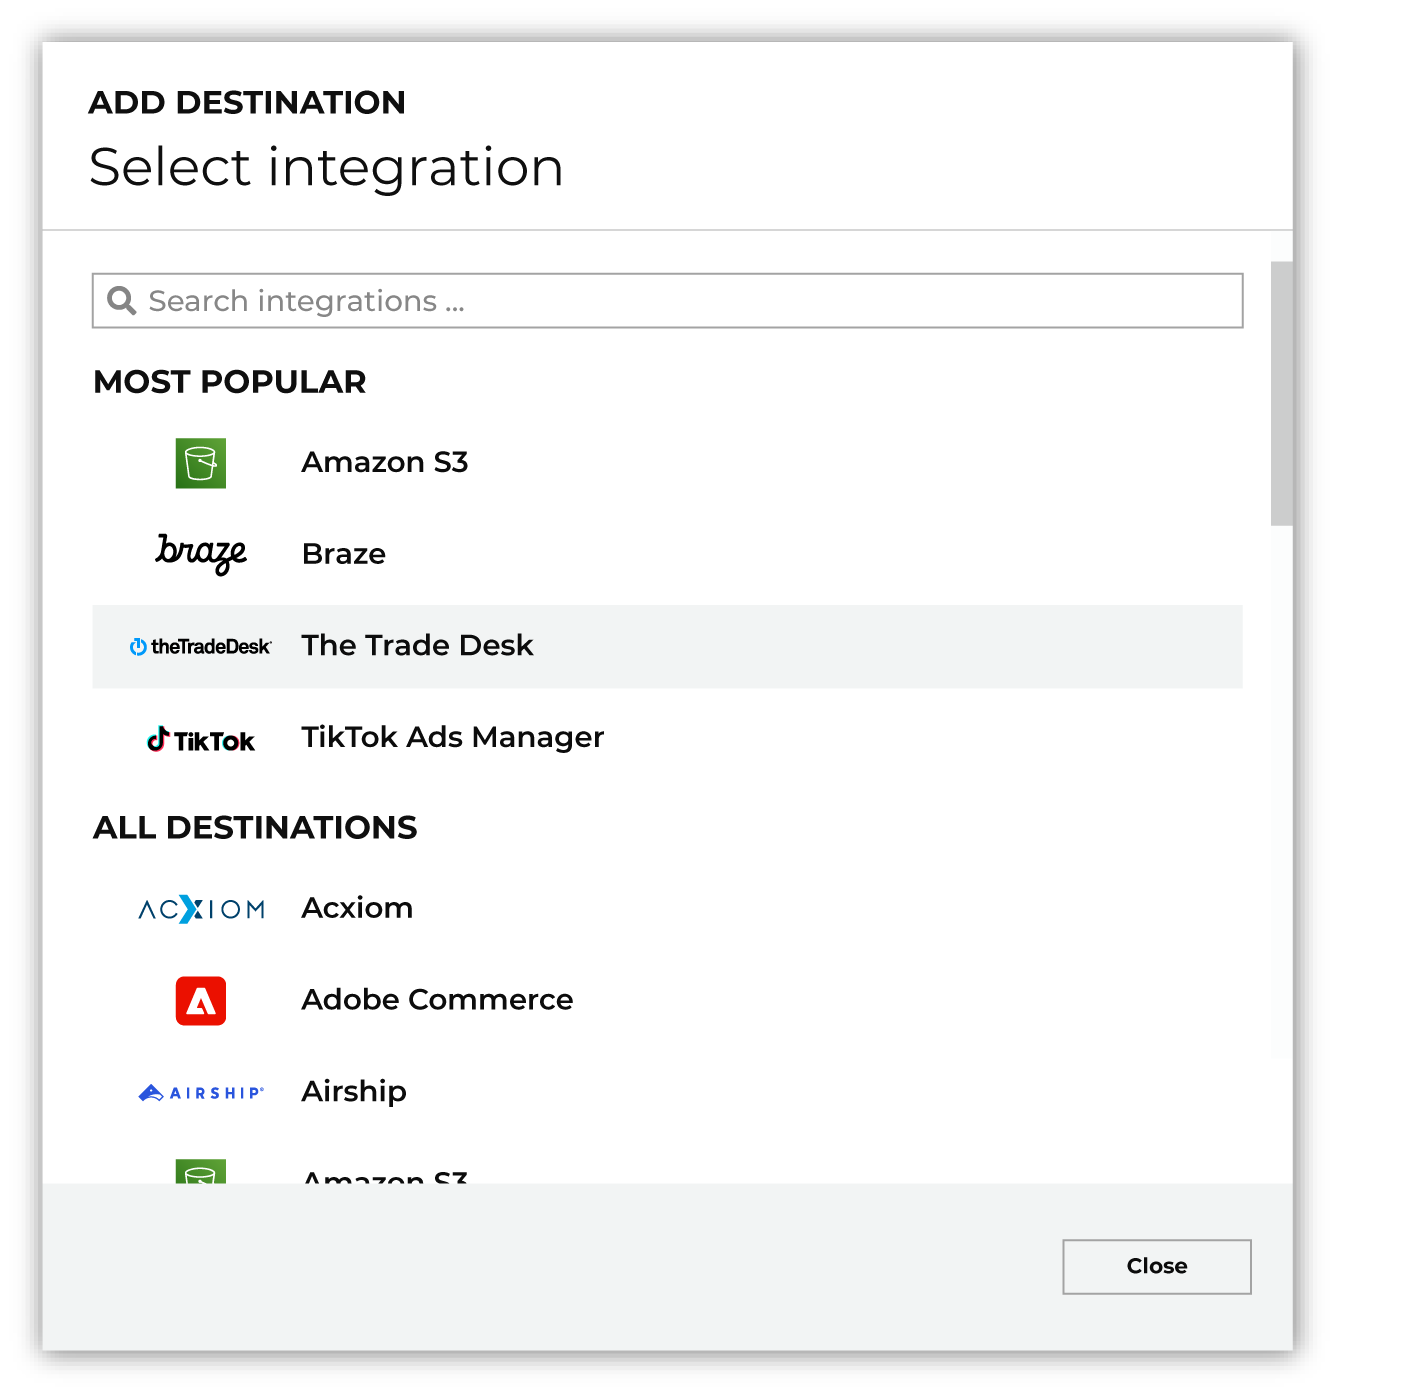
To configure a destination for a destination, do one of the following:
|

|
Select the credential for a destination from the Credential dropdown, and then click Continue. Tip Amperity validates the connection when the destination is saved. If the connection cannot be validated, an error is shown and the destination is not saved. |

|
In the “Destination settings” dialog box, assign the destination a name and description that ensures other users of Amperity can recognize when to use this destination. Configure business user access By default a destination is available to all users who have permission to view personally identifiable information (PII). Enable the Admin only checkbox to restrict access to only users assigned to the Datagrid Operator and Datagrid Administrator policies. Enable the PII setting checkbox to allow limited access to PII for this destination. Use the Restrict PII access policy option to prevent users from viewing data marked as PII anywhere in Amperity and from sending data to downstream workflows. |

|
Configure the following settings, and then click “Save”. Settings are documented on the individual pages for each destination. |

|
After configuring this destination users may use:
|