
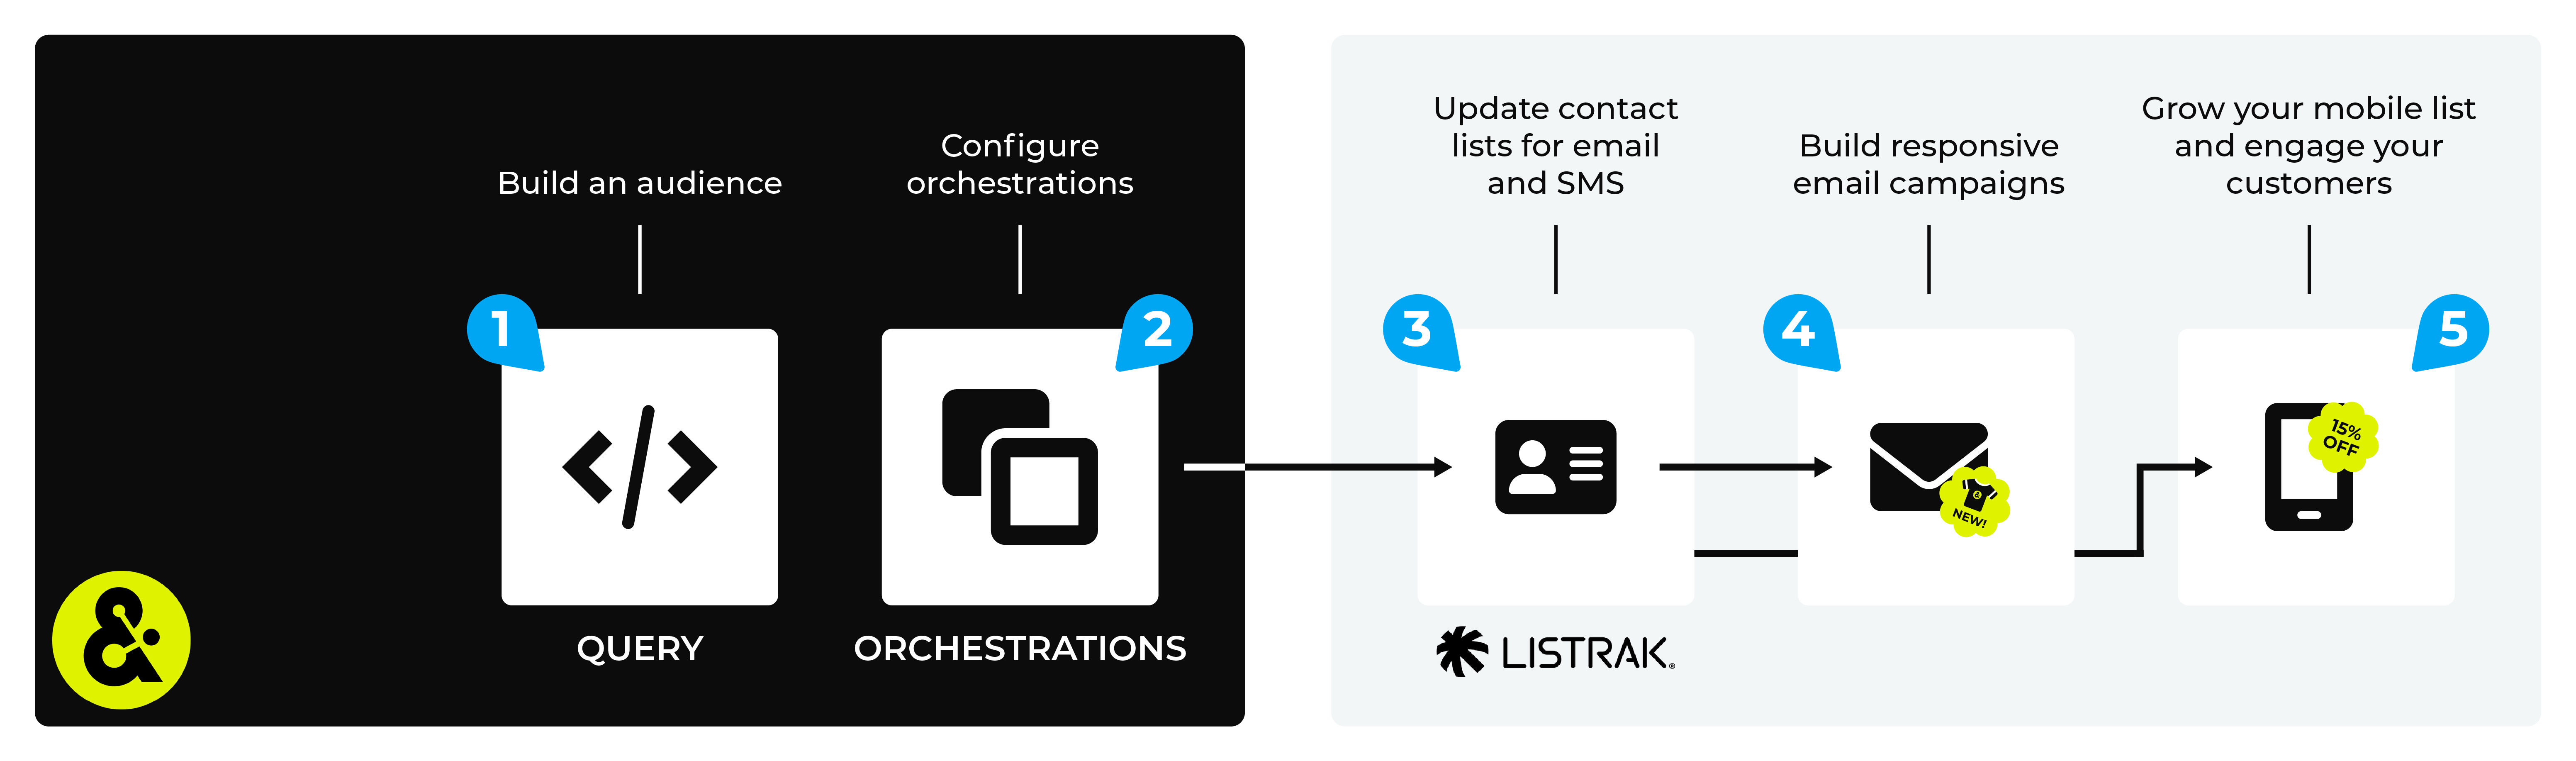
Send query results to Listrak
You can build queries that return email address, along with returning additional profile attributes, and then use orchestrations to send those results to Listrak.
Amperity can manage email lists in Listrak.
Amperity automatically adds a field attribute to all email lists that are sent to Listrak. This field is located inside a field group named “Amperity Message Attributes” within Listrak.
Note
Use SFTP to manage Customer lists , Product lists , Order lists , and Order item lists .
Work with your Listrak representatives to determine which of these sets will be useful for your workflows within Listrak, and then verify that attributes sent from Amperity are mapped correctly to the appropriate data schema within Listrak.
This topic describes the steps that are required to send email address to Listrak from Amperity:
Note
Listrak must be enabled before you can configure an orchestration to send query results.
Build query
The default audience list in Listrak requires only an email address. This requires a simple SELECT statement that returns only the Amperity ID and its associated email address:
SELECT
  ,amperity_id AS "Amperity ID"
  ,email AS "Email"
FROM Customer360
Tip
Listrak requires an email address; you may include additional customer profile attributes, including the non-required email address.
Add orchestration
An orchestration defines the relationship between query results and a destination, including the destination and the frequency at which an orchestration runs.
To add an orchestration
From the Destinations tab, click Add Orchestration. This opens the Add Orchestration dialog box.
From the Object Type dropdown, select Query.
From the Object dropdown, select the query for which results will be sent to Listrak.
From the Destination dropdown, select a destination that is configured for sending data to Listrak.
Verify all settings.
Set the workflow to Manual. (You can change this to automatic later, after verifying the end-to-end workflow.)
Click Save.
Run orchestration
Run the orchestration manually to validate that it works.
To run the orchestration
From the Destinations tab, under Orchestrations, open the menu for the Listrak orchestration, and then select Run.
The Status column for the orchestration will update to say “Waiting to start…”, after which the notifications pane will update to include a notification that shows the current status.
When the orchestration has run successfully, the status is updated to “Completed”.