
Create campaigns
Sending campaigns from Amperity to downstream marketing workflows is a combination of:
A segment that defines the audience that you will use with your campaign.
A campaign (this topic) that breaks that audience down into sub-audiences that align to your marketing strategies and goals.
A set of destinations that specify the locations and channels to which you will send each sub-audience.
This is part two of a series of topics that describes how this works.
A campaign is defined in the Campaigns page, from which you configure the audience and sub-audiences that will be associated with the campaign, the downstream locations to which the campaign will be sent, and the time at which the campaign is to begin.
The following sections describe the steps you’ll follow to set up and configure a campaign.

|
The campaign builder is available from the Campaigns page. The Create Campaign button in the top right corner of the page opens the campaign builder. 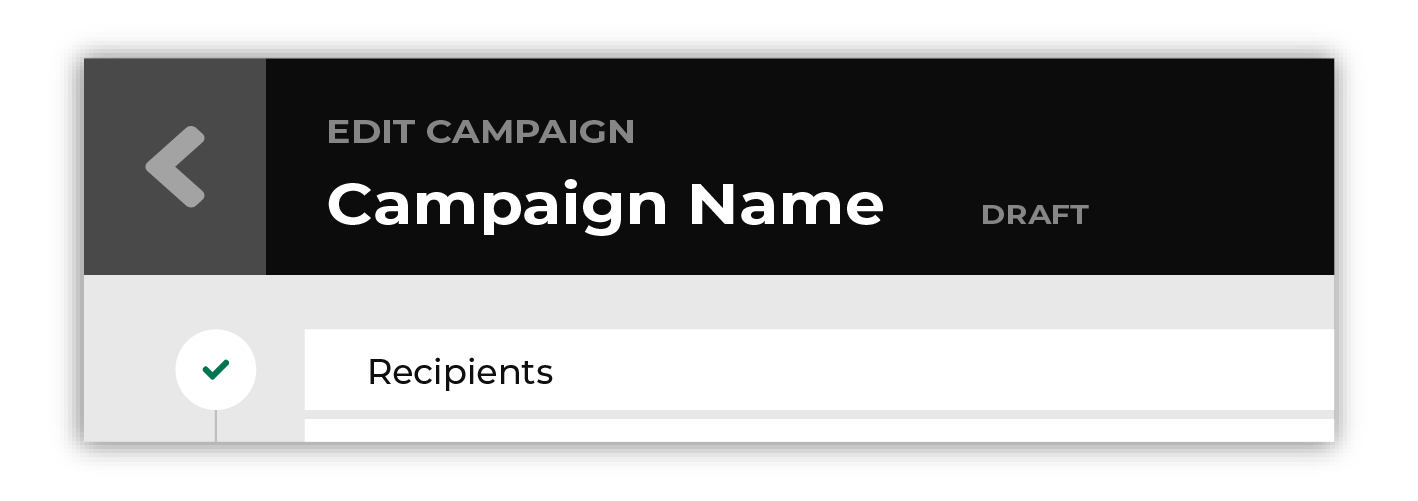
After the campaign builder opens, give your campaign a name. Tip Use good naming patterns to ensure that you can always find your campaigns in the various applications to which you will send them. The campaign name will always appear in the filename that is sent to any destination. Avoid duplication between campaign and treatment group names. Avoid using the names of destinations as campaign names unless the campaign is sent to only that destination. Use a naming pattern that ensures the campaign name works across every treatment group that is configured within any sub-audience. If brand names and/or region names apply to all sub-audiences in the campaign, consider using them within the campaign name. Some examples:
|
|
All campaigns start with an audience. Choose a segment from the Include dropdown list. The customers in that list will become the audience for this campaign. 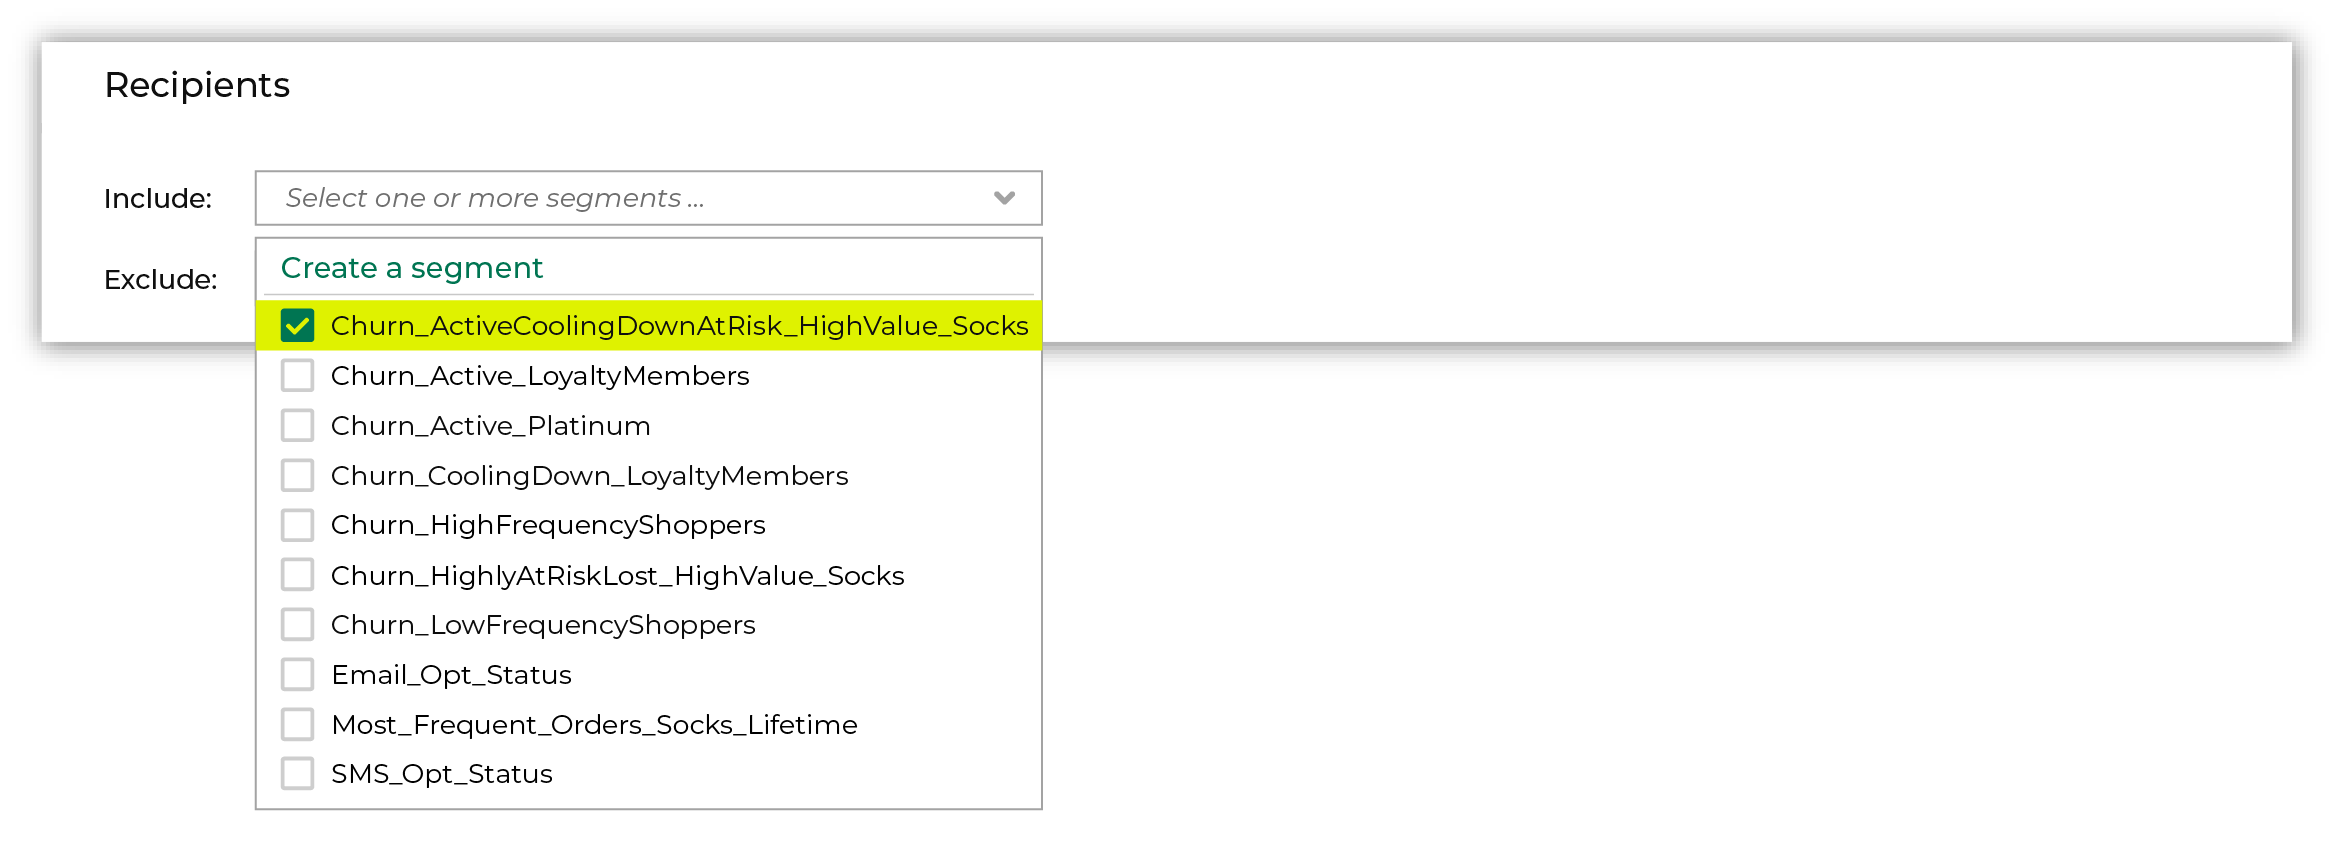
Tip When a campaign starts with an audience that is defined by a single segment, you can use the segment insights for that segment as a way to measure the performance of that audience over time. |
|
Sometimes campaigns need to exclude certain members of your audience. For example, a churn prevention campaign is often configured to exclude customers who have opted-out of SMS messaging and/or who have unsubscribed from an email list. When you need to exclude audience members, choose one (or more) segments from the Exclude dropdown list. The customers in an exclusion list will be removed from the audience for this campaign. 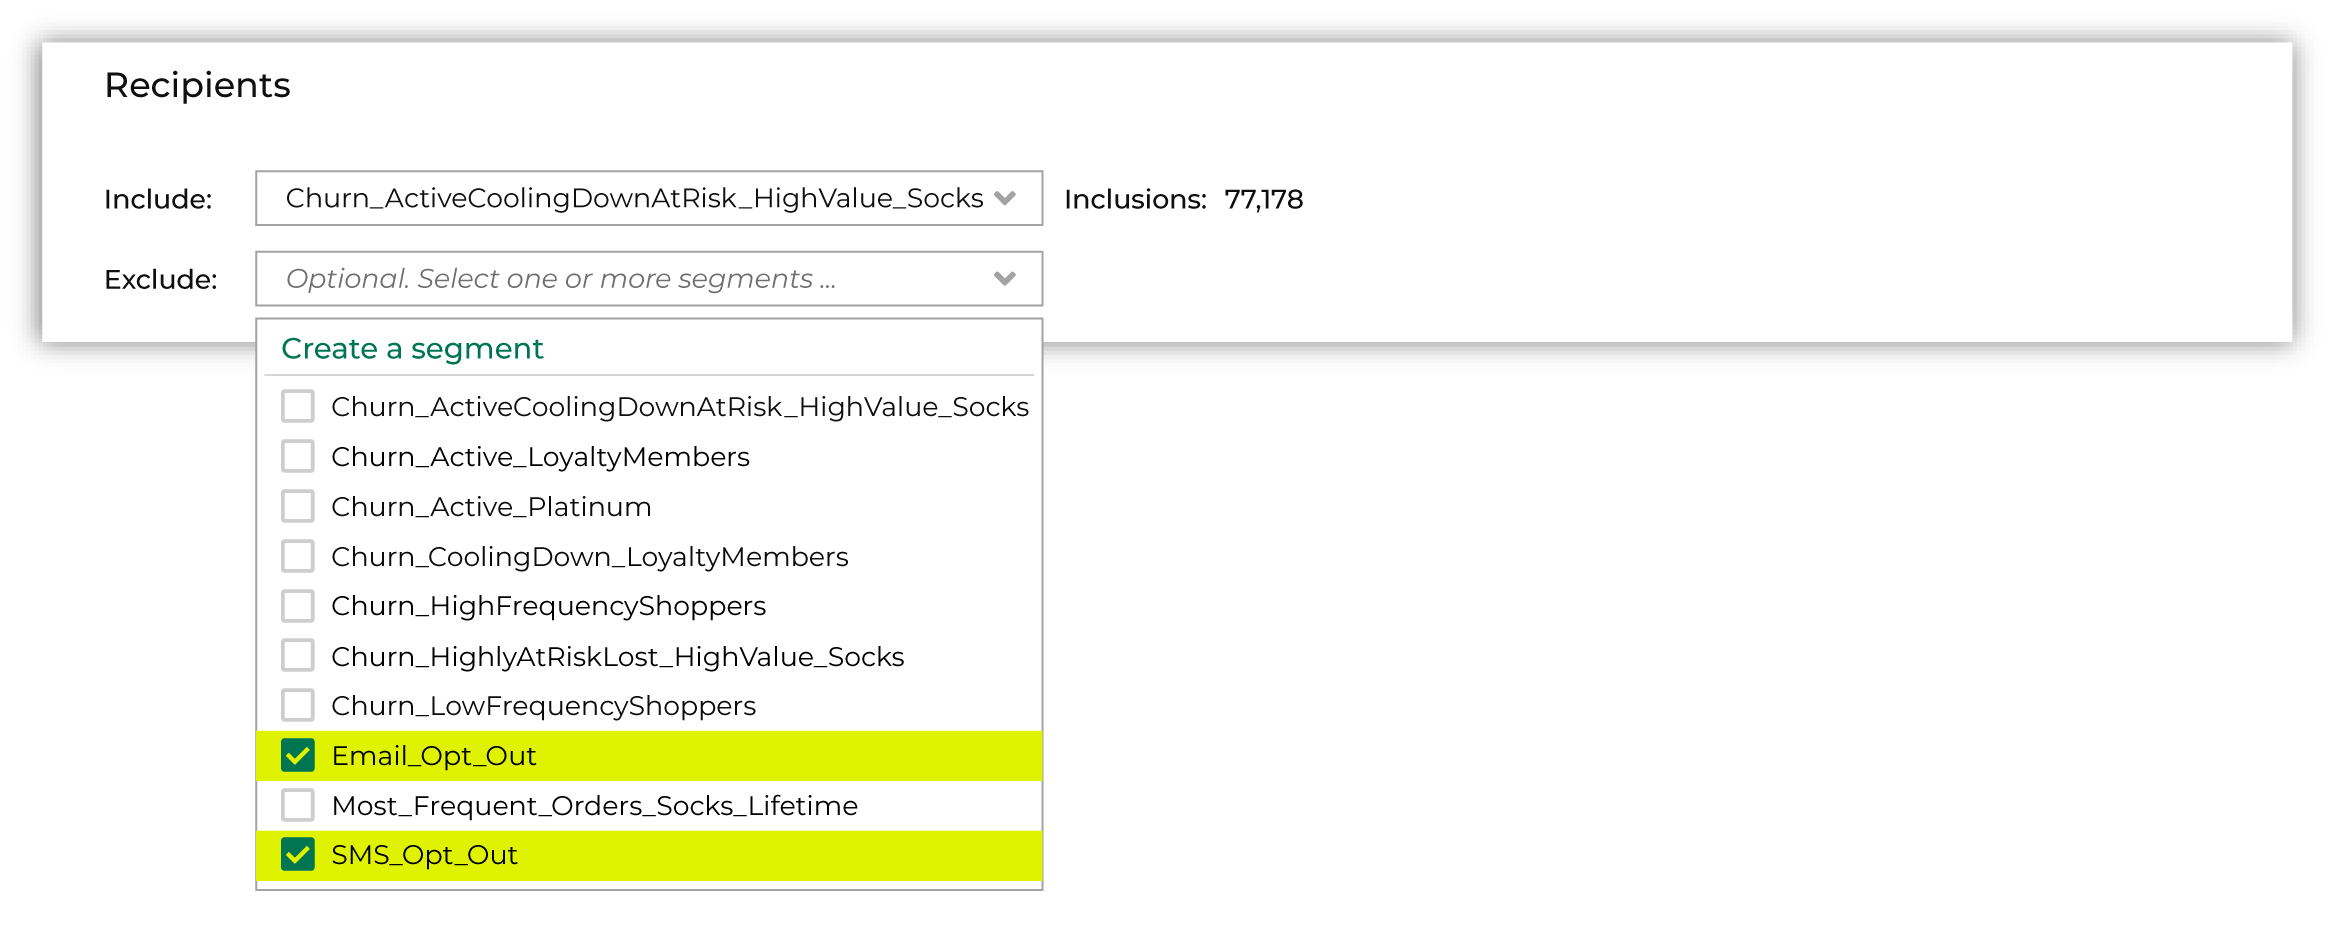
|

|
Some campaigns have just one audience, while others require sub-audiences. Sub-audiences can be many things. How you choose to configure them is dependent on your audience, marketing strategy and goals, and the type of campaign you will run. This topic uses sub-audiences to split the combined high-value audience into more specific audiences by lifecycle status. Click Add sub-audience to open the Audience Builder, find the Predicted CLV Attributes table, choose the Predicted Lifecycle Status attribute, and then select “Active”. 
Then update the name of the treatment group. In this example, it’s “Active_Socks”. This is part of the filename that you will see in the application to which you send this sub-audience. For example: “Churn_HighValue_Early_Active_Socks”. 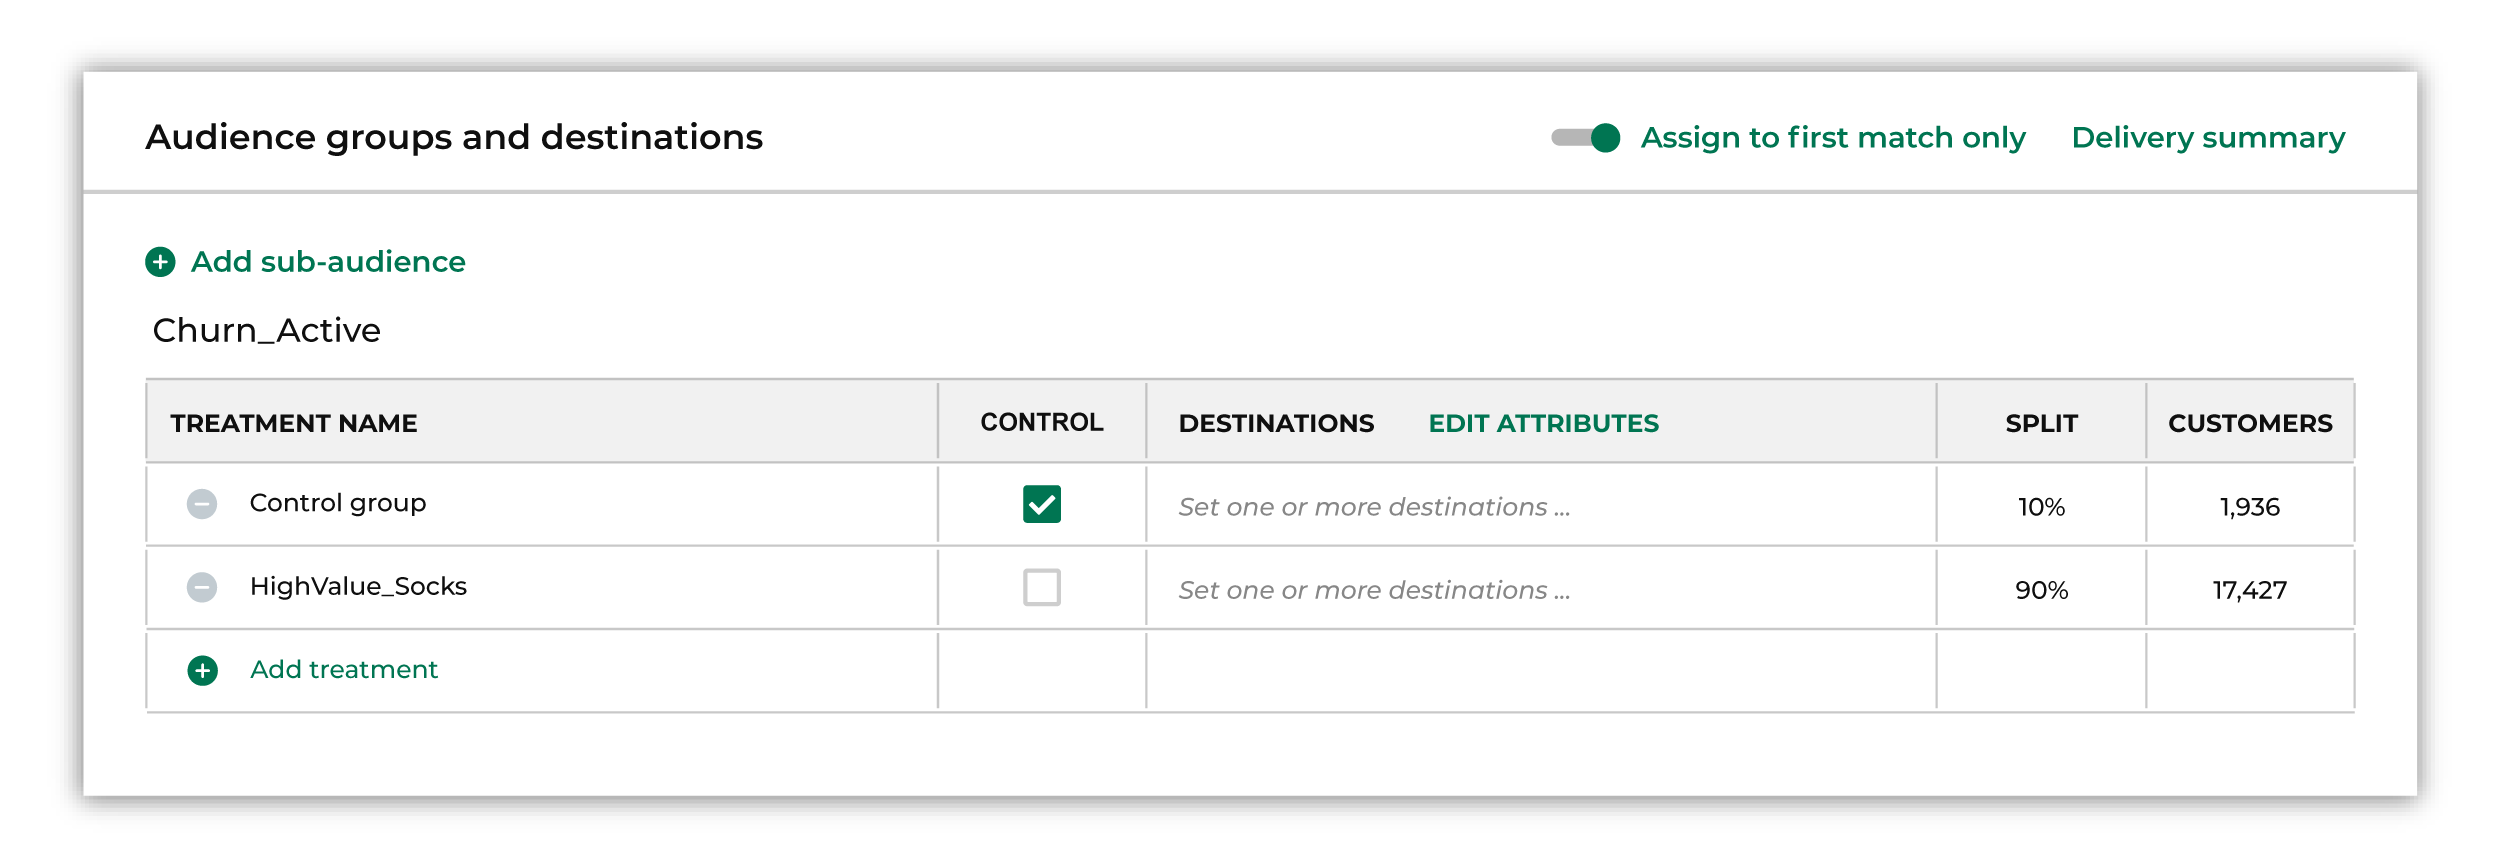
Assign one (or more) destinations to this treatment group, and then edit the attributes to ensure Amperity is sending the right data. Tip Use good naming patterns to ensure that you can always find your campaigns in the various applications to which you will send them. The campaign name will always appear in the filename that is sent to any destination and the treatment group name is often appended. Use a naming pattern that allows the treatment group name to build on the campaign name. Avoid duplication between campaign and treatment group names. Avoid using the names of destinations as treatment group names unless the treatment group is sent to only that destination. If brand names and/or region names are specific to sub-audiences, consider using the brand names within the treatment group names. Add details like “historical”, “daily”, or “test” as appropriate. Be sure to include the region name if you have multiple regions. Some examples:
The campaign and treatment group names are concatenated, typically as {{ campaign_name }}_{{ recipient_group_name }}. The campaign and treatment group names become part of the filename that will be visible to users in the application to which you send this treatment group. |

|
The second sub-audience is similar to the first one, but instead choose the “Cooling down” value from Predicted Lifecycle Status. 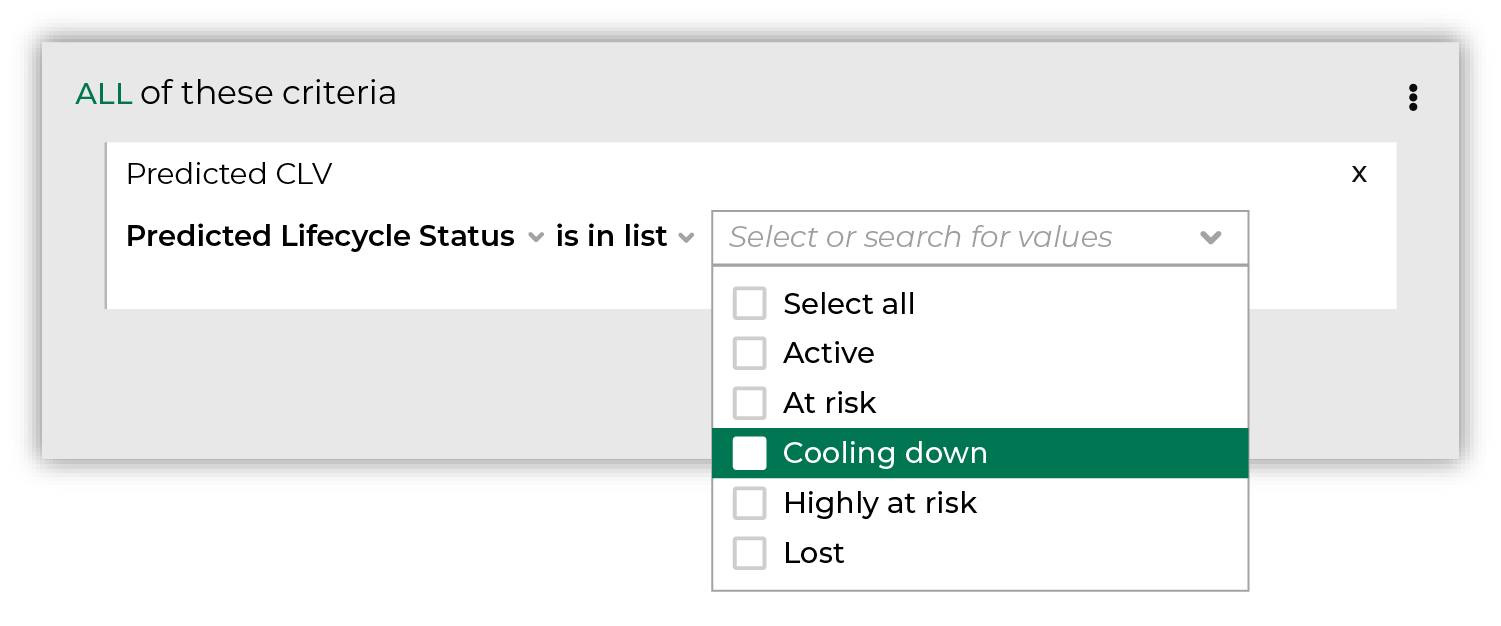
Then update the name of the treatment group. In this example, it’s “CoolingDown_Socks”. This is part of the filename that you will see in the application to which you send this sub-audience. For example: “Churn_HighValue_Early_CoolingDown_Socks”. 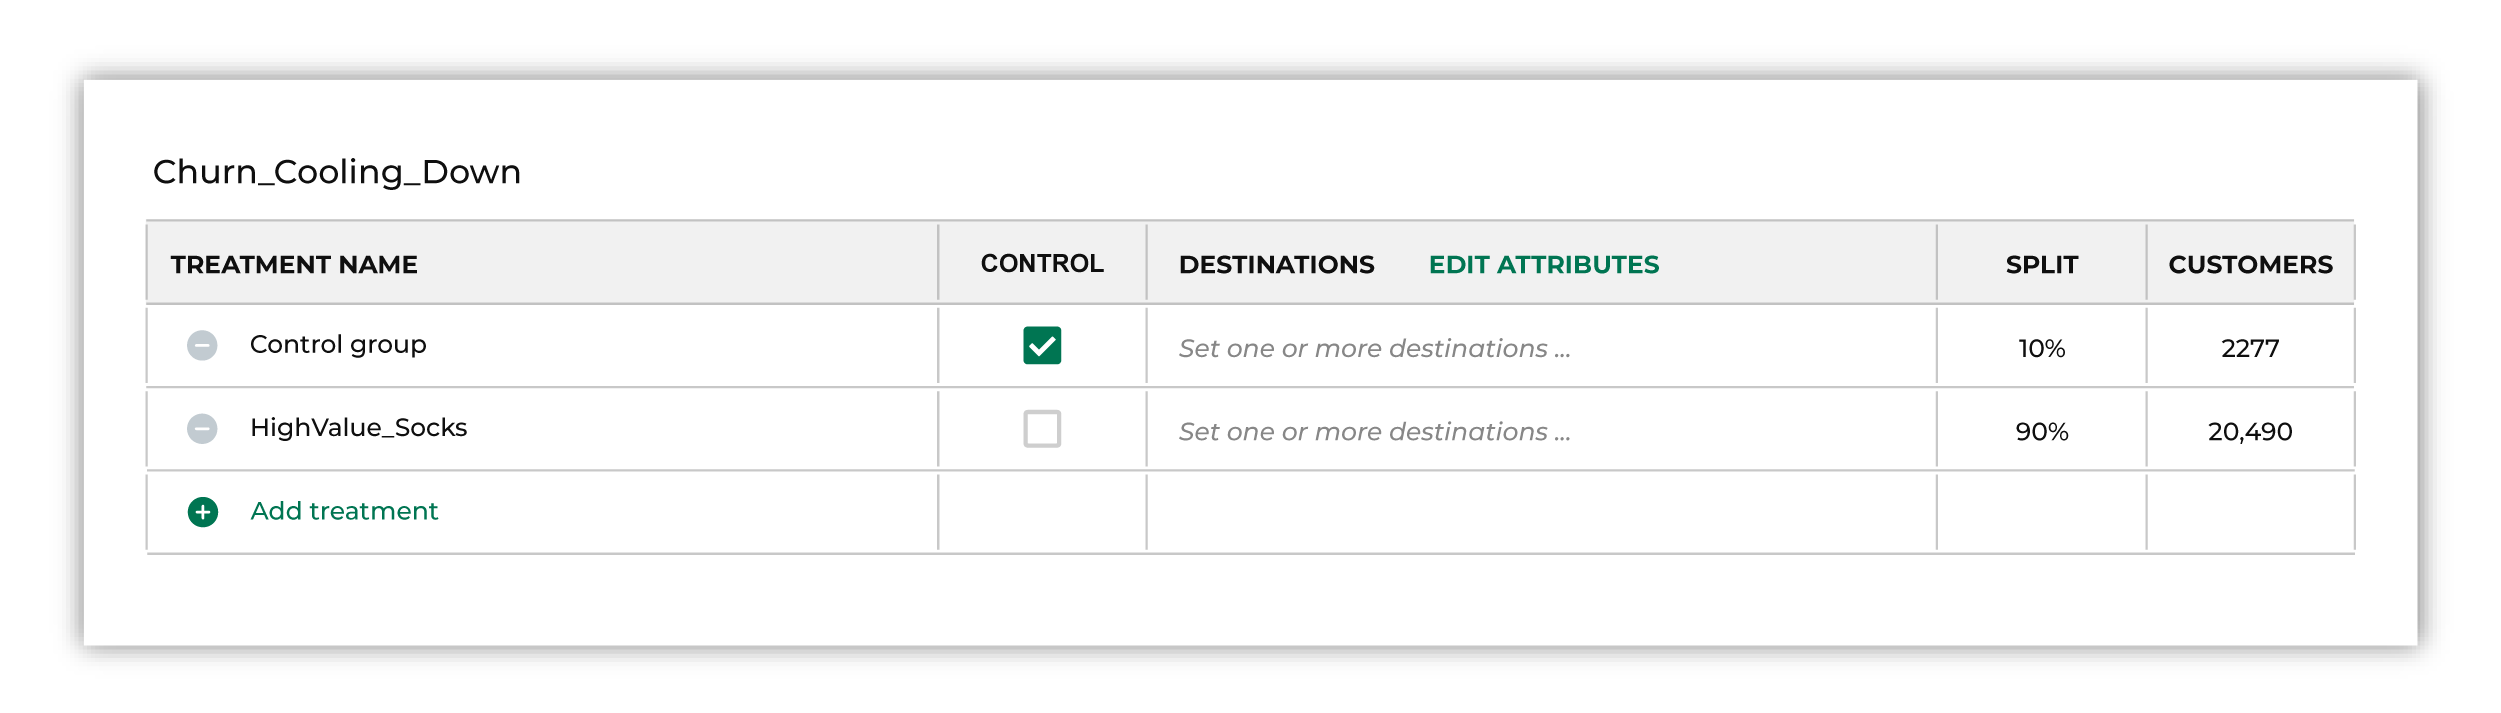
|

|
The third sub-audience is similar to the previous two, but instead choose the “At risk” value from Predicted Lifecycle Status. 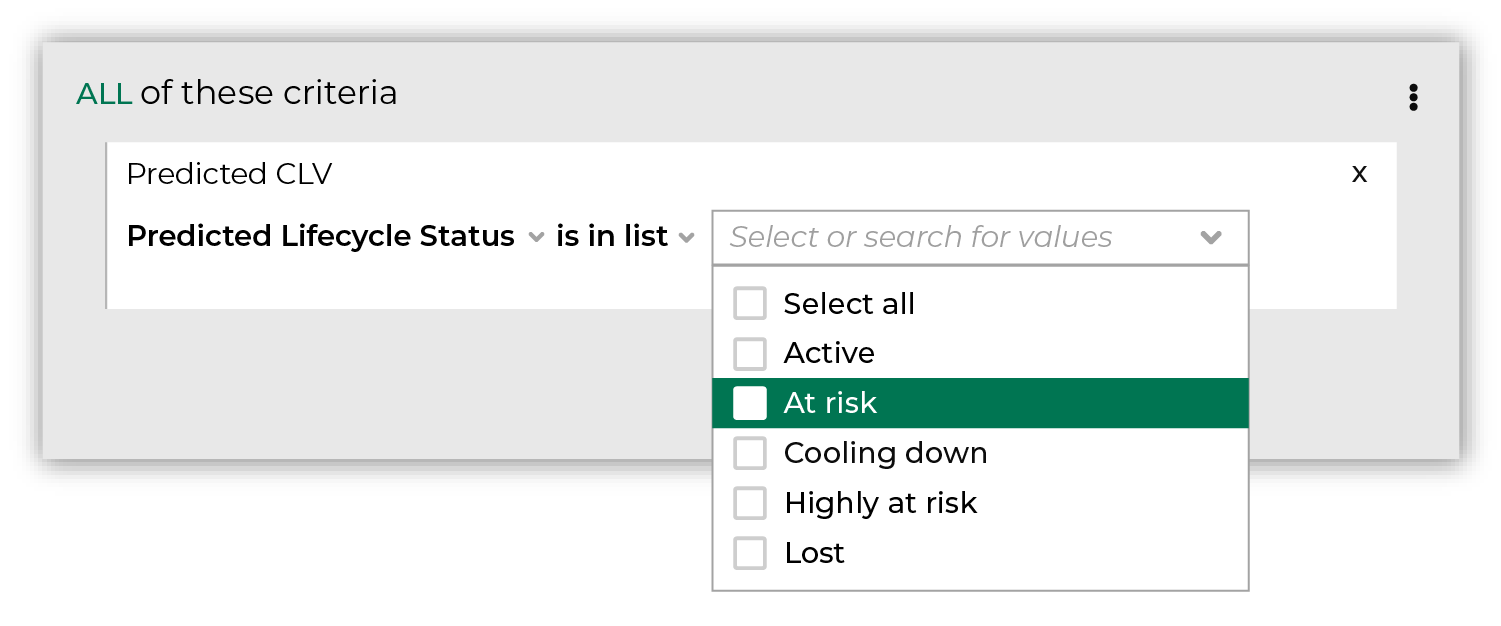
Then update the name of the treatment group. In this example, it’s “AtRisk_Socks”. This is part of the filename that you will see in the application to which you send this sub-audience. For example: “Churn_HighValue_Early_AtRisk_Socks”. 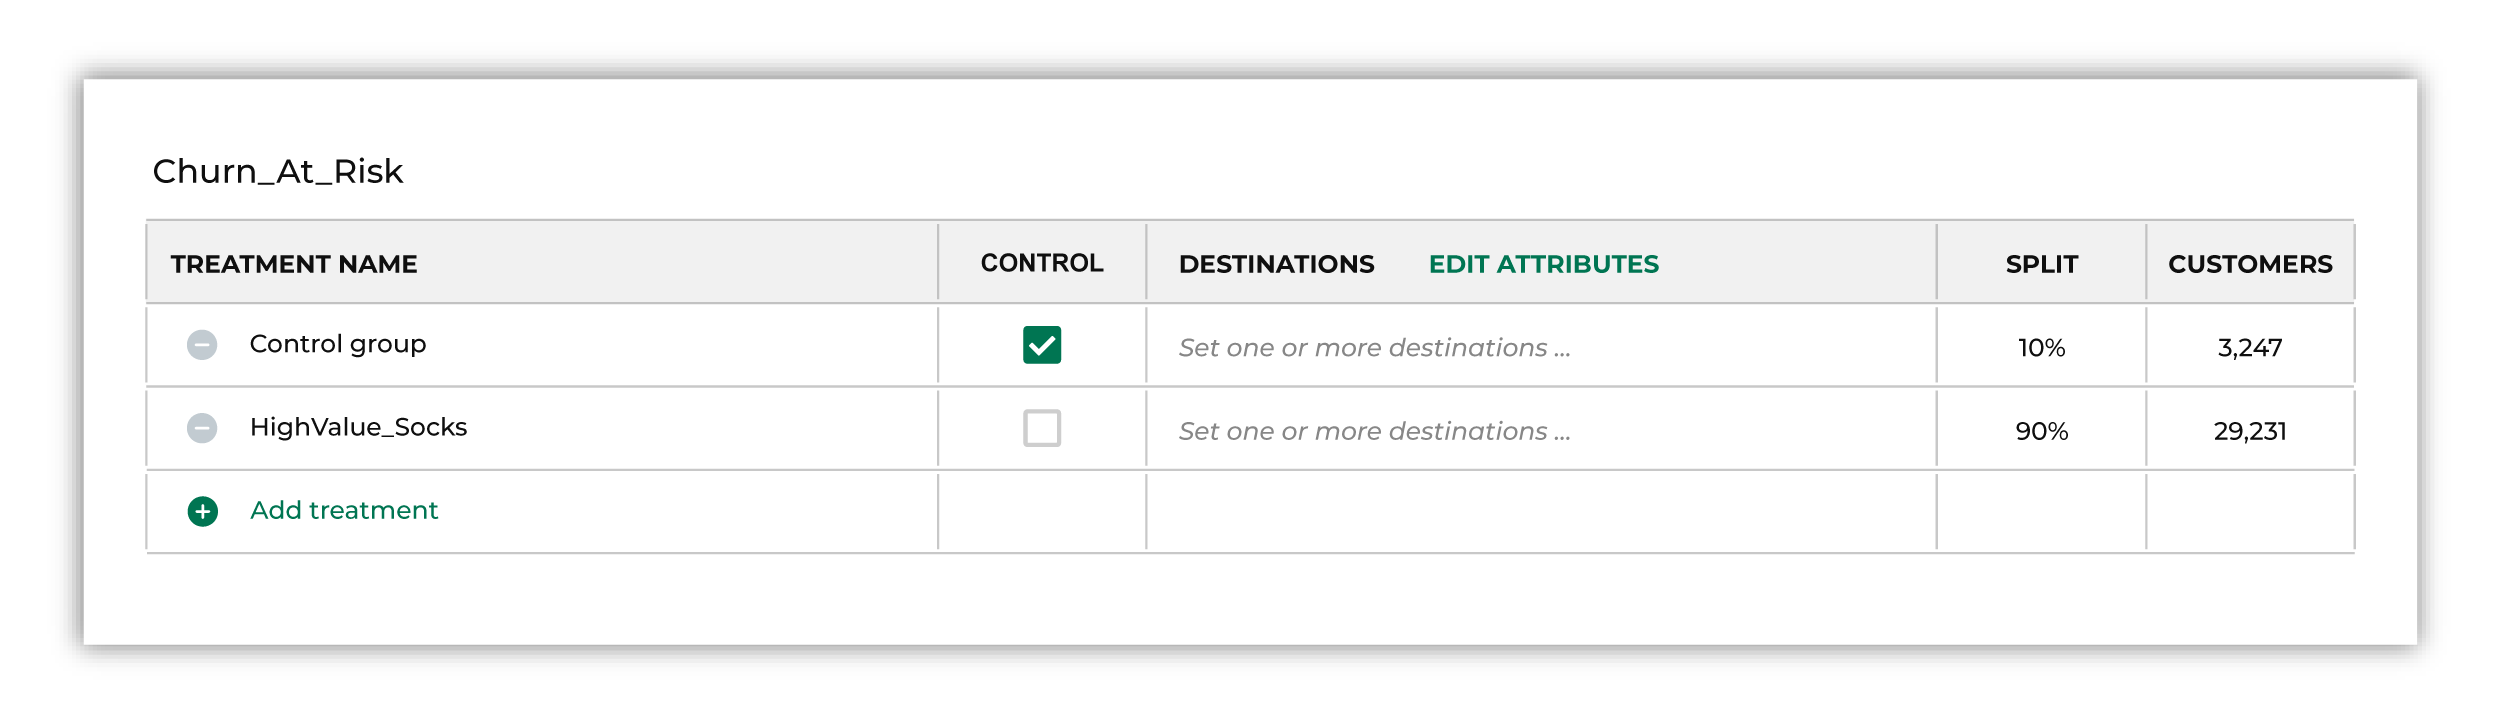
|
|
A campaign can be configured to be sent once or on a recurring basis. A campaign can also be scheduled (i.e. “to be sent at the time you choose in the future”) or to be sent as soon as possible. 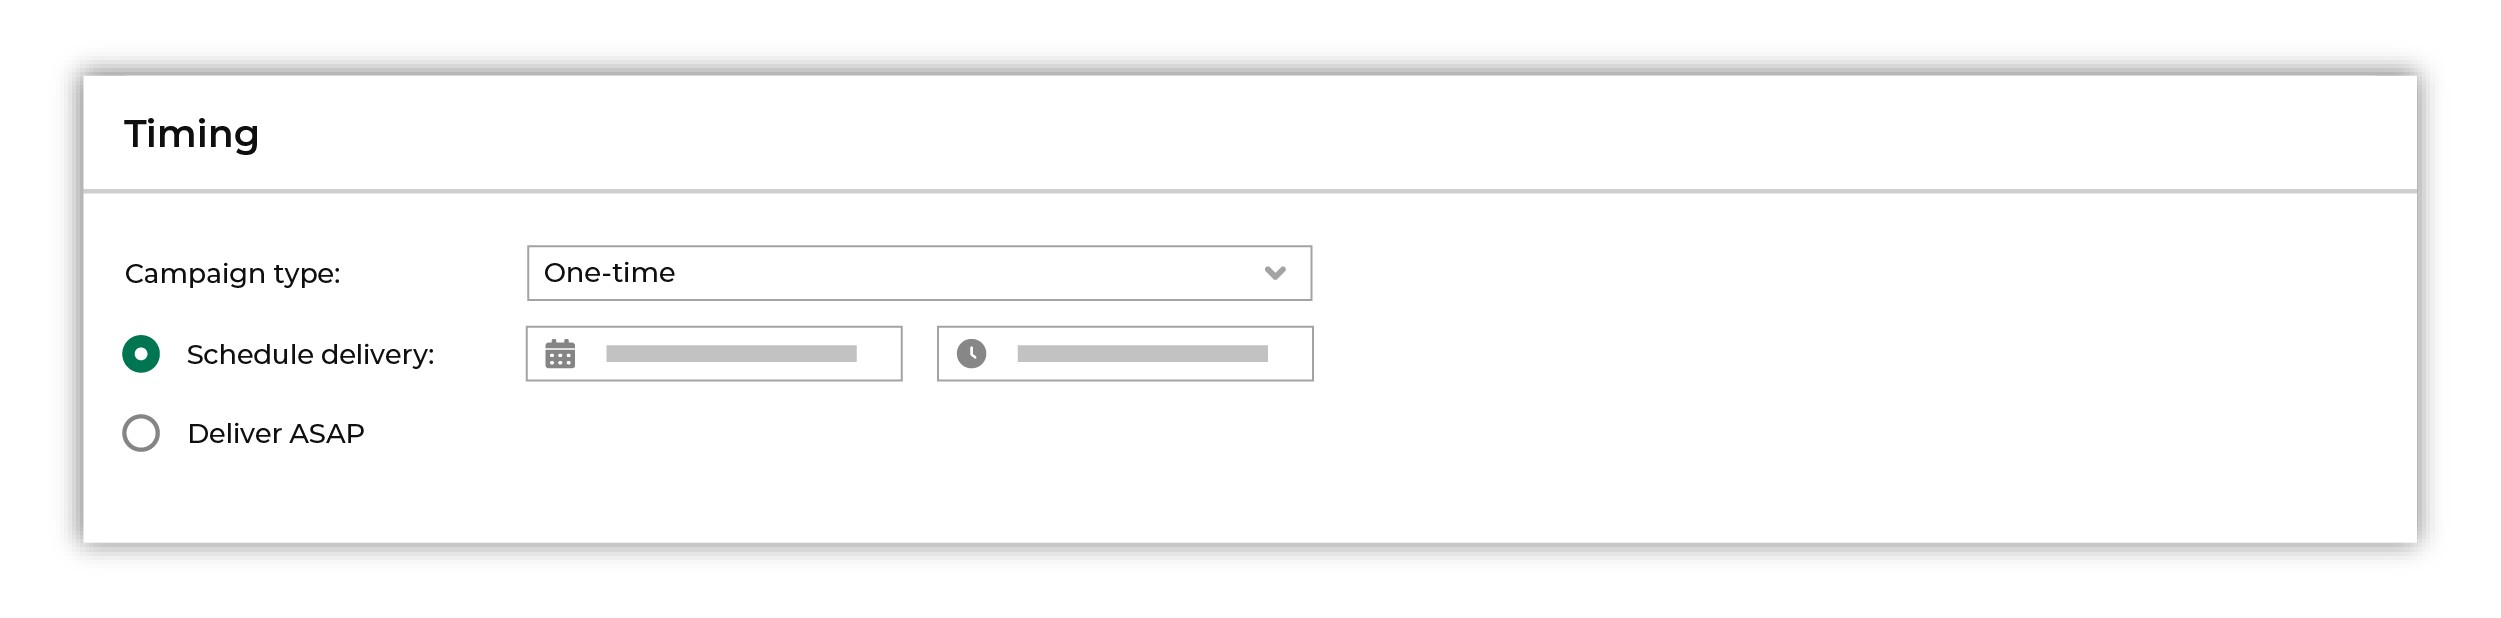
|

|
Enter the date on which you plan to launch your campaign. This date helps Amperity improve results tracking and campaign results measurement. 
How soon will audiences be available downstream? Amperity sends audiences to marketing applications that are configured for a campaign. Some marketing applications analyze the audiences, make optimizations, or build lookalike audiences, after which they are made available for marketing activities. Campaign launch timing should allow for the amount of time it takes for the audience to become available for marketing activity in the marketing application to which the audience was sent. This length of time can vary. Cloud storage solutions, such as Amazon S3, Azure Blob Storage, Google Cloud Storage, and many SFTP sites is often the fastest and audiences are available within 1 hour of delivery. Email service providers and other marketing automation platforms, such as ActiveCampaign, Braze, HubSpot, Klaviyo, and Salesforce Marketing Cloud should allow for 12-24 hours. Paid media platforms, such as Amazon Ads, Google Ads, Meta Ads Manager, The Trade Desk, Reddit Ads, Snapchat, and TikTok Ads Manager often require 24-48 hours. Campaigns can be configured to be refreshed as part of any scheduled workflow that is configured in Amperity. |

|
Click the Campaign test link in the top of the Campaign Editor to open the Campaign tests dialog box. Configure the number of records to use with the test, and then click Run test. This runs the campaign exactly the same as if it were run in a production workflow. A sample file is output that shows what the results of this campaign will look like downstream. When your campaign is ready, click the Schedule button in the top right corner of the Campaigns page. |