
About journeys
A journey is an automated sequence for connecting with customers across channels like email, paid media, SMS, and direct mail. Each step in a journey represents a decision point or action: send a message, wait for further customer engagement, or split the audience onto different paths.
By using Journeys, marketers can implement cross-channel strategies, improve targeting precision, and activate the right message at the right moment to drive better engagement and higher conversions.
Note
Ask your Amperity representative about how your brand can enable journeys.
How journeys work
A journey starts with a defined audience that moves through a series of interactions based on criteria you specify, like customer behavior, attributes, or engagement history. The sequence can branch depending on what conditions you set, so that customers have a different experience depending on what actions they take.
Here’s an example of a built-out journey:
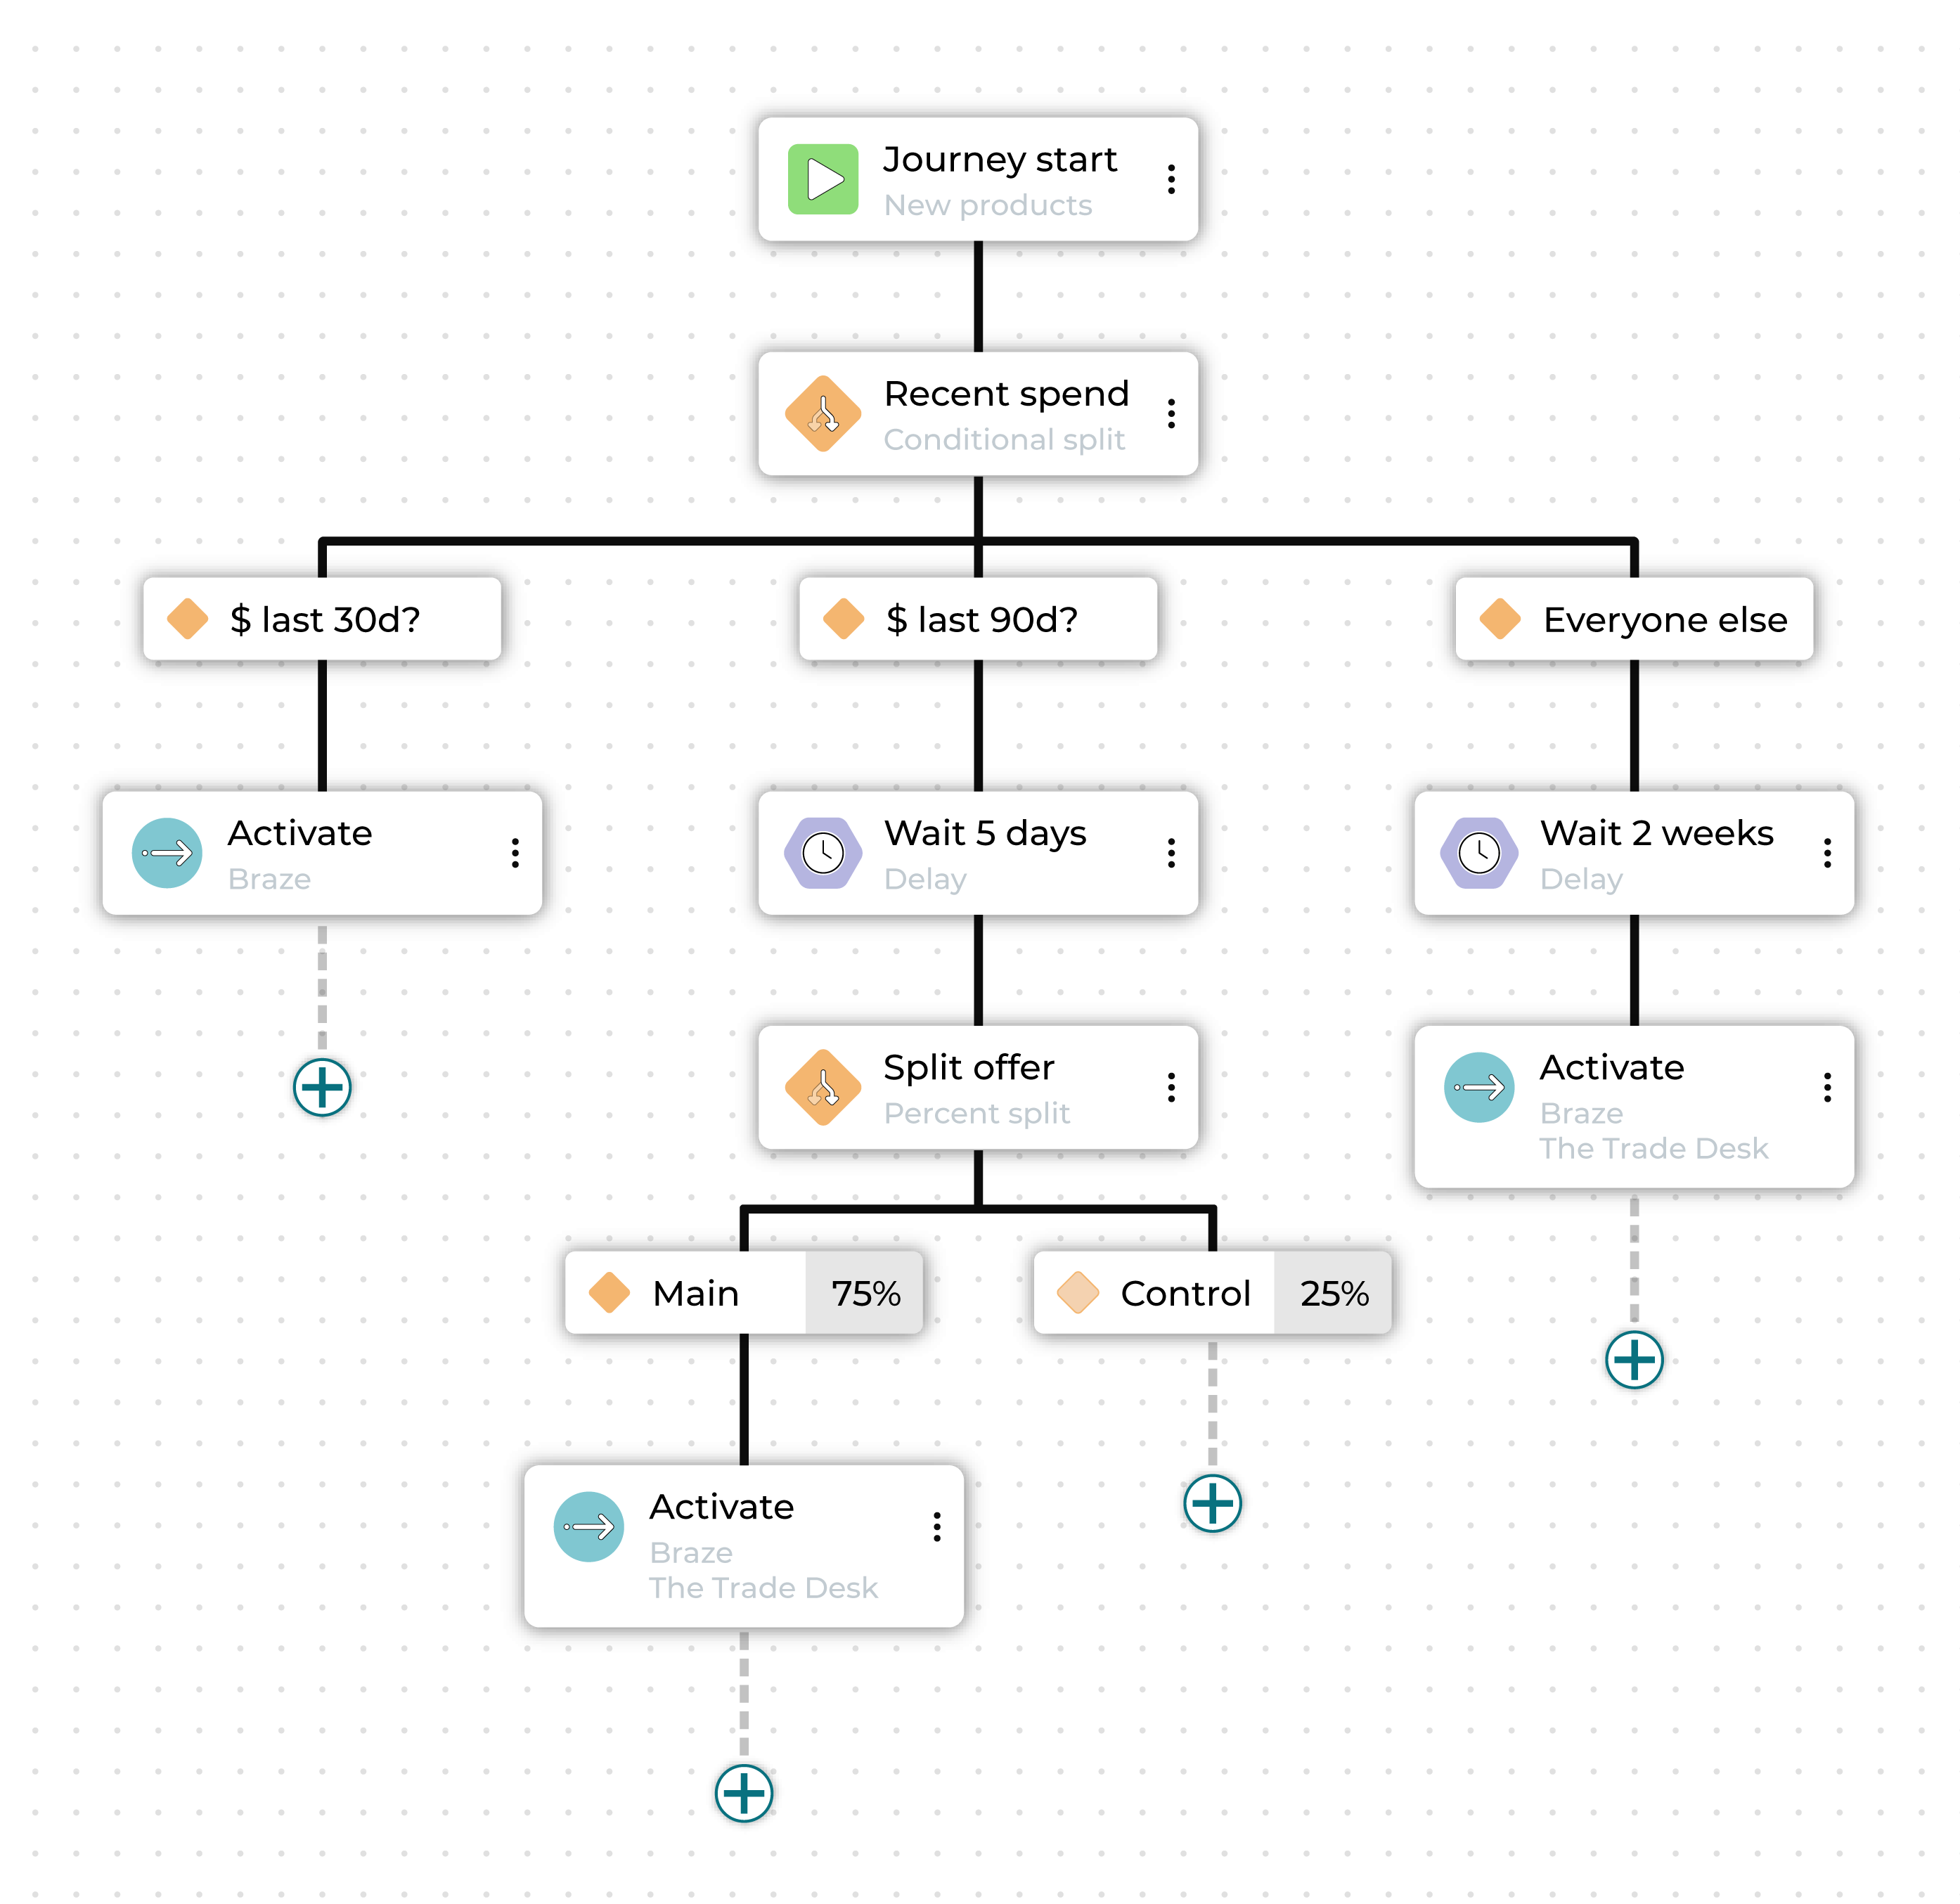
In this case, the marketer is offering high-value customers early access to new products before general release in two weeks. They start by creating an audience segment made up of customers in the top 10% of customer lifetime value.
The first step divides this audience into three sub-audiences: those who purchased in the last 1-30 days, those whose purchased in the last 31-90 days, and those whose most recent purchase was more than 90 days ago.
Each different audience is sent down a different path toward activation in a marketing channel.
The high-value customers who purchased most recently are contacted immediately, giving them exclusive early access.
The high-value customers who purchased between 1 and 3 months ago are set for a delay followed by an activation, as a second wave of early access.
Additionally, this audience is further split, so that 75% receive a special promotion and 25% do not, to see how important an added incentive is for getting customers to purchase again.
Finally, the high-value customers who have not purchased in the last three months are contacted when the new products become generally available to make sure they are among the first to know.
The journey can be further built out beyond this, with further splits based on whether or not customers purchase or how they engage with the communications they receive.
Journey setup
Journeys require that segments are available and that at least one destination has been configured.
Access the Journeys canvas by selecting Journeys at the top of the Activations page, and then click Create journey.
Who enters?
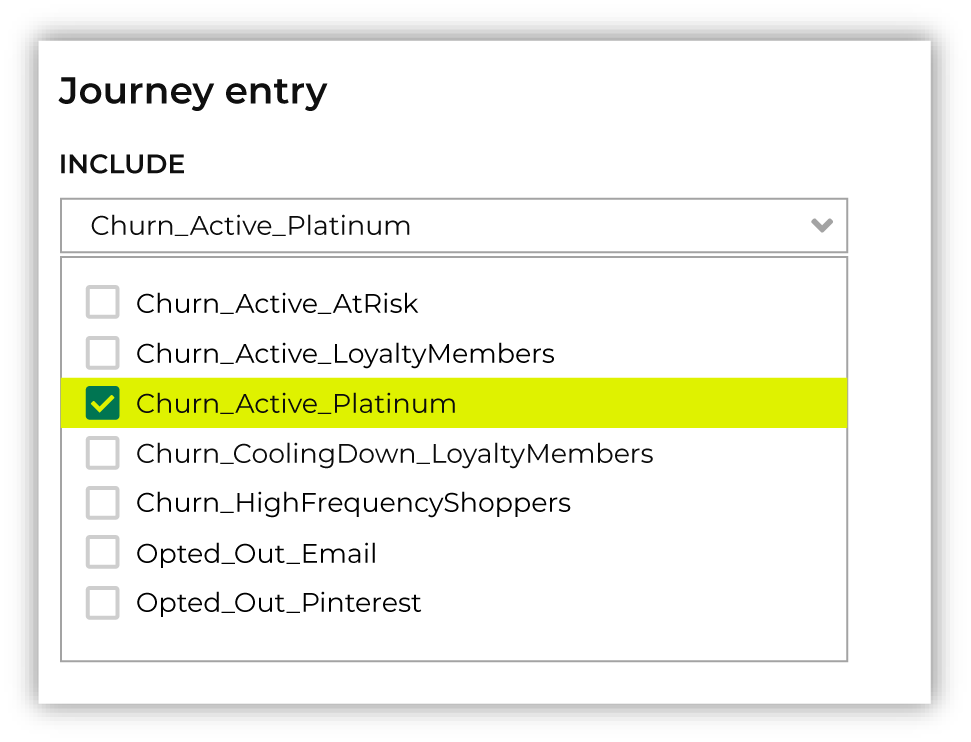
Every journey starts with an audience that is defined by one or more segments that determine which users enter this journey.
Choose a segment from the Select inclusion segments dropdown list. The customers in that list will become the audience for this campaign.
Who is excluded?
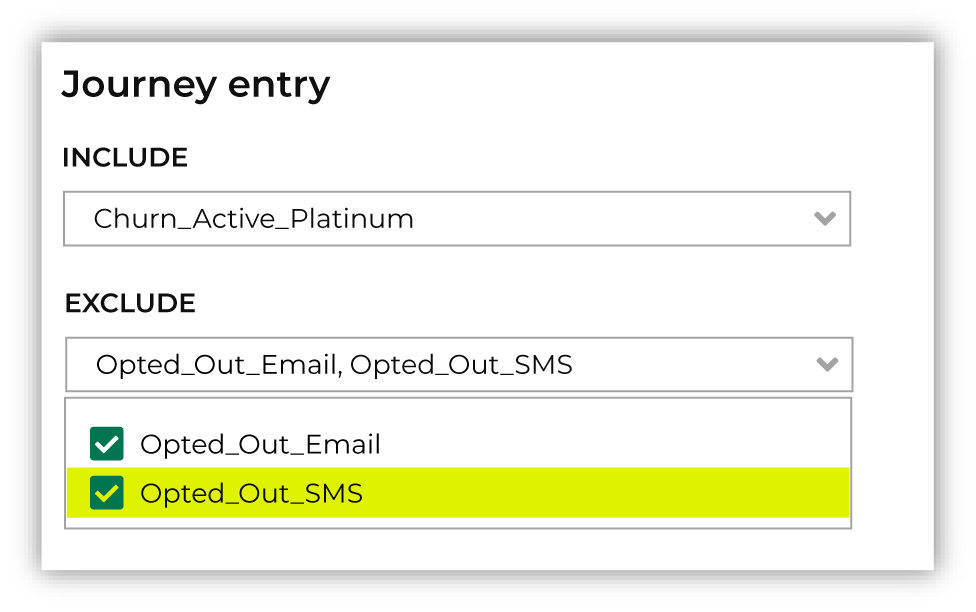
Sometimes a journey needs to exclude certain members of your audience. For example, a journey aimed at churn prevention often excludes customers who have opted-out of SMS messaging and/or who have unsubscribed from an email list.
When you need to exclude audience members, choose one or more segments from the Select exclusion segments dropdown list. The customers in an exclusion list will be removed from the audience for this journey.
Exit conditions
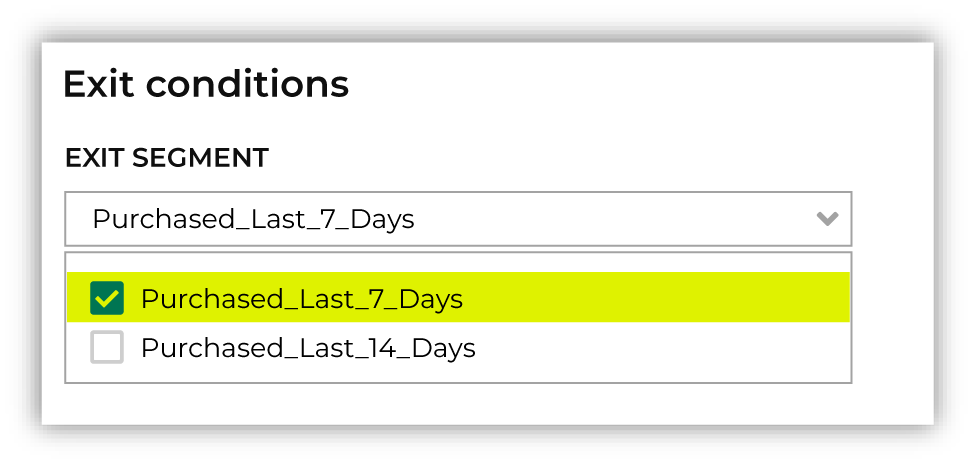
Some customers should exit a journey when a particular criterion has been fulfilled. For example:
The goal of a churn prevention campaign is to convince a customer to make a purchase. If a customer who is part of a churn prevention campaign makes a purchase they should be removed from the campaign.
An audience starts with customers who have opted in to receiving marketing messages from your brand. If a customer who is part of that journey later opts out they should be removed from the campaign.
Exit conditions are defined using a segment. One or more segments that define exit conditions may be added to a journey using the Select exit segments dropdown.
Journeys canvas
After establishing the audience and starting conditions of the journey, you will be taken to the Journeys canvas. This is the interface where you determine the steps of the journey and define how your brand will interact with customers at each step.
The following building blocks are available to users for building journeys:
Journey start
A start node displays the starting segments in a journey along with any exclusions.
A start node displays the starting segments in a journey along with any exclusions.
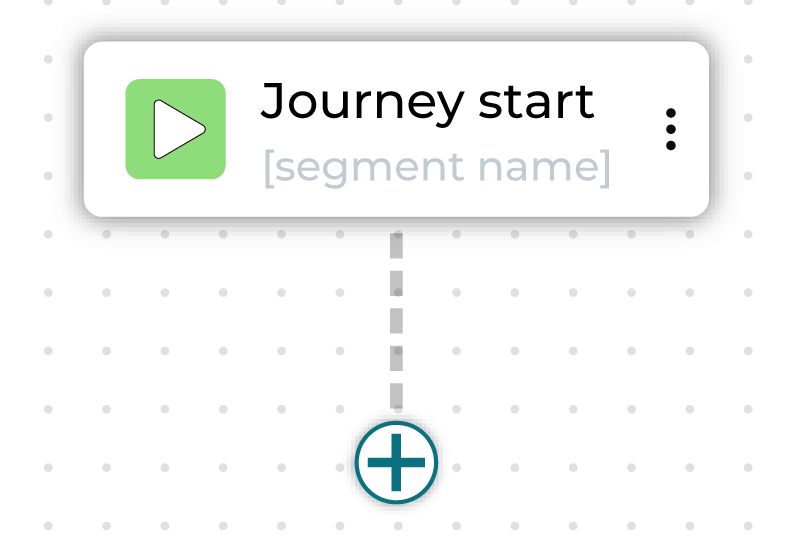
To edit inclusions, exclusions, or exit conditions, click on the Journey setup sidebar. Click the plus button underneath to add nodes to the journey.
Activate
An activate node sends an audience to one or more destinations.
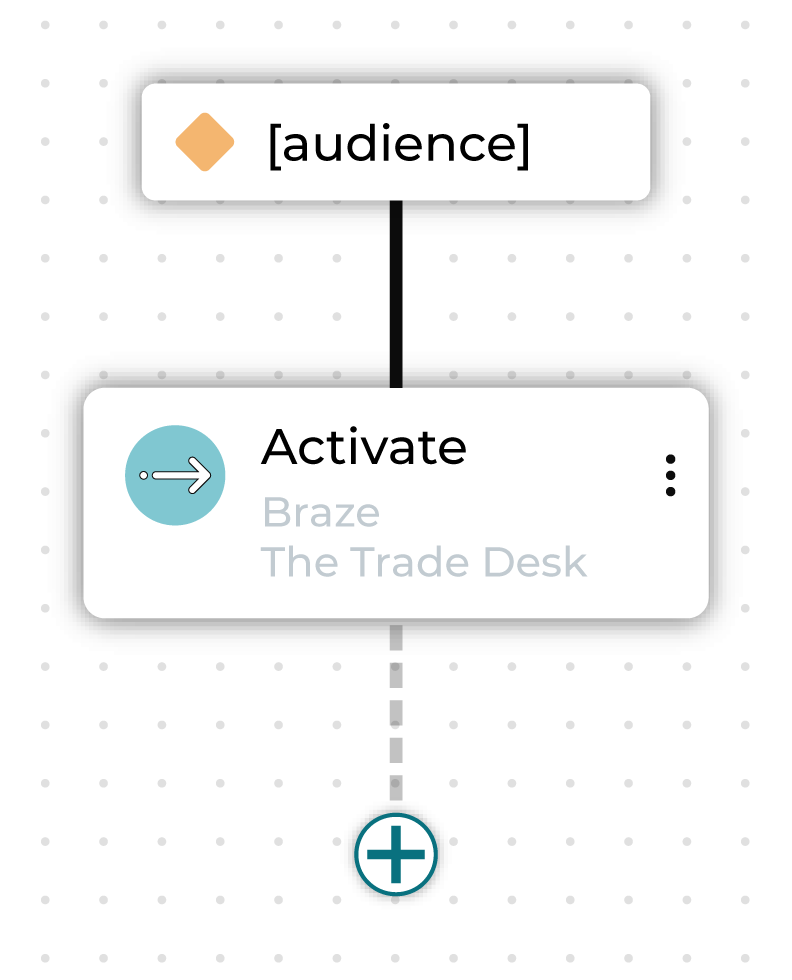
You can rename the activate node.
Delay
A delay node defines the length of time to wait before the next step in a journey begins.
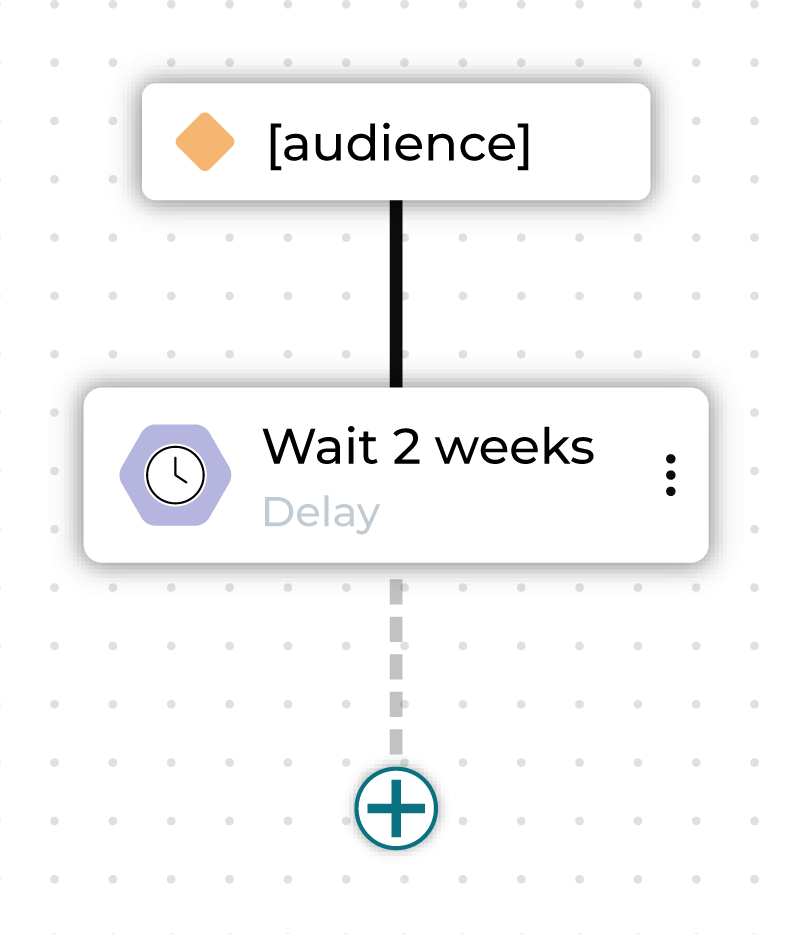
Choose a combination of an integer plus “days”, “weeks”, or “months” to designate how long to wait before the next step in the journey begins.
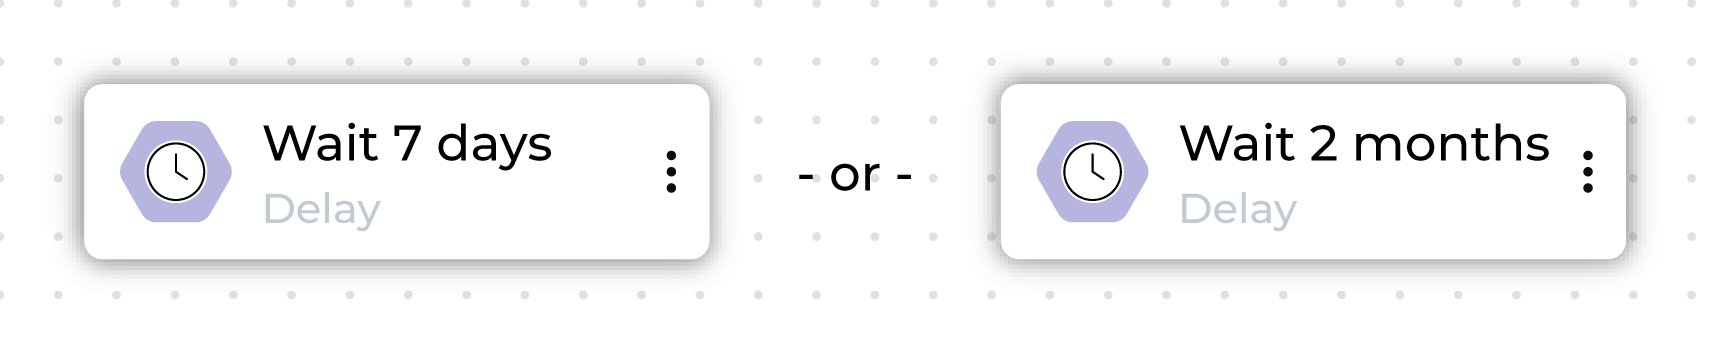
A delay is applied to a single parent node.
You can rename the delay node.
Conditional split
A conditional split node splits a journey into branching paths, where each path defines one or more segments.
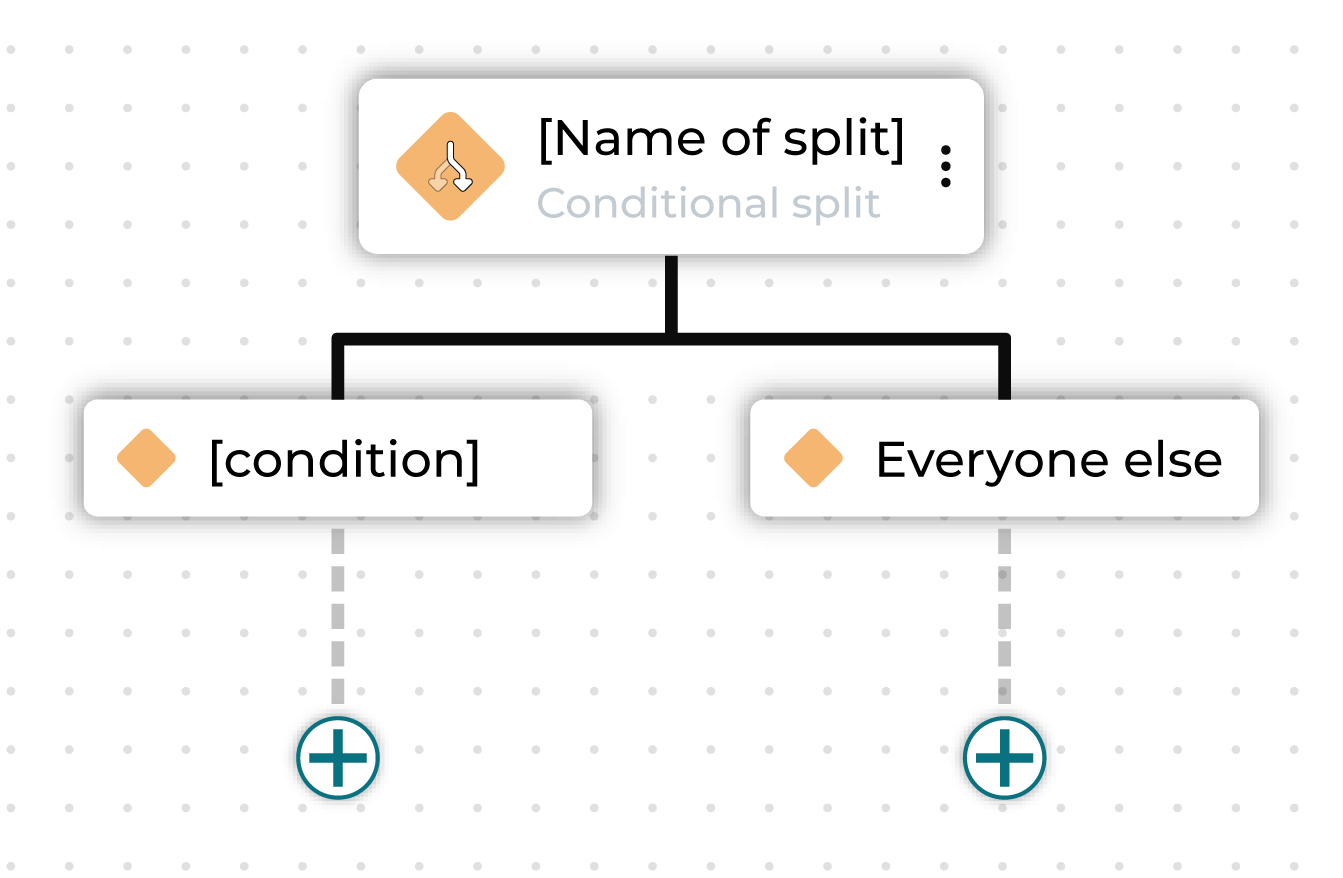
These segments may already exist or may be defined within this journey using custom criteria.
You can rename the individual conditional split node and rename the “Everyone else” sub-audience.
Percent split
A percent split node splits a journey into branching paths, where each path applies to a randomly selected percentage of the audience that entered the branch.
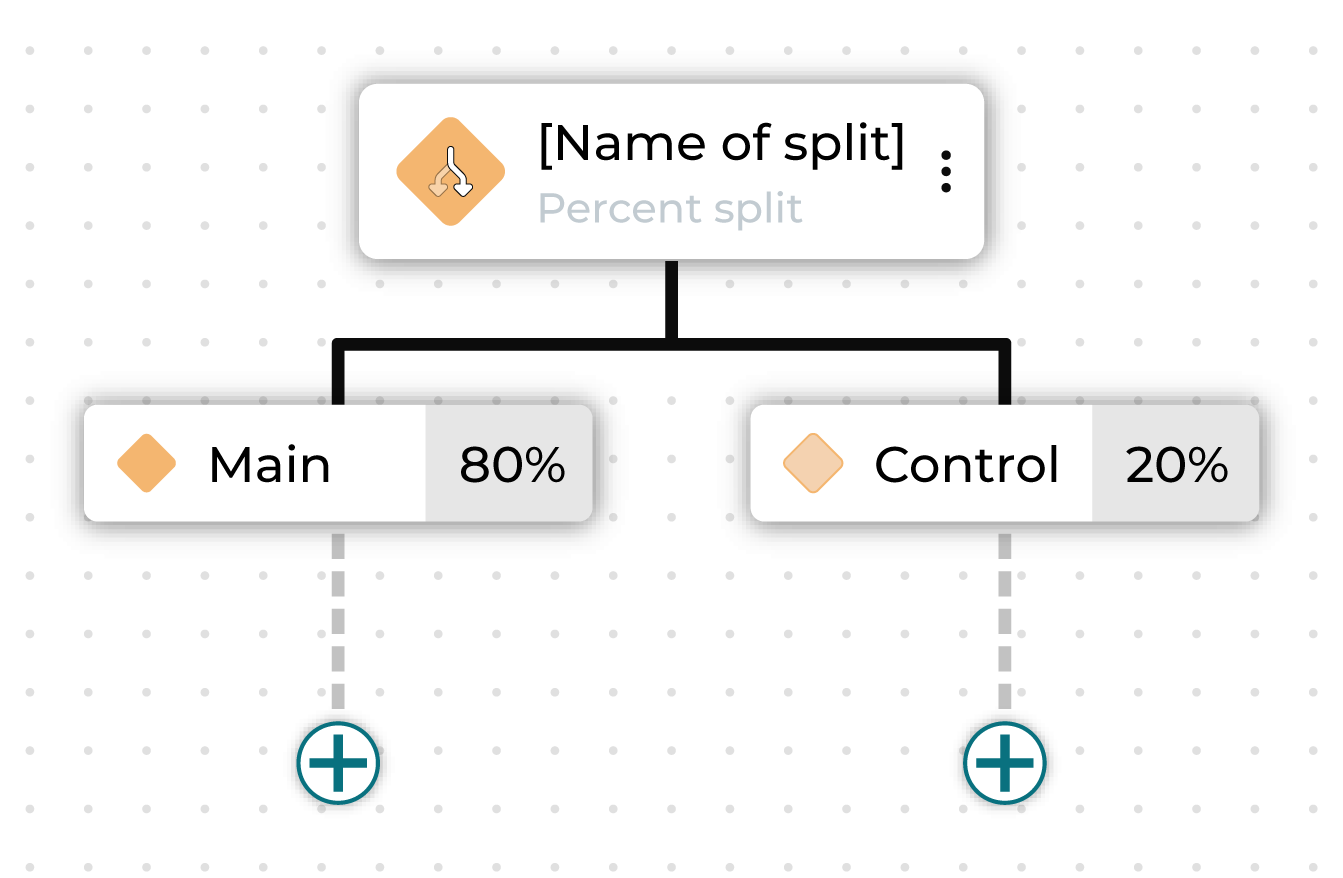
The percentage of all individual nodes under a percent split must add up to 100% of the audience, including the control group.
You can rename the percent split node and rename the individual paths.
Individual split
An individual split node represents each path in a journey that defines a conditional or percent split.
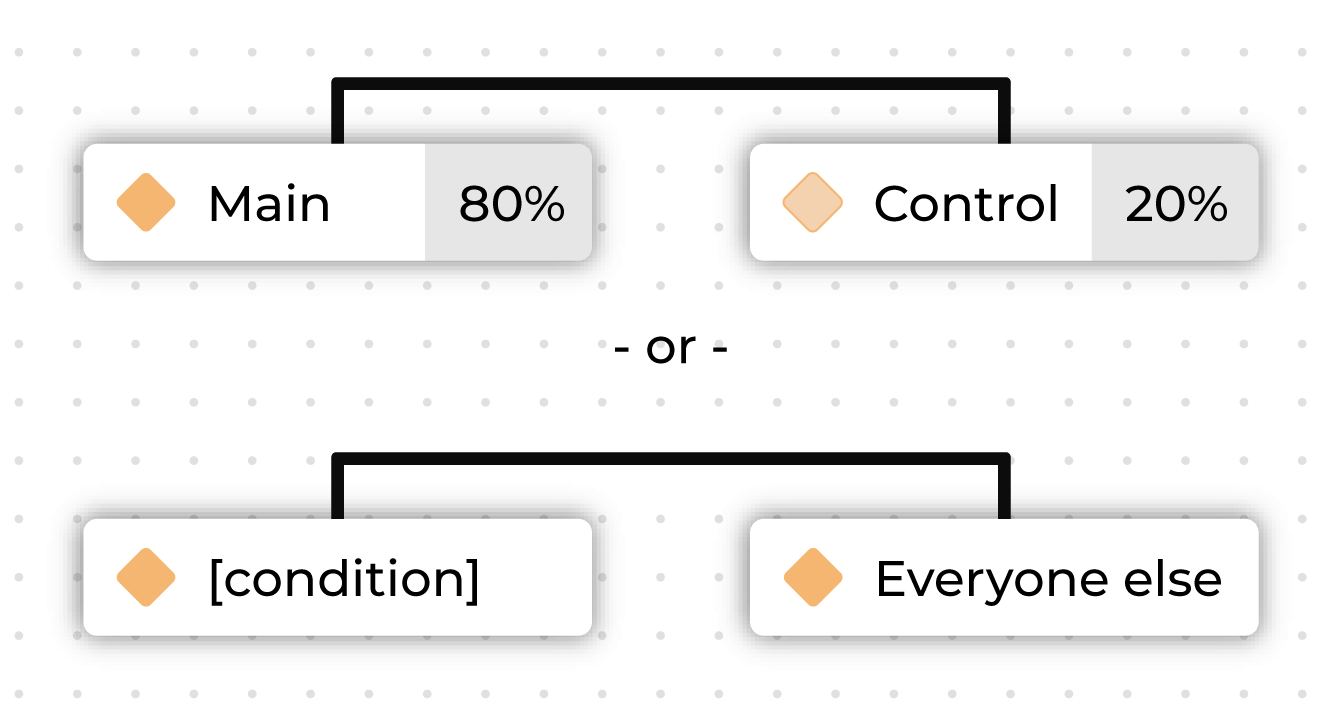
Note
To edit sub-audiences conditions and naming, click into the parent node.
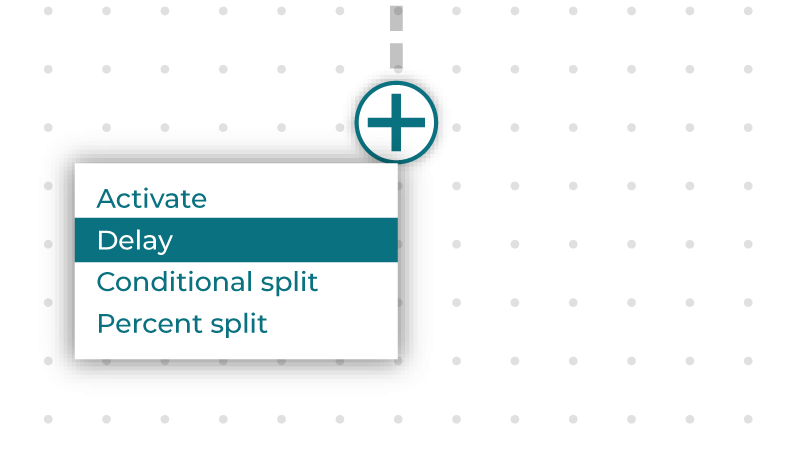
Add a node
Click the plus button to add a node to the journey. May be one of “Activate”, “Delay”, “Conditional Split”, or “Percent Split.”
Configure destination attributes
The attributes that are sent to each destination that are configured for activation in a journey can be edited.
To configure destination attributes
From the Journeys canvas, select an activation node.
Open the Node configuration sidebar. For each configuration destination, a list of attributes may be edited.
Select a destination from the Destination dropdown.
Open the Attributes panel. A list of attributes is shown with the field in Amperity on the left and the field that is sent to the destination on the right.
Click the Edit button to update the list of attributes that are sent to this destination.
When finished, click Save.
Set run frequency
A journey may be configured to run once, daily, weekly, monthly, or quarterly.
Note
When a journey is set to run on a recurring schedule, only customers who have newly qualified for the inclusion segment since the last run will enter the journey.
For example, if the segment had 1,500 members at launch, all 1,500 would enter the journey.
On the next run, if the segment has grown to 1,700, only the 200 new members–—those who joined the segment after the previous run—will be included.
Keep in mind that customers can re-enter a recurring journey if the segment is based on a time window, such as “purchased in the last 7 days”, and they meet the criteria again.
To prevent this, use an exclusion segment to filter out users who have already participated, or who meet other disqualifying conditions.
To set the run frequency for a journey
From the Journeys canvas, click the Schedule link in the top navigation.
From the Recurrence dropdown menu choose one of “once”, “daily”, “weekly”, “monthly”, or “quarterly”.