
Lapsing customers
A lapsed customer is someone who hasn’t purchased within the past year. It’s important to identify customers before they have lapsed to include them within elements of your churn prevention campaign.
You can find lapsing customers first by identifying customers who have not purchased within the previous year, and then identifying which predicted customer lifecycle status they hold within your churn prevention campaign
The following sections describe using the Segment Editor to build a segment that finds customers who have not purchased and are predicted to churn.
FIND LAPSING CUSTOMERS

|
Open the Segment Editor, look in the lower-right of the page and make sure your customer 360 database is selected. 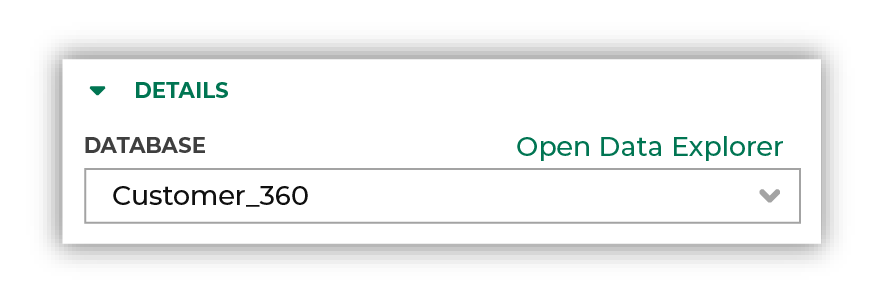
|
|
To identify customers whose most recent order was at least 1 year ago, choose the Latest Order Datetime attribute from the Transaction Attributes Extended table, select the “is before” operator, enable the Use relative dates option, and then configure the dates to be “today - 1 year”: 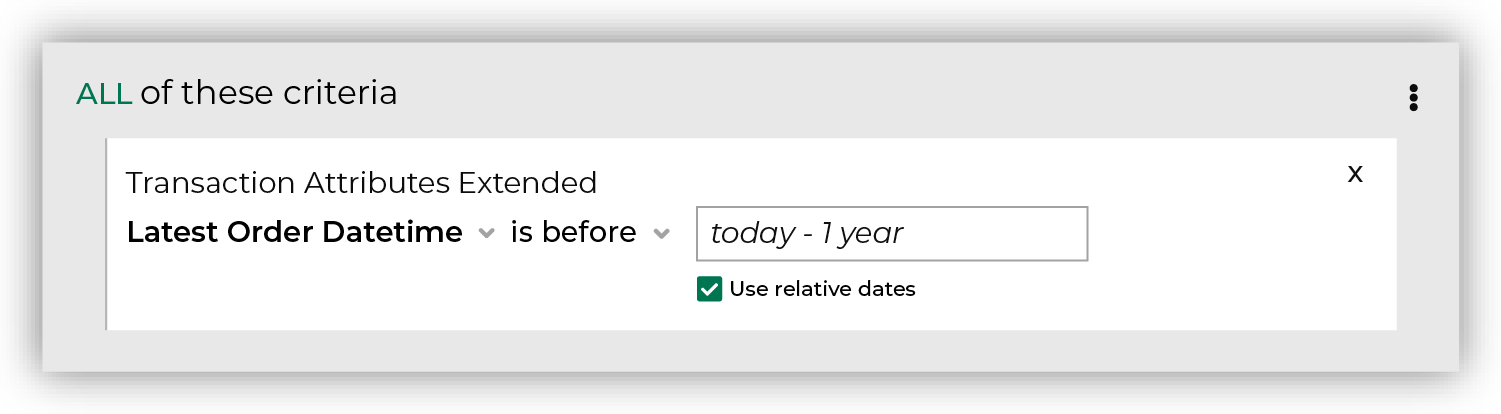
Click the Refresh button located on the right side of the Segment Editor to see how many customers are in your segment, how much they spent in the past year, how many are active, and how many of them could belong to a future campaign. |
|
Add a second attribute to your segment. To identify customers who are predicted to churn, choose the Predicted Customer Lifecycle Status attribute from the Predicted CLV Attributes table, select the “is in list” operator, and then select “At risk”, “Highly at risk”, and “Lost”: 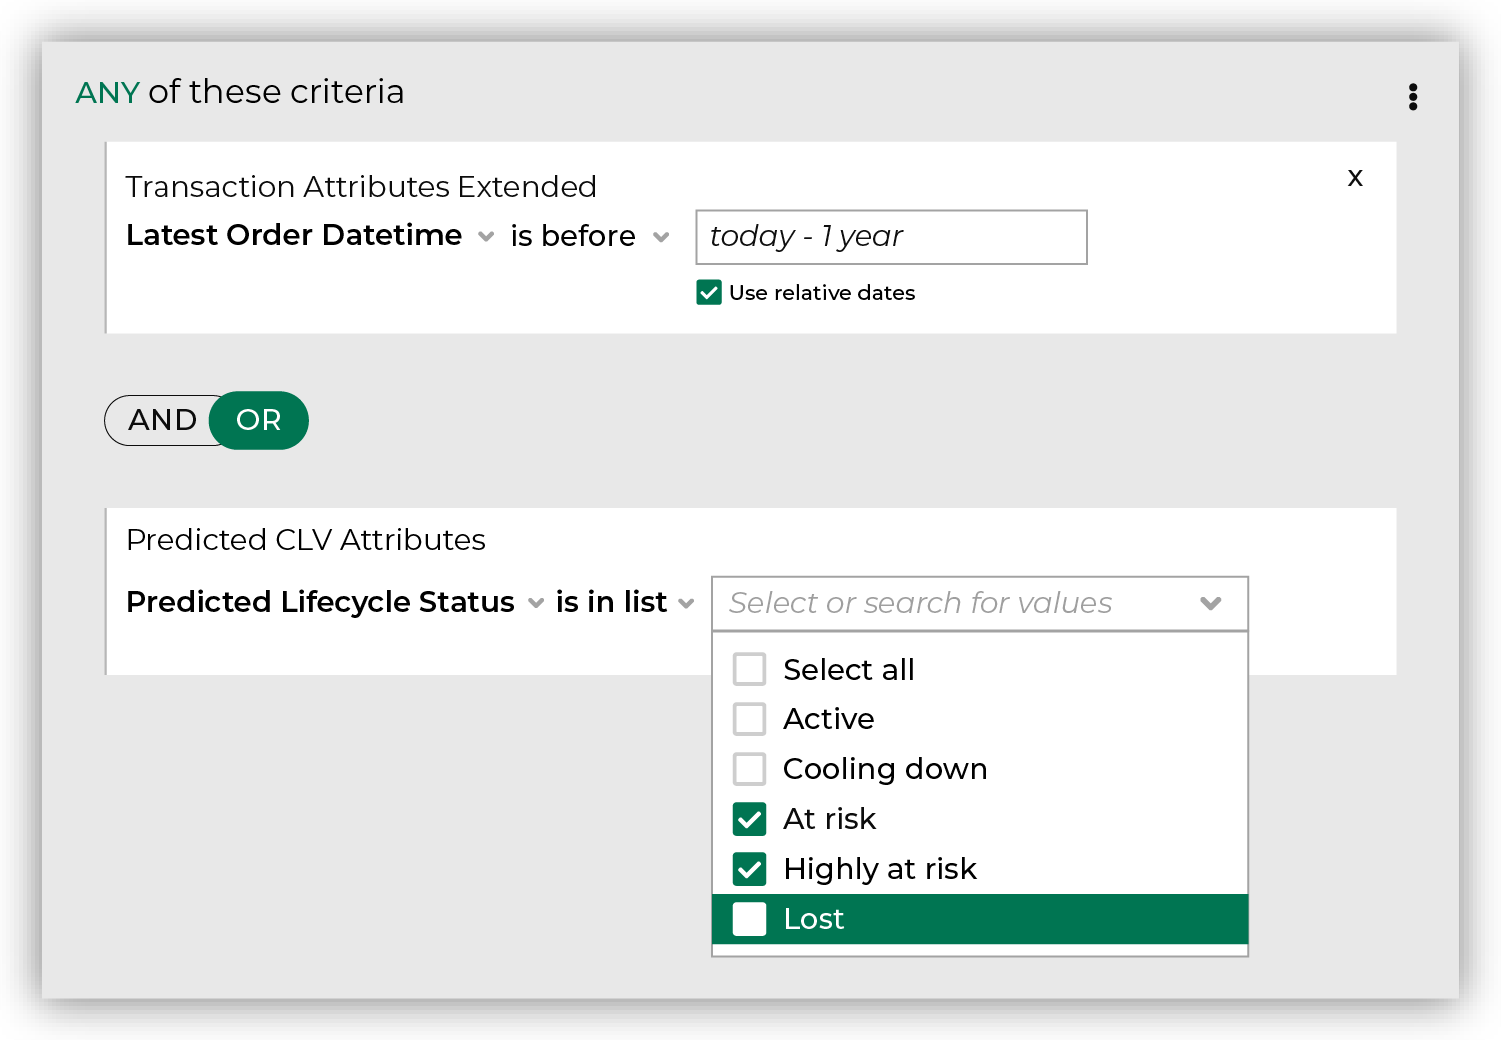
Tip You can also use the Historical Purchaser Lifecycle Status attribute in the Customer Attributes table to identify lapsing customers. Set the operator to “is in list”, and then choose “Lapsed”: 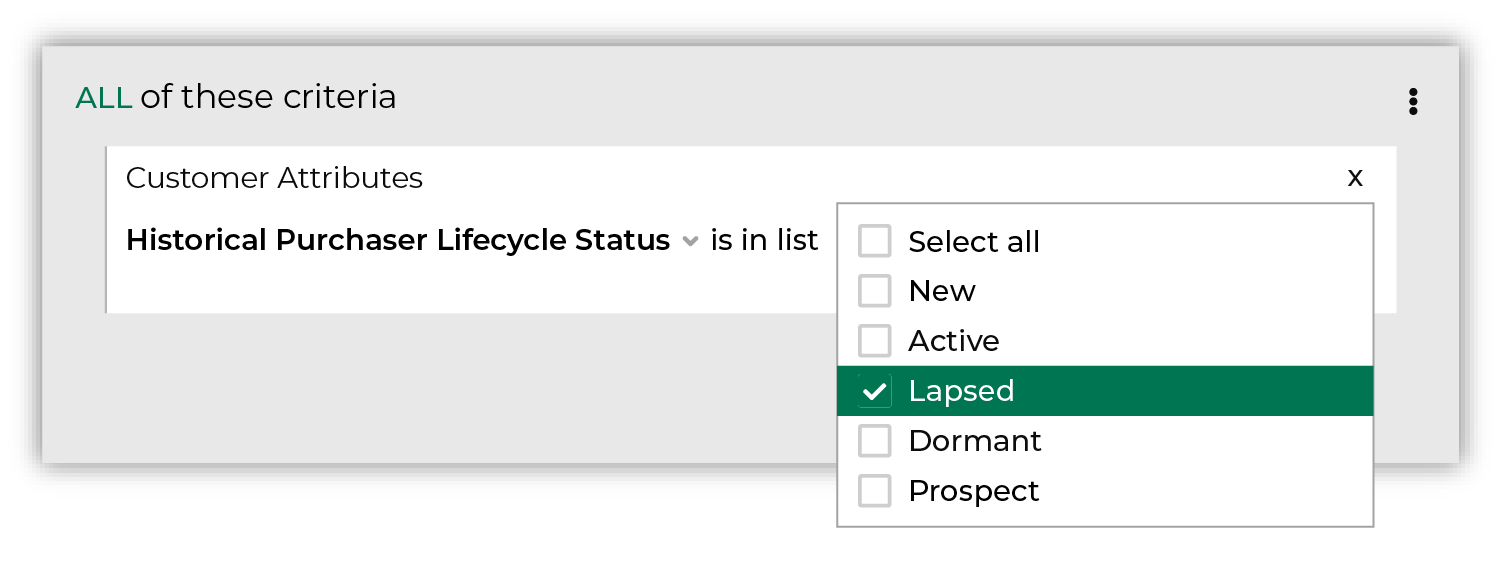
Set the and/or slider set to OR. Click the Refresh button located on the right side of the Segment Editor to refresh segment insights to view updated values for the combination of customers who have not purchased or are predicted to churn. |
|
You’re done! Click the Save As button in the top right corner of the Segment Editor. Give your segment a name that clearly describes the purpose and audience type for the segment. For example: “Lapsing Customers”. 
Tip Use good naming patterns to ensure that you can always find your segments when you need them. Be sure to include the brand name and/or the region name if you have multiple brands or have multiple regions and want to build segments that are brand- and/or region-specific. |
|
After your segment is saved the Segment Overview page opens and shows additional details, such as historical and predicted revenue, the percentage of customers that are reachable by email, by phone, on Facebook, and customer trends, such as purchases by channel, revenue by lifetime spend. |