
Reach holiday shoppers with SMS
SMS can help your customers stay engaged with your brand during holiday seasons. For example, you can use SMS to promote limited time offers, share gift guides, and suggest last-minute gift ideas.
The following sections describe using the Segment Editor to build a segment that contains customers who have purchased during previous holiday seasons. A holiday shopper is defined as a “customer who has historically purchased from your brand in close proximity to a holiday”. Popular holiday windows include Valentine’s Day, Easter, Halloween, Thanksgiving, and Christmas. A holiday shopper list should also be filtered to include only customers who have opted-in to being sent SMS messages from your brand.
FIND HOLIDAY SHOPPERS
|
Open the Segment Editor, look in the lower-right of the page and make sure your customer 360 database is selected. 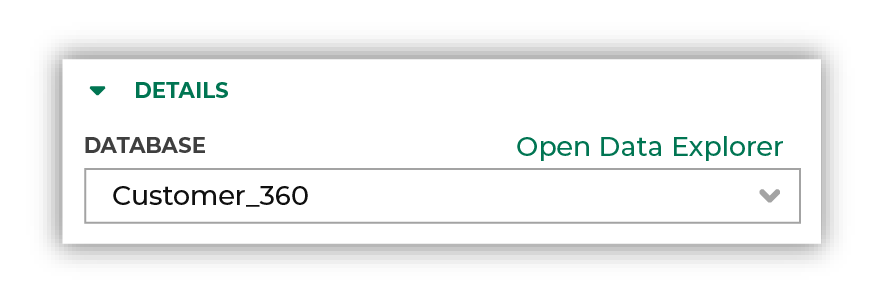
|
|
To find customers who have purchased from your brand during the Christmas holiday season – November 1 - December 31 – you will need to add a date range to your segment. Choose the Has purchased purchase, select the “between” operator, and then set each date using the calendar picker: 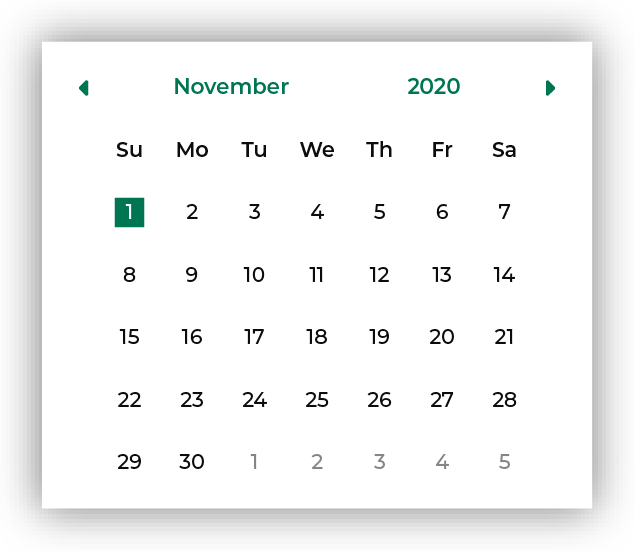
The starting range should be set to November 1, in the previous year and the ending range should be set to December 31, also in the previous year: 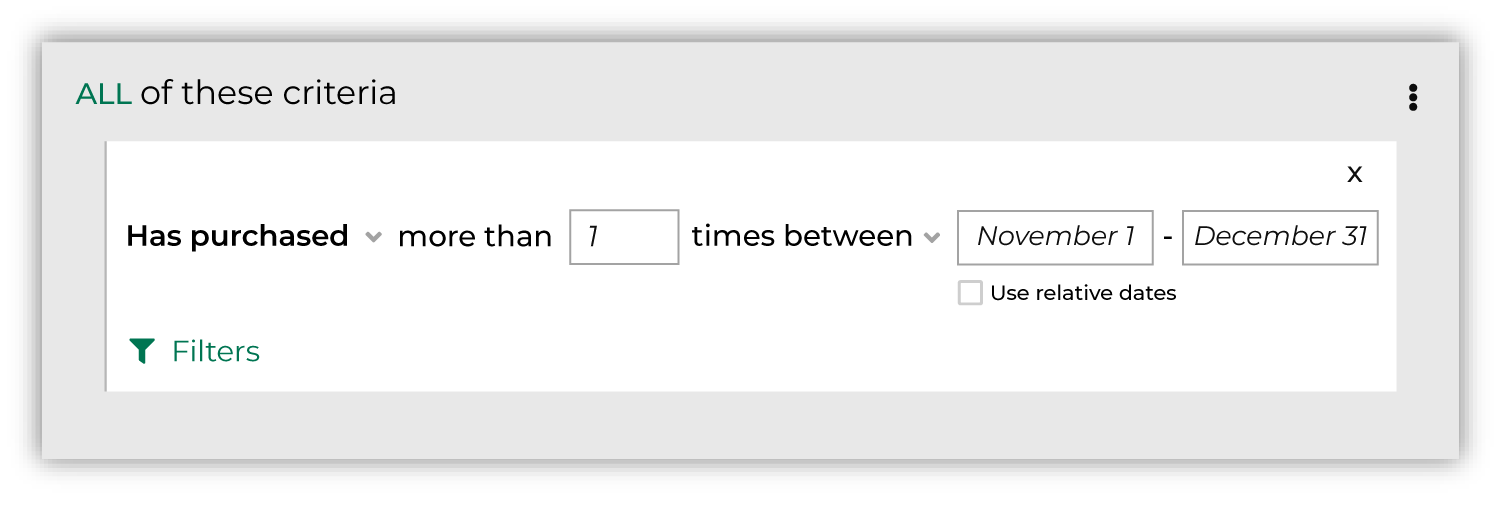
Click the Refresh button located on the right side of the Segment Editor to see how many customers are in your segment, how much they spent in the past year, how many are active, and how many of them could belong to a future campaign. Tip Define a time window that is appropriate for the holiday for which you want to run an SMS campaign. For example, October 1 - October 31 for Halloween, February 1 - February 14 for Valentine’s Day, or two weeks before Easter. |
|
Add an attribute that filters the holiday shoppers audience to only include customers who have opted-in to being sent SMS messages. Click +Add section, choose the Is Opted Into SMS attribute from the Customer Attributes table, and then select the “is true” operator: 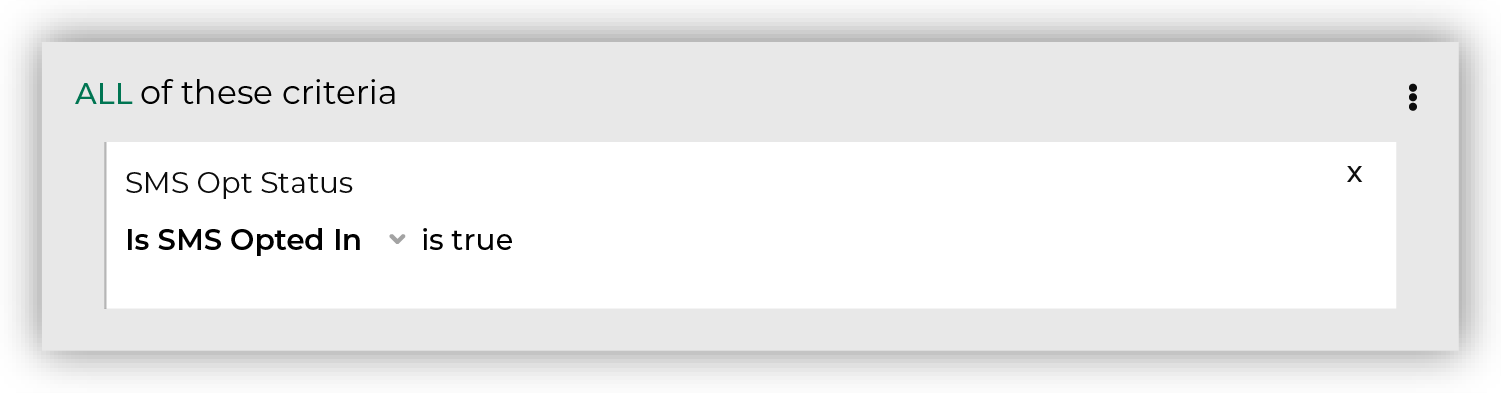
Keep the and/or slider that is in-between attribute groups set to AND. Click the Refresh button located on the right side of the Segment Editor to refresh segment insights to view updated values for the combination of customers who have made a purchase between November 1st and December 31st and who have opted in to SMS. Tip For companies with multiple brands or are in multiple regions, you may use attributes that apply additional filters for brands, regions, or products within your product catalog. |
|
You’re done! Click the Save As button in the top right corner of the Segment Editor. Give your segment a name that clearly describes the purpose and audience type for the segment. For example: “Holiday Shoppers - SMS” 
Why doesn’t this segment have a phone number in it? This segment does not require a phone number because this segment should define an audience for a campaign, and is then assigned to a treatment group. Each treatment group is configured to send data to one (or more) destinations. Each destination is configured to send a set of attributes downstream from Amperity. For example: Attentive is a destination to which you can send lists of phone numbers for use with SMS campaigns. Edit the attributes that are sent to Attentive to include only the phone attribute, which will send the list of phone numbers that are associated with the customers in your segment. |
|
After your segment is saved the Segment Overview page opens and shows additional details, such as historical and predicted revenue, the percentage of customers that are reachable by email, by phone, on Facebook, and customer trends, such as purchases by channel, revenue by lifetime spend. |