
Create journeys
A journey is an automated sequence for connecting with customers across channels like email, paid media, SMS, and direct mail. Each step in a journey represents a decision point or action: send a message, wait for further customer engagement, or split the audience onto different paths.
A journey starts with a defined audience that moves through a series of interactions based on criteria you specify, like customer behavior, attributes, or engagement history. The sequence can branch depending on what conditions you set, so that customers have a different experience depending on what actions they take.
Note
Ask your Amperity representative about how your brand can enable journeys.
The following sections describe the steps you’ll follow to set up and configure a journey.
|
Open the Journeys canvas. This is available on the Activations page. Select the Journeys button on the top left and then click Create journey. Add a name for the journey. |
|
Who enters? Every journey starts with an audience that is defined by one or more segments that determine which users enter this journey. Choose a segment from the Select inclusion segments dropdown list. The customers in that list will become the audience for this campaign. 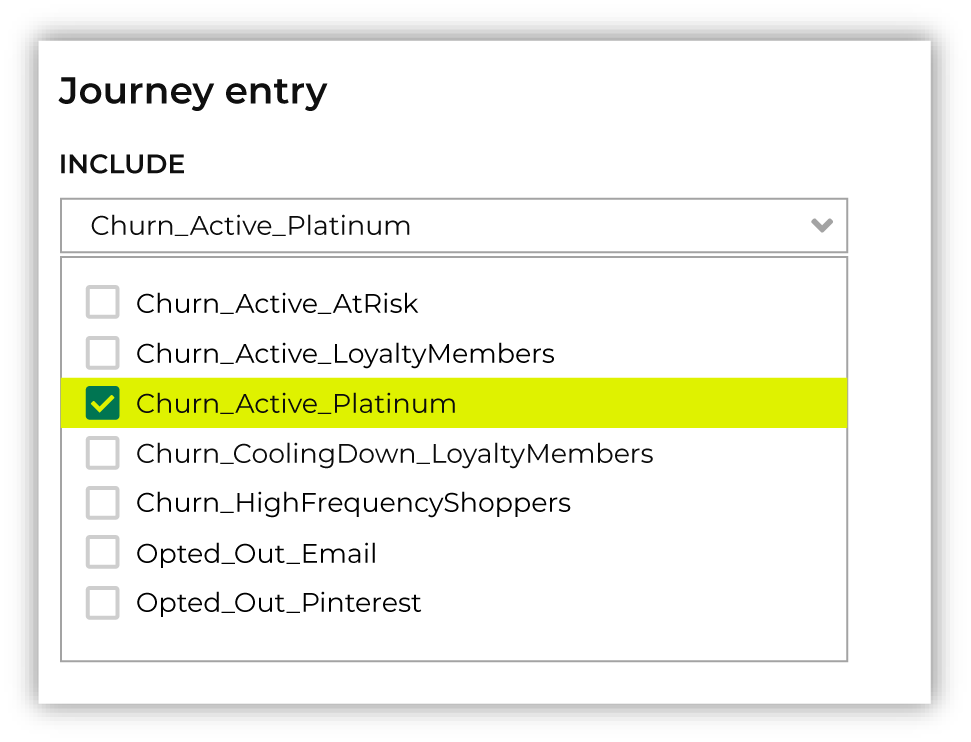
Who is excluded? Sometimes a journey needs to exclude certain members of your audience. For example, a journey aimed at churn prevention often excludes customers who have opted-out of SMS messaging and/or who have unsubscribed from an email list. When you need to exclude audience members, choose one or more segments from the Select exclusion segments dropdown list. The customers in an exclusion list will be removed from the audience for this journey. 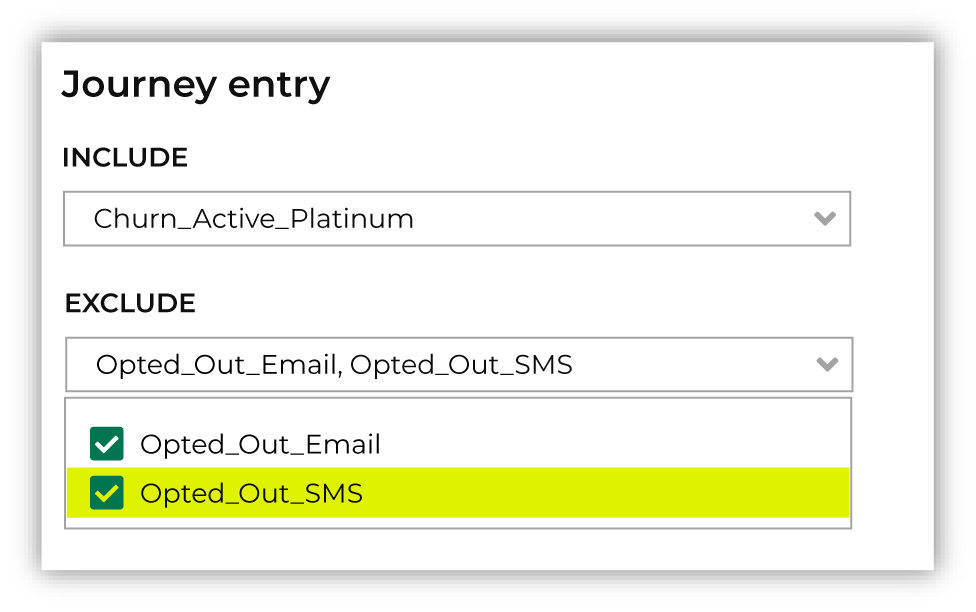
|
|
Activate node An activate node sends an audience to one or more destinations. On the Journeys canvas, under an existing node, click the plus symbol and then choose Activate. 
Name the activate node and then choose one or more destinations from the dropdown menu. |

|
Delay node A delay node defines the length of time to wait before the next step in a journey begins. On the Journeys canvas, under an existing node, click the plus symbol and then choose Delay. Name the delay node and then set the length of time. |
|
Conditional split node A conditional split node splits a journey into branching paths, where each path defines one or more segments. On the Journeys canvas, under an existing node, click the plus symbol and then choose Conditional split. Name the delay node and then add paths. For each path, define the sub-audience using a segment or custom criteria. |
|
Percent split node A percent split node splits a journey into branching paths, where each path applies to a randomly selected percentage of the audience that entered the branch. On the Journeys canvas, under an existing node, click the plus symbol and then choose Percent split. Name the delay node and then add paths. For each path, define the percentages. A control group is set to 10% by default. You may increase or decrease the size of the control group. Control groups use the concepts of people-based measurement to assign customers to control and treatment groups, which gives marketers the ability to accurately measure the incremental effects of a campaign. |
|
A journey may use any combination of nodes to define the paths that your brand wants your customers to take. For example: 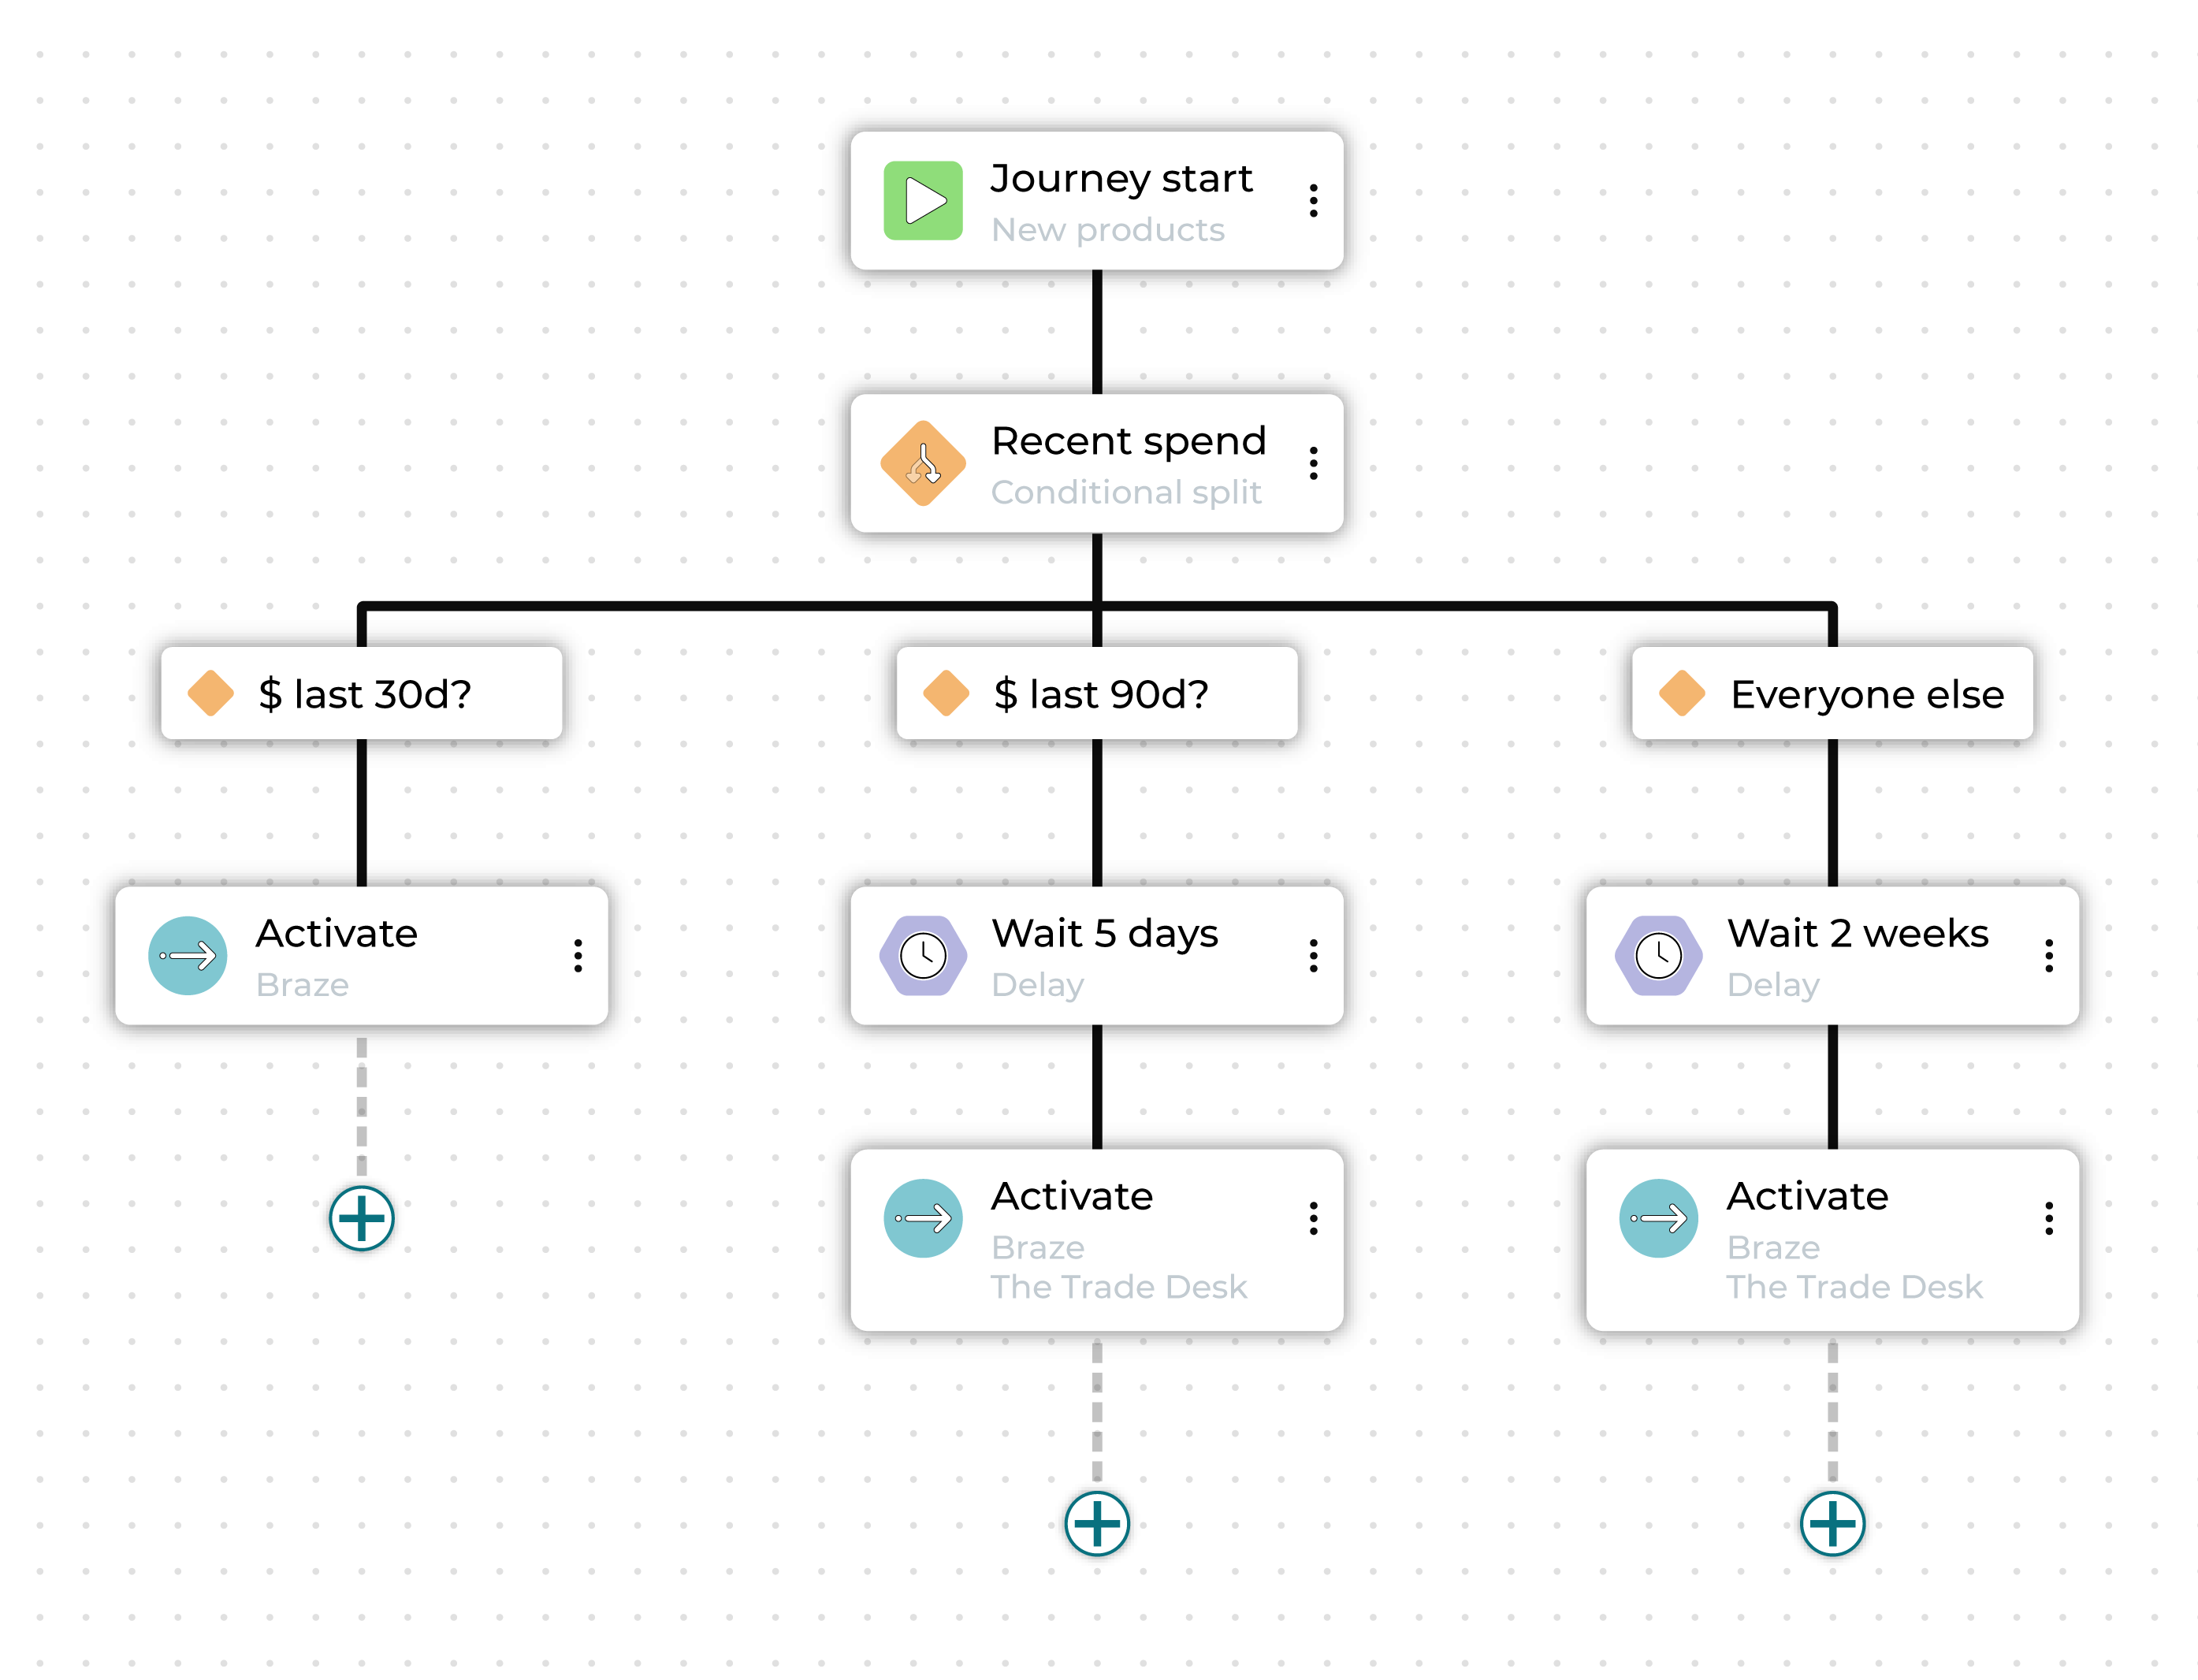
|
|
When you are finished building the journey, click Save. |